Ilija Roknich
Lighting & lookdev Artist
About
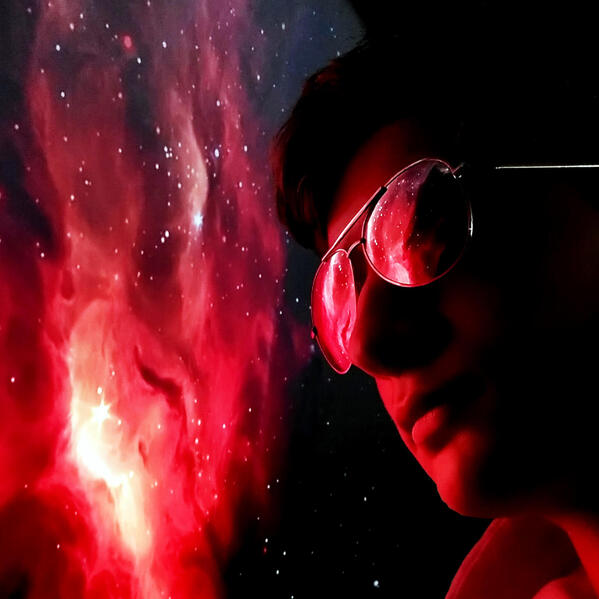
Hey there! I'm Ilija (ee-lee-ya), online I go primarily by M16.
I'm an undergraduate student in Animation & VFX at Purdue University. I specialize in lighting/lookdev and environment design. I have a foundation in cinematography and photorealism. I'm passionate about visual storytelling, utilizing lighting/rendering to craft cinematic mood, and color science.Outside my digital work, I also work on other projects across a variety of mediums. I tend to view my artwork as an expression of myself and as an opportunity for other people to become inspired with their own creative ideas.You can get in touch with me using the buttons below, and you can view a curated selection of my work using the buttons above. Thanks for stopping by!
Hobbies
unlisted
You're not supposed to be here... how are you?
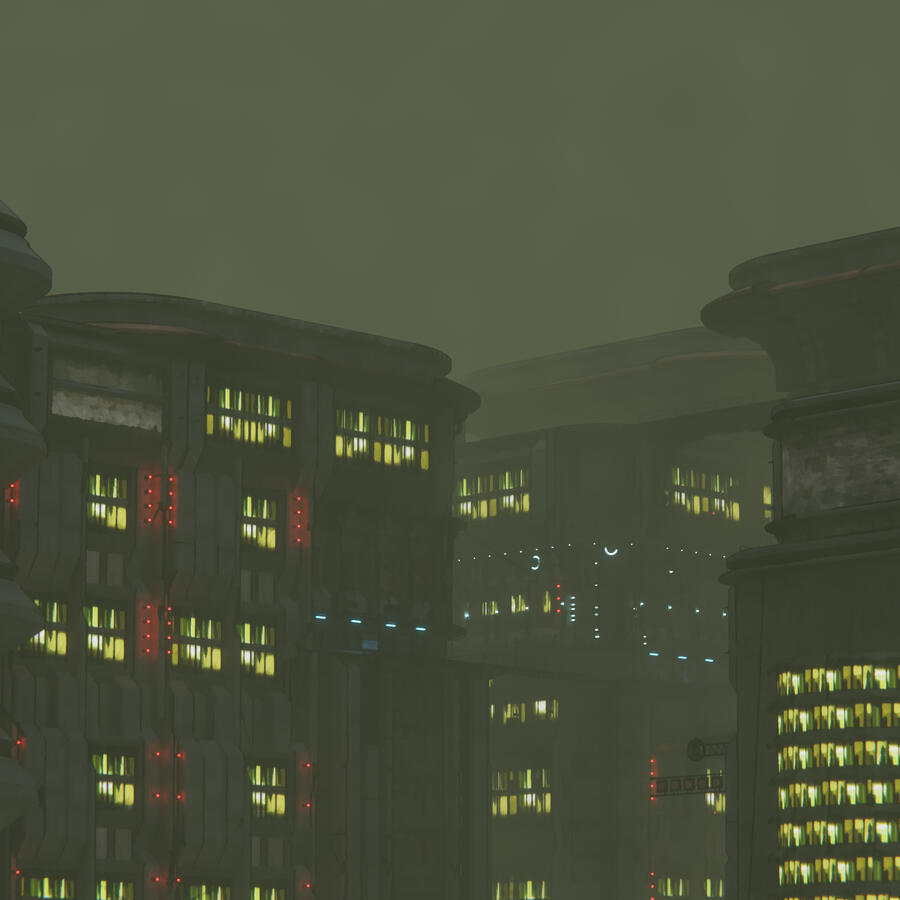
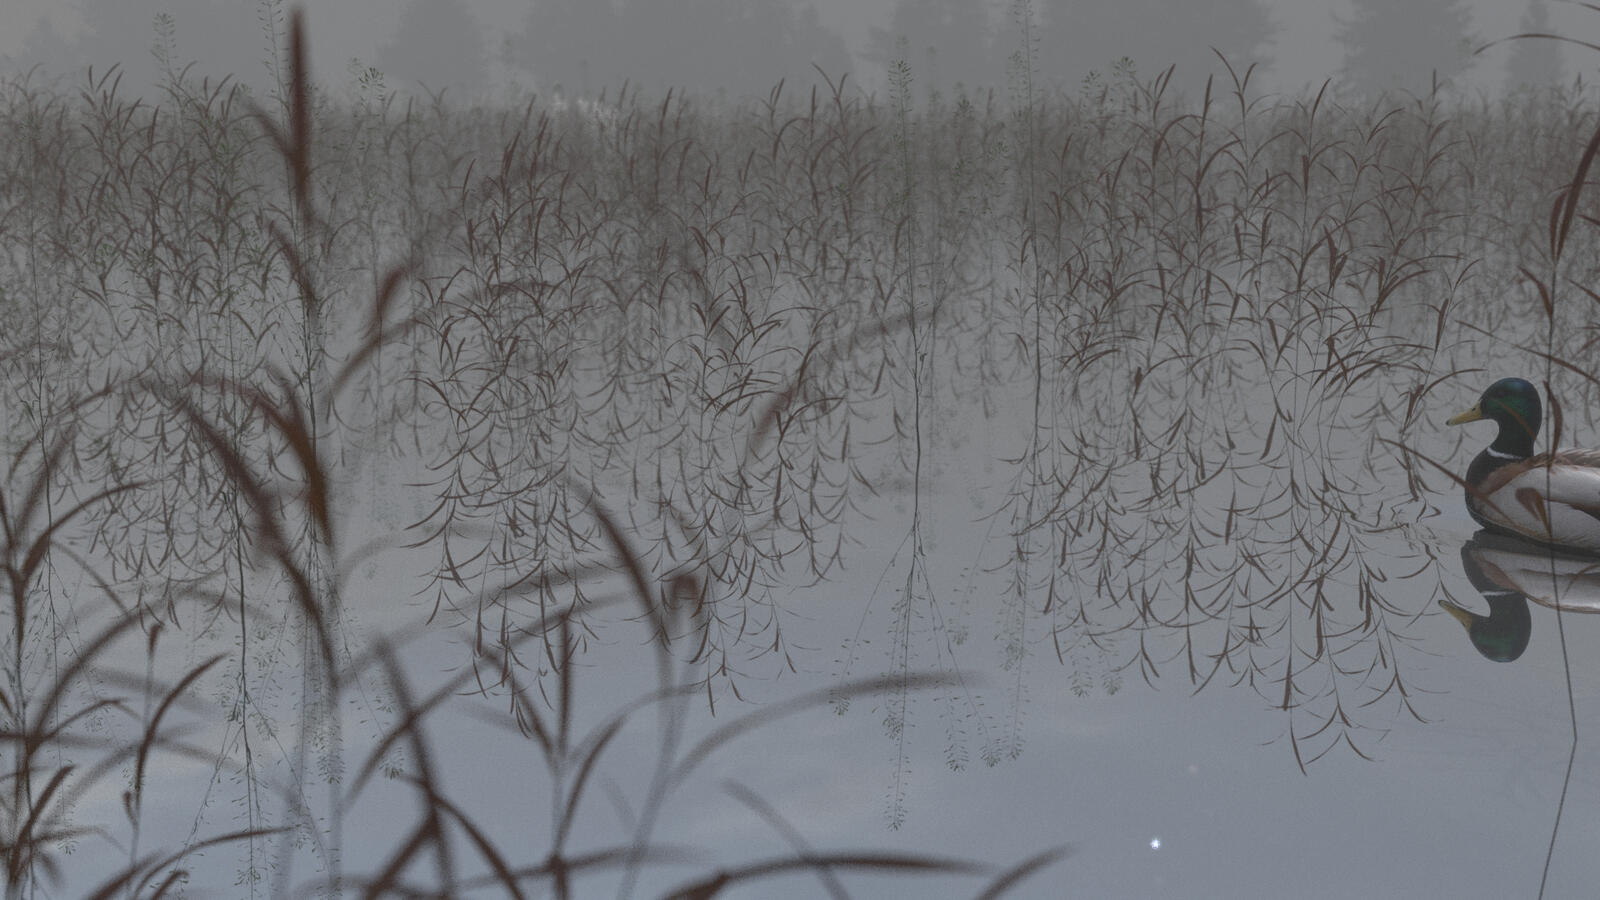
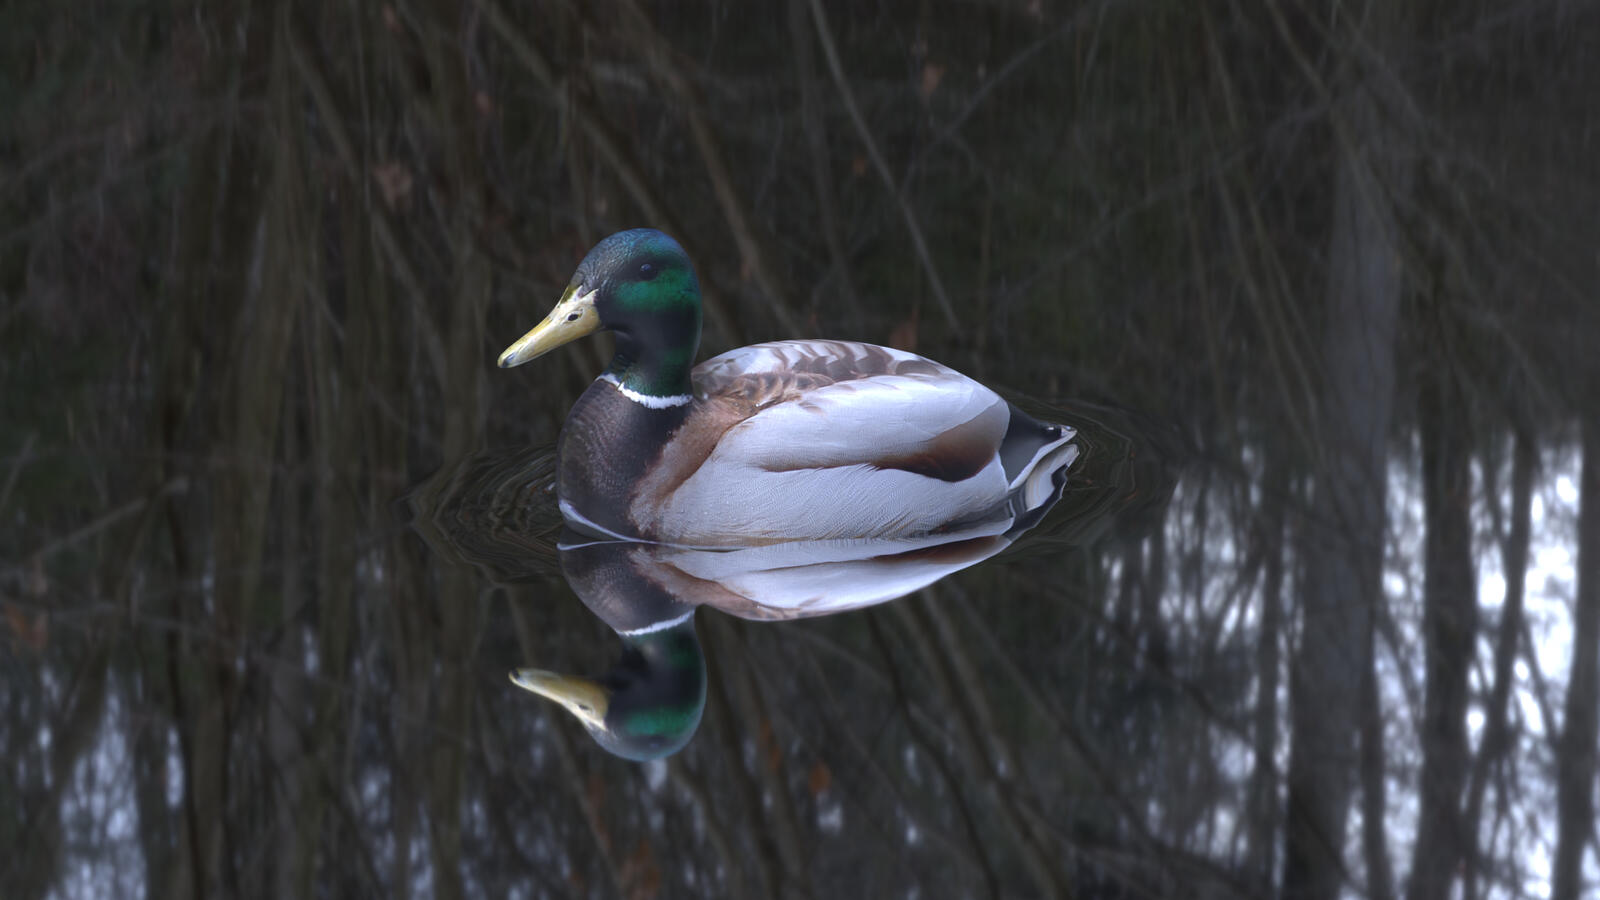
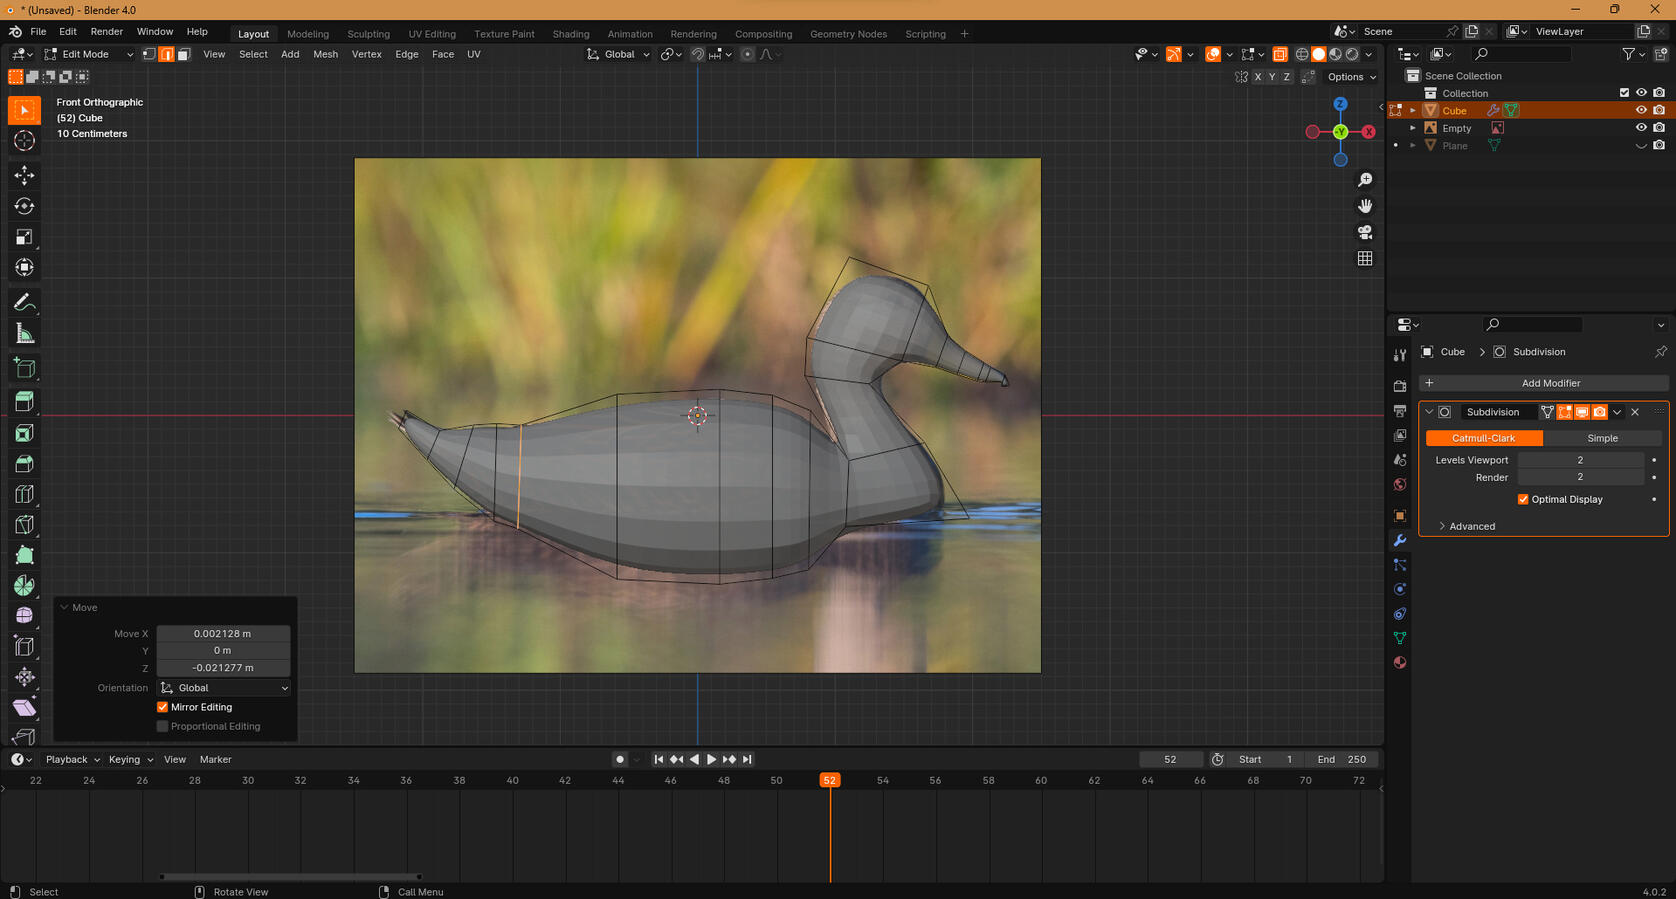
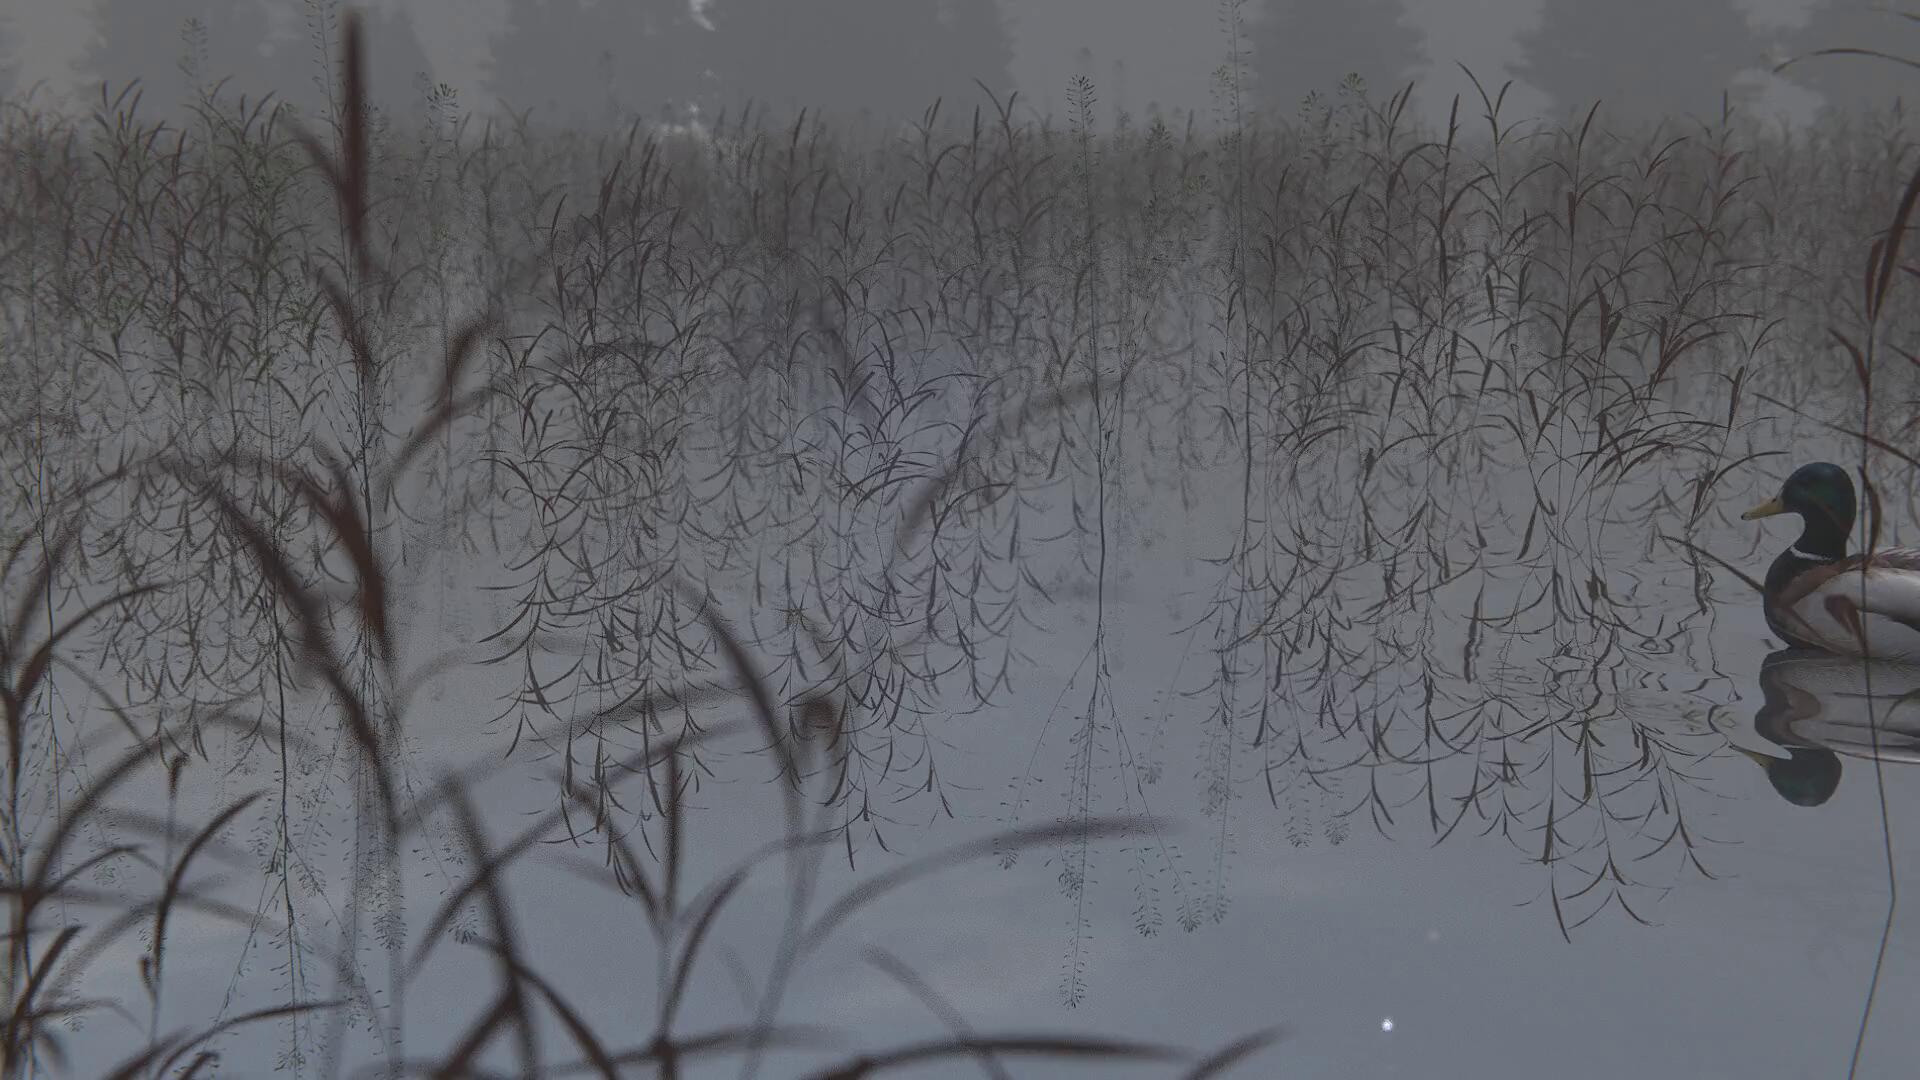
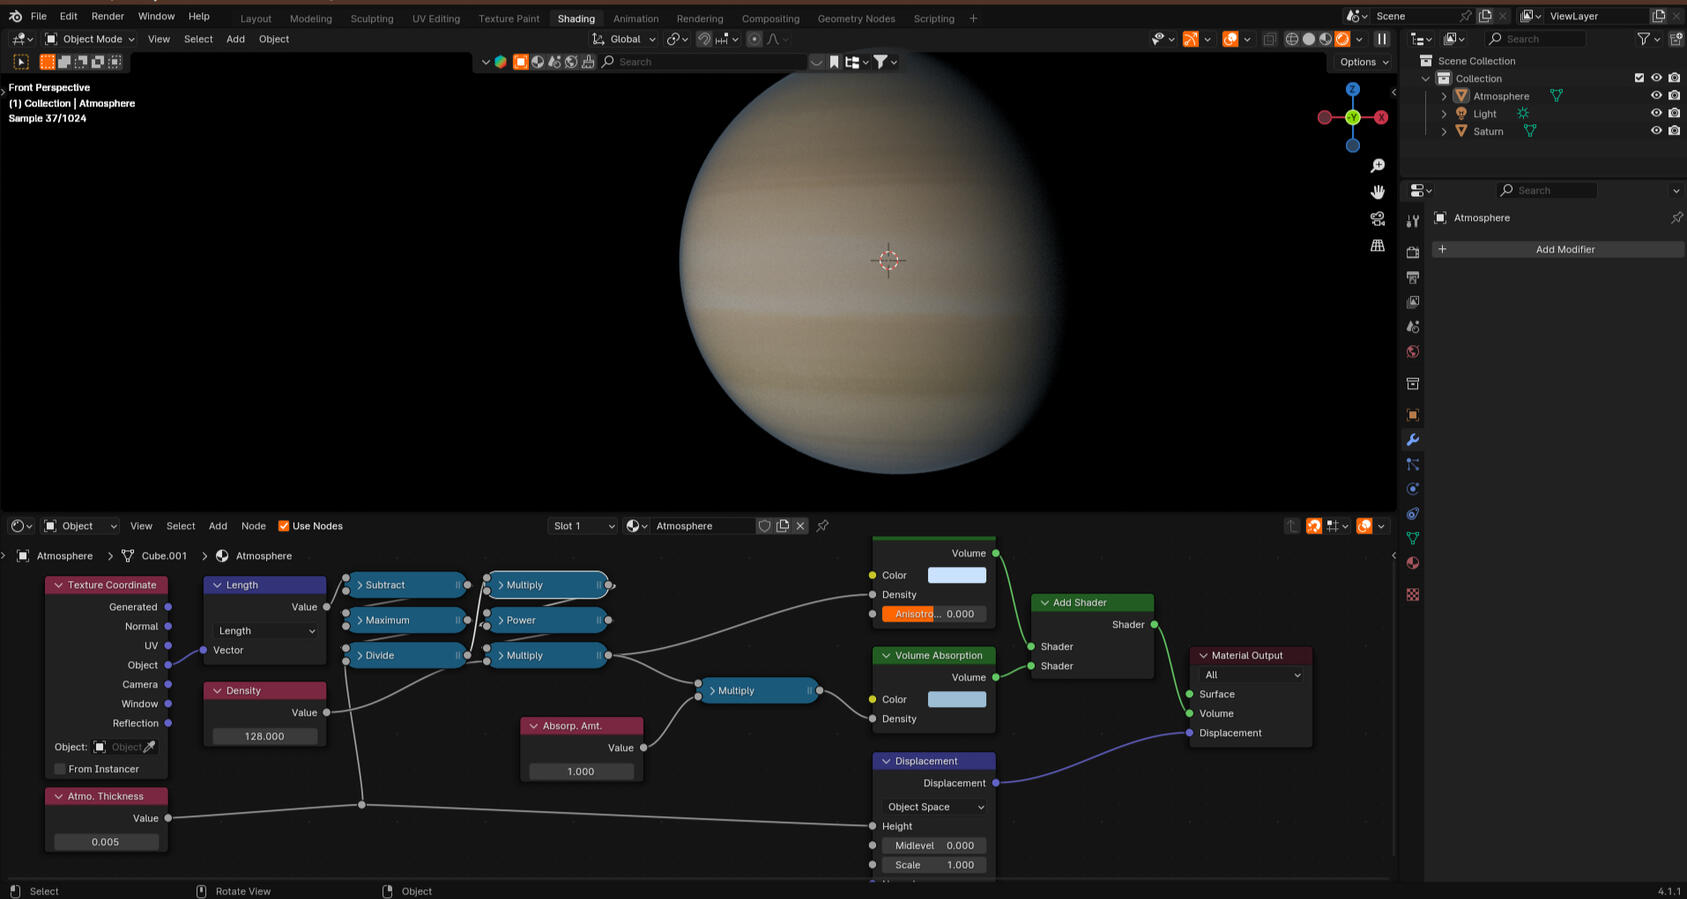
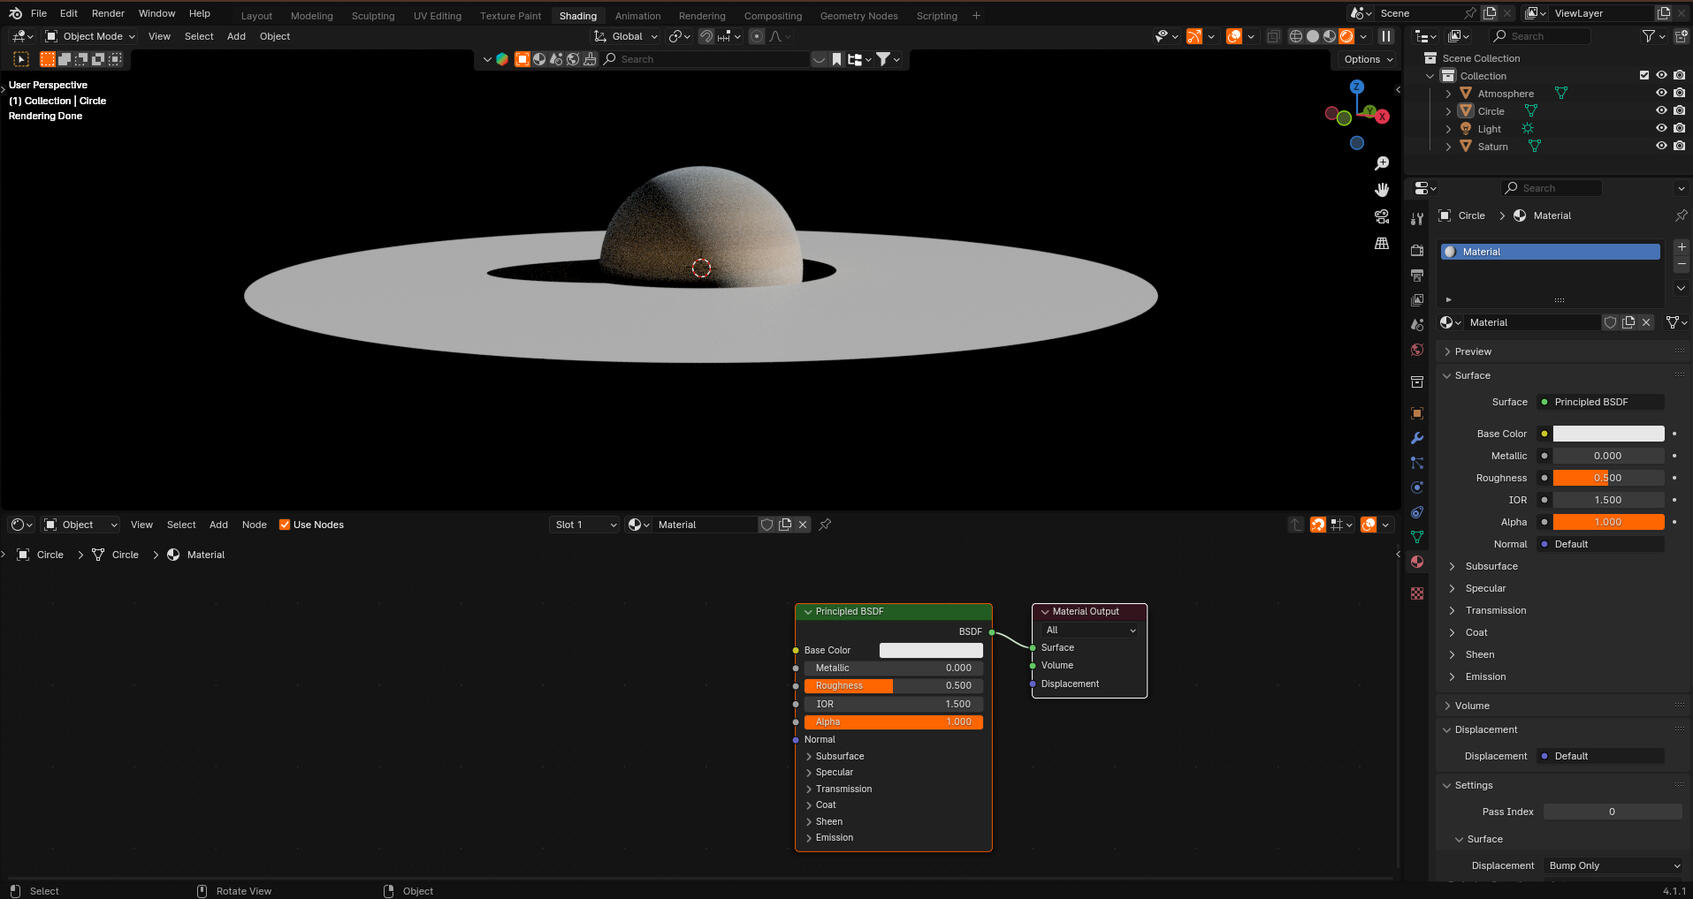
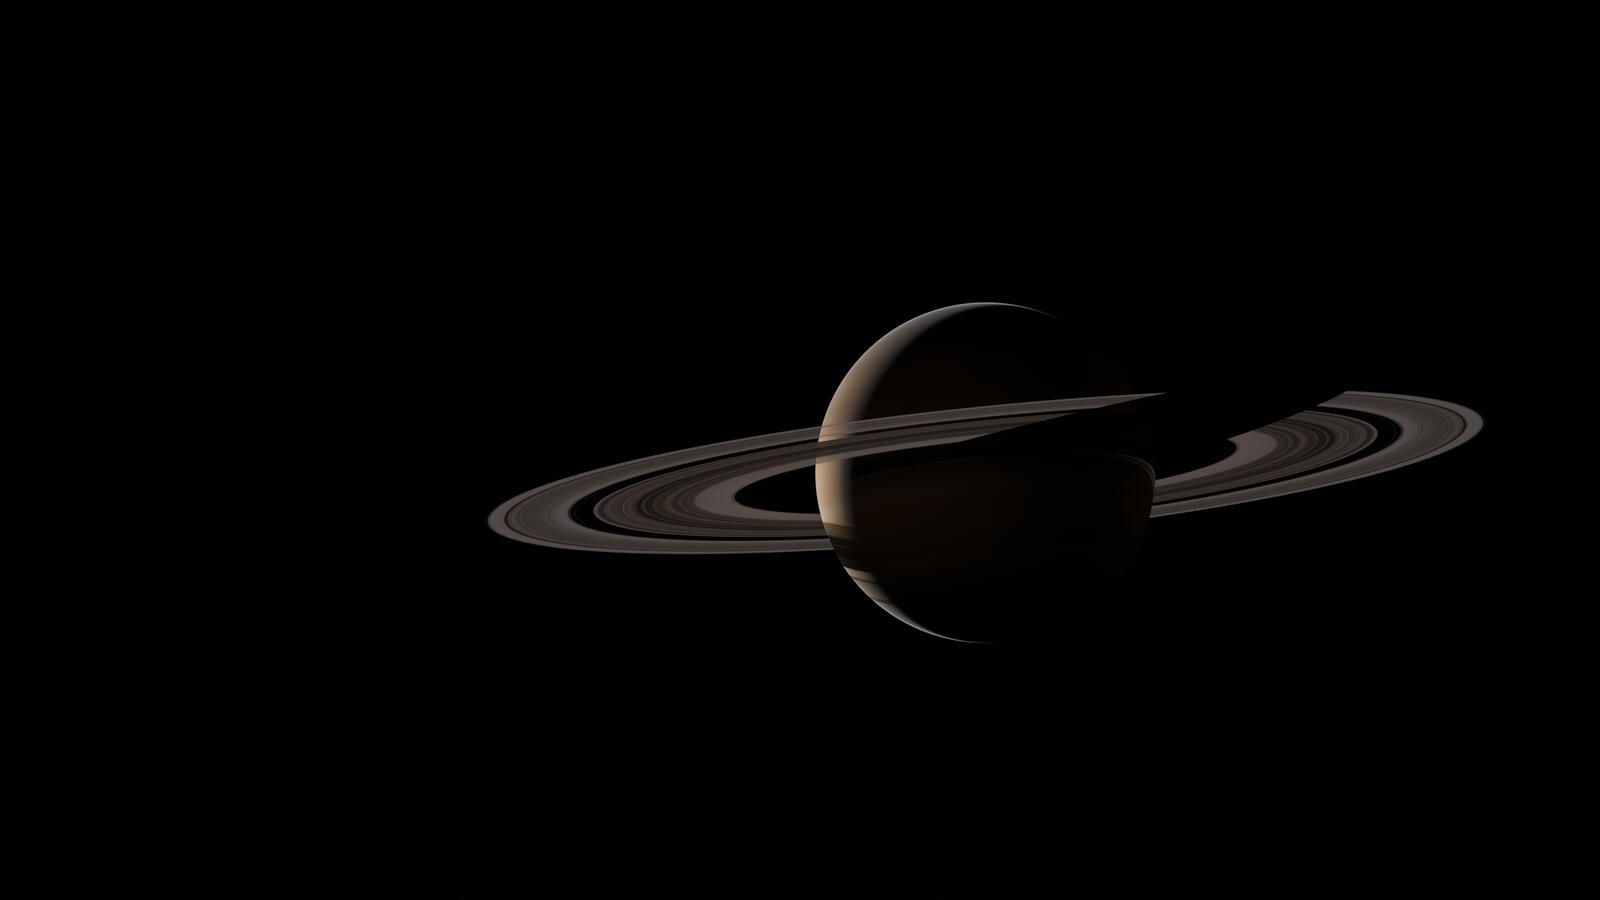
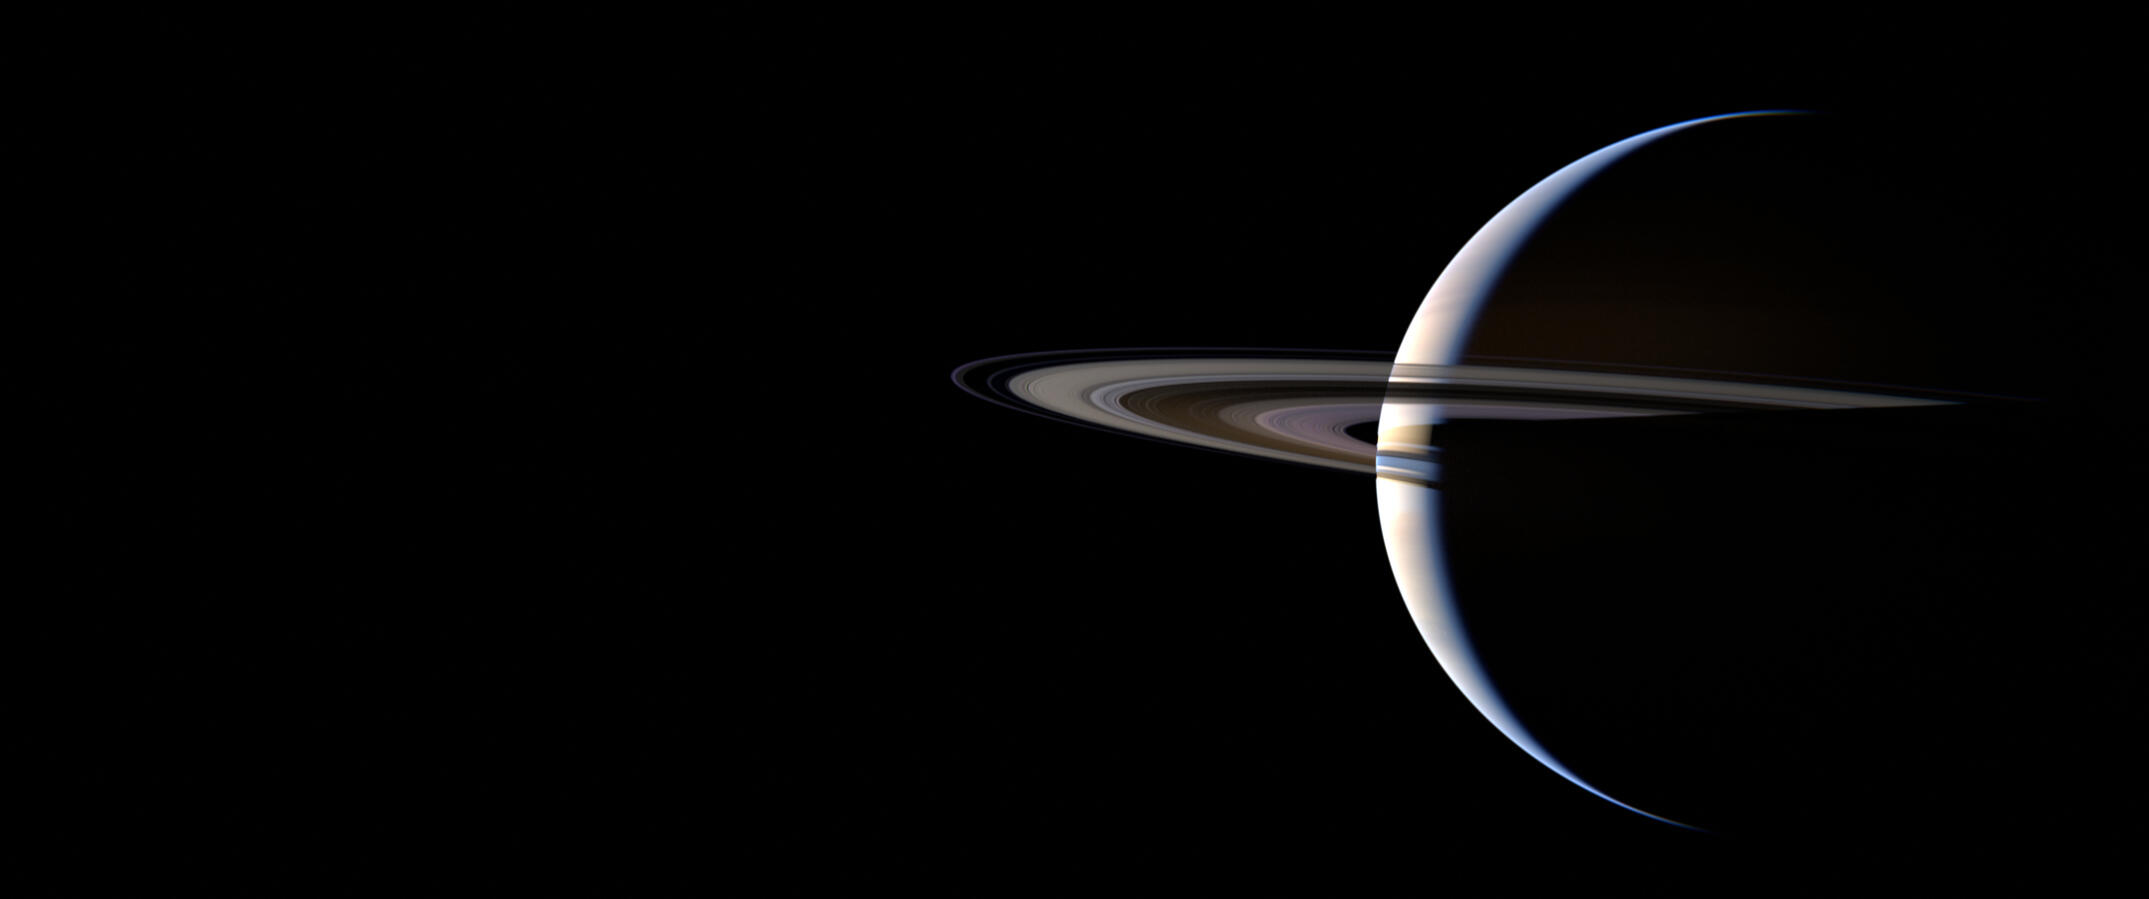
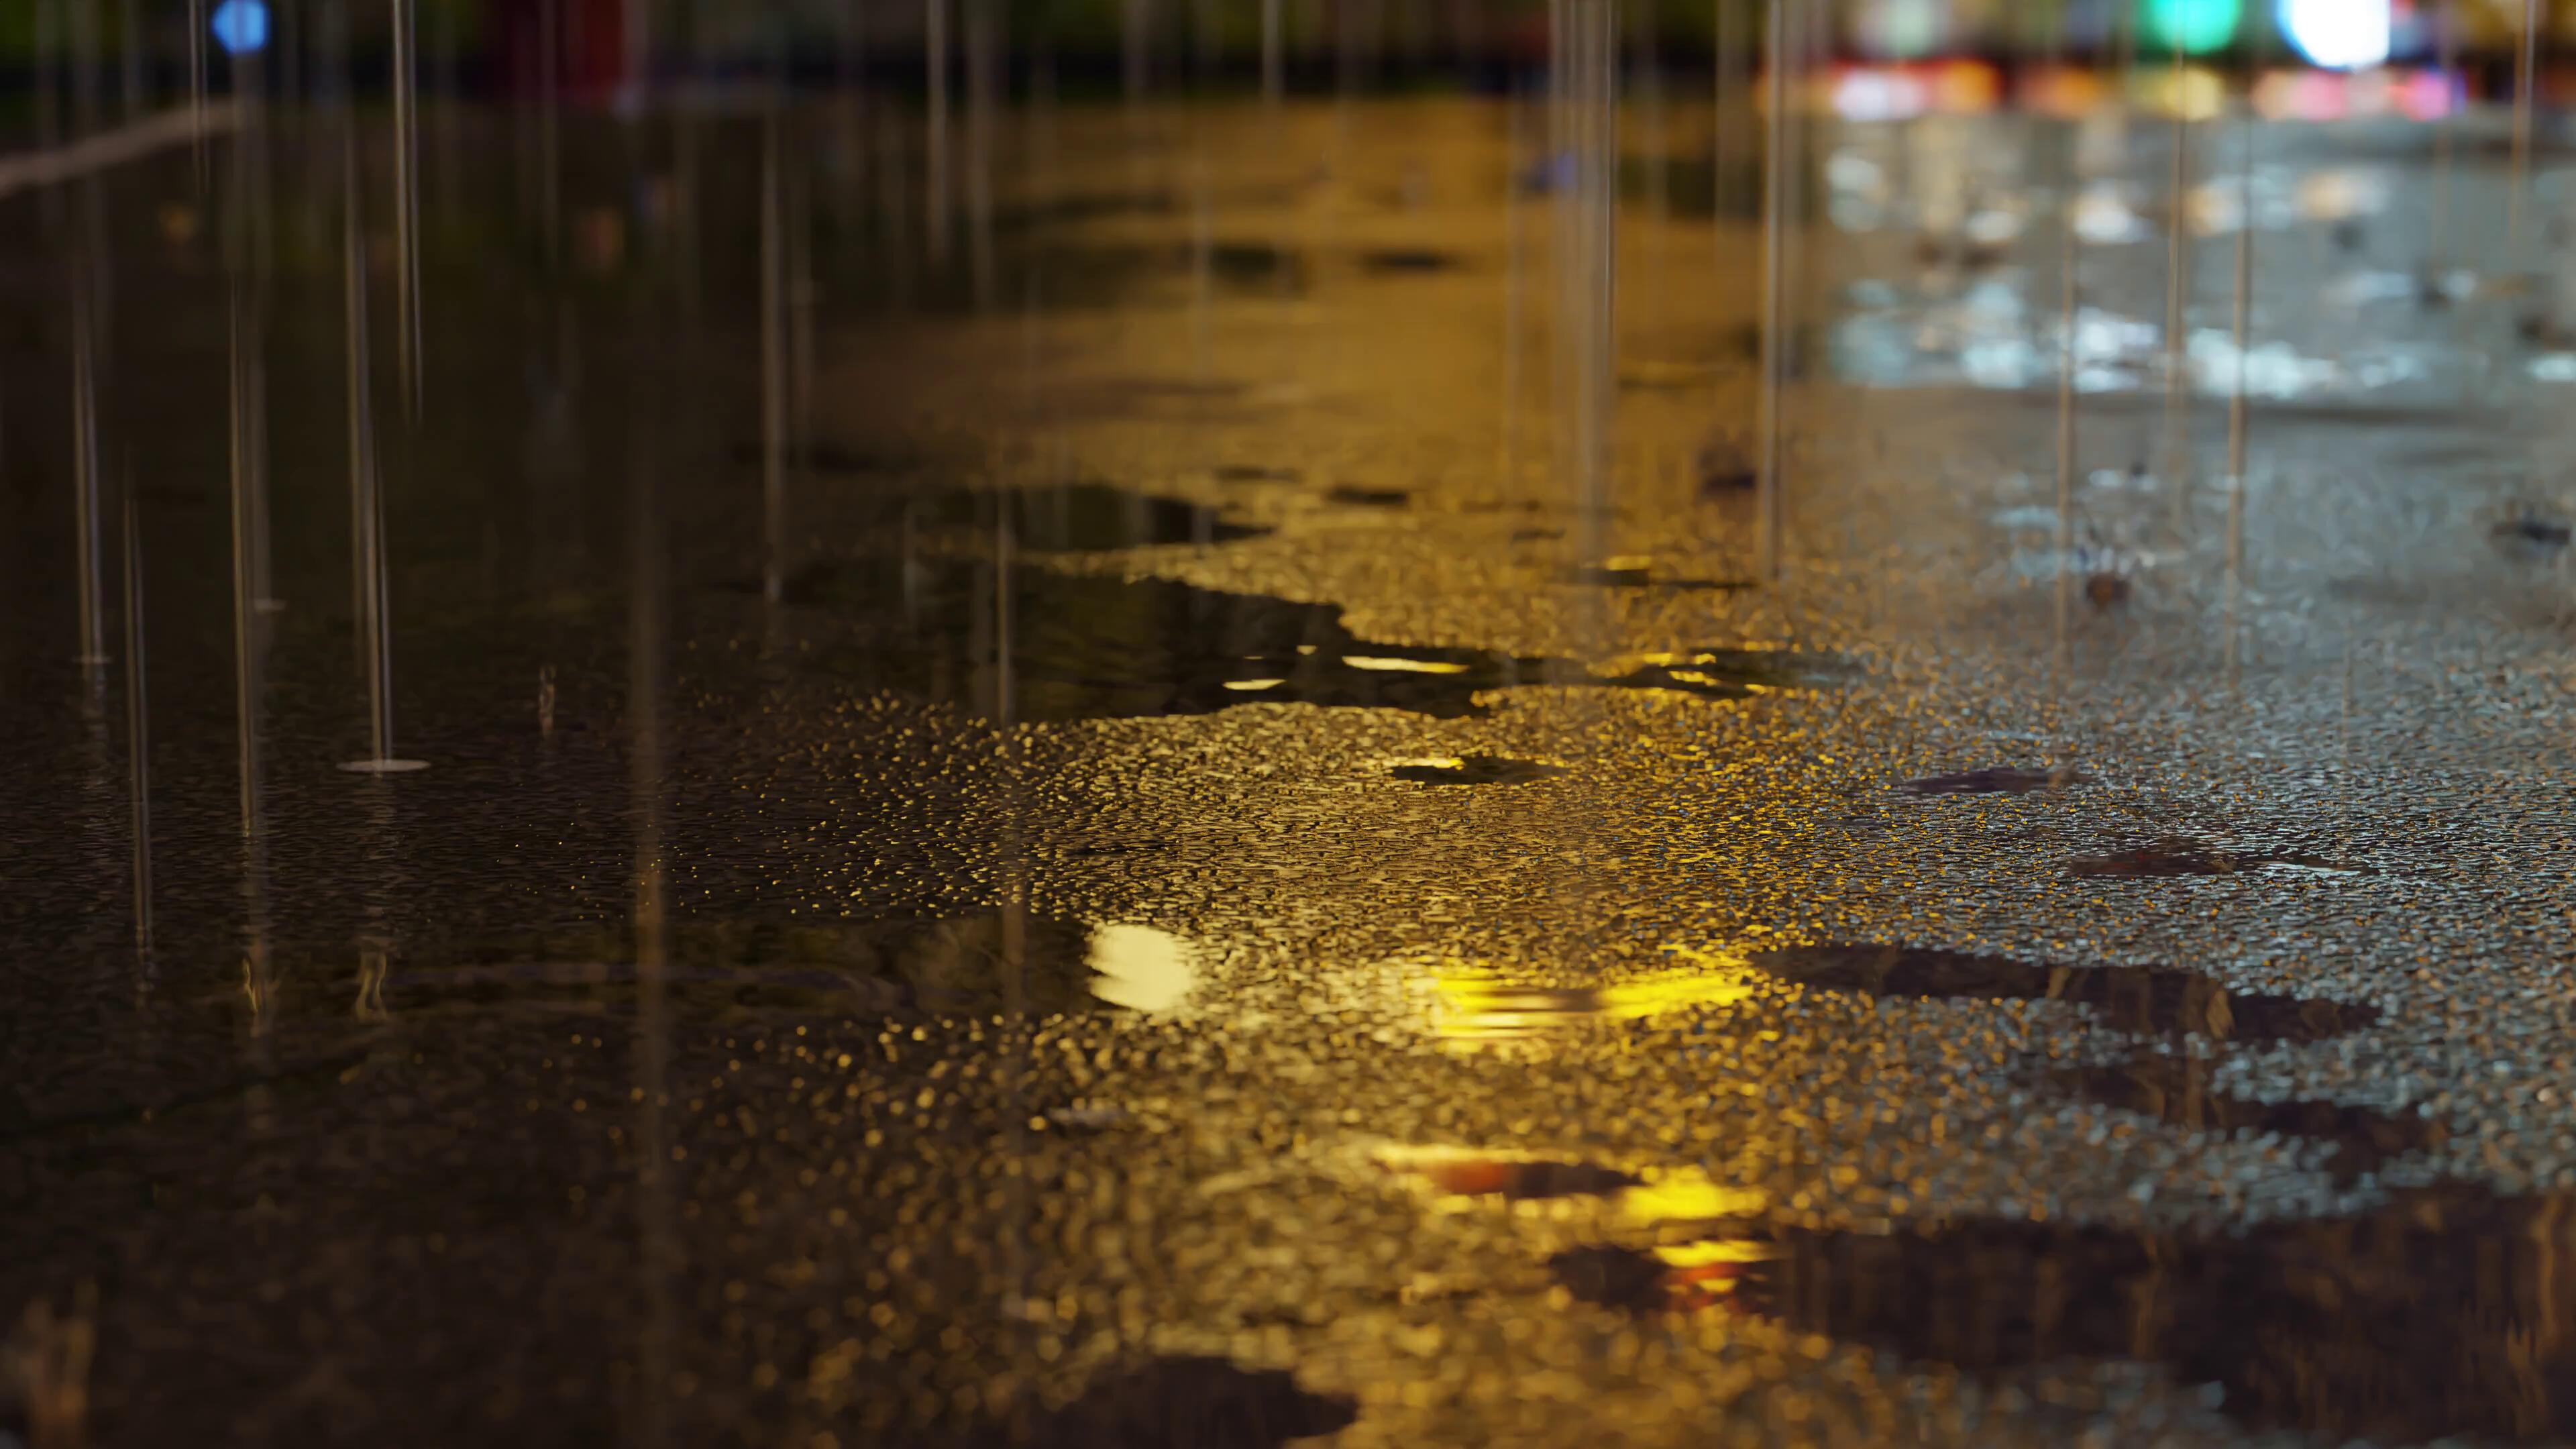
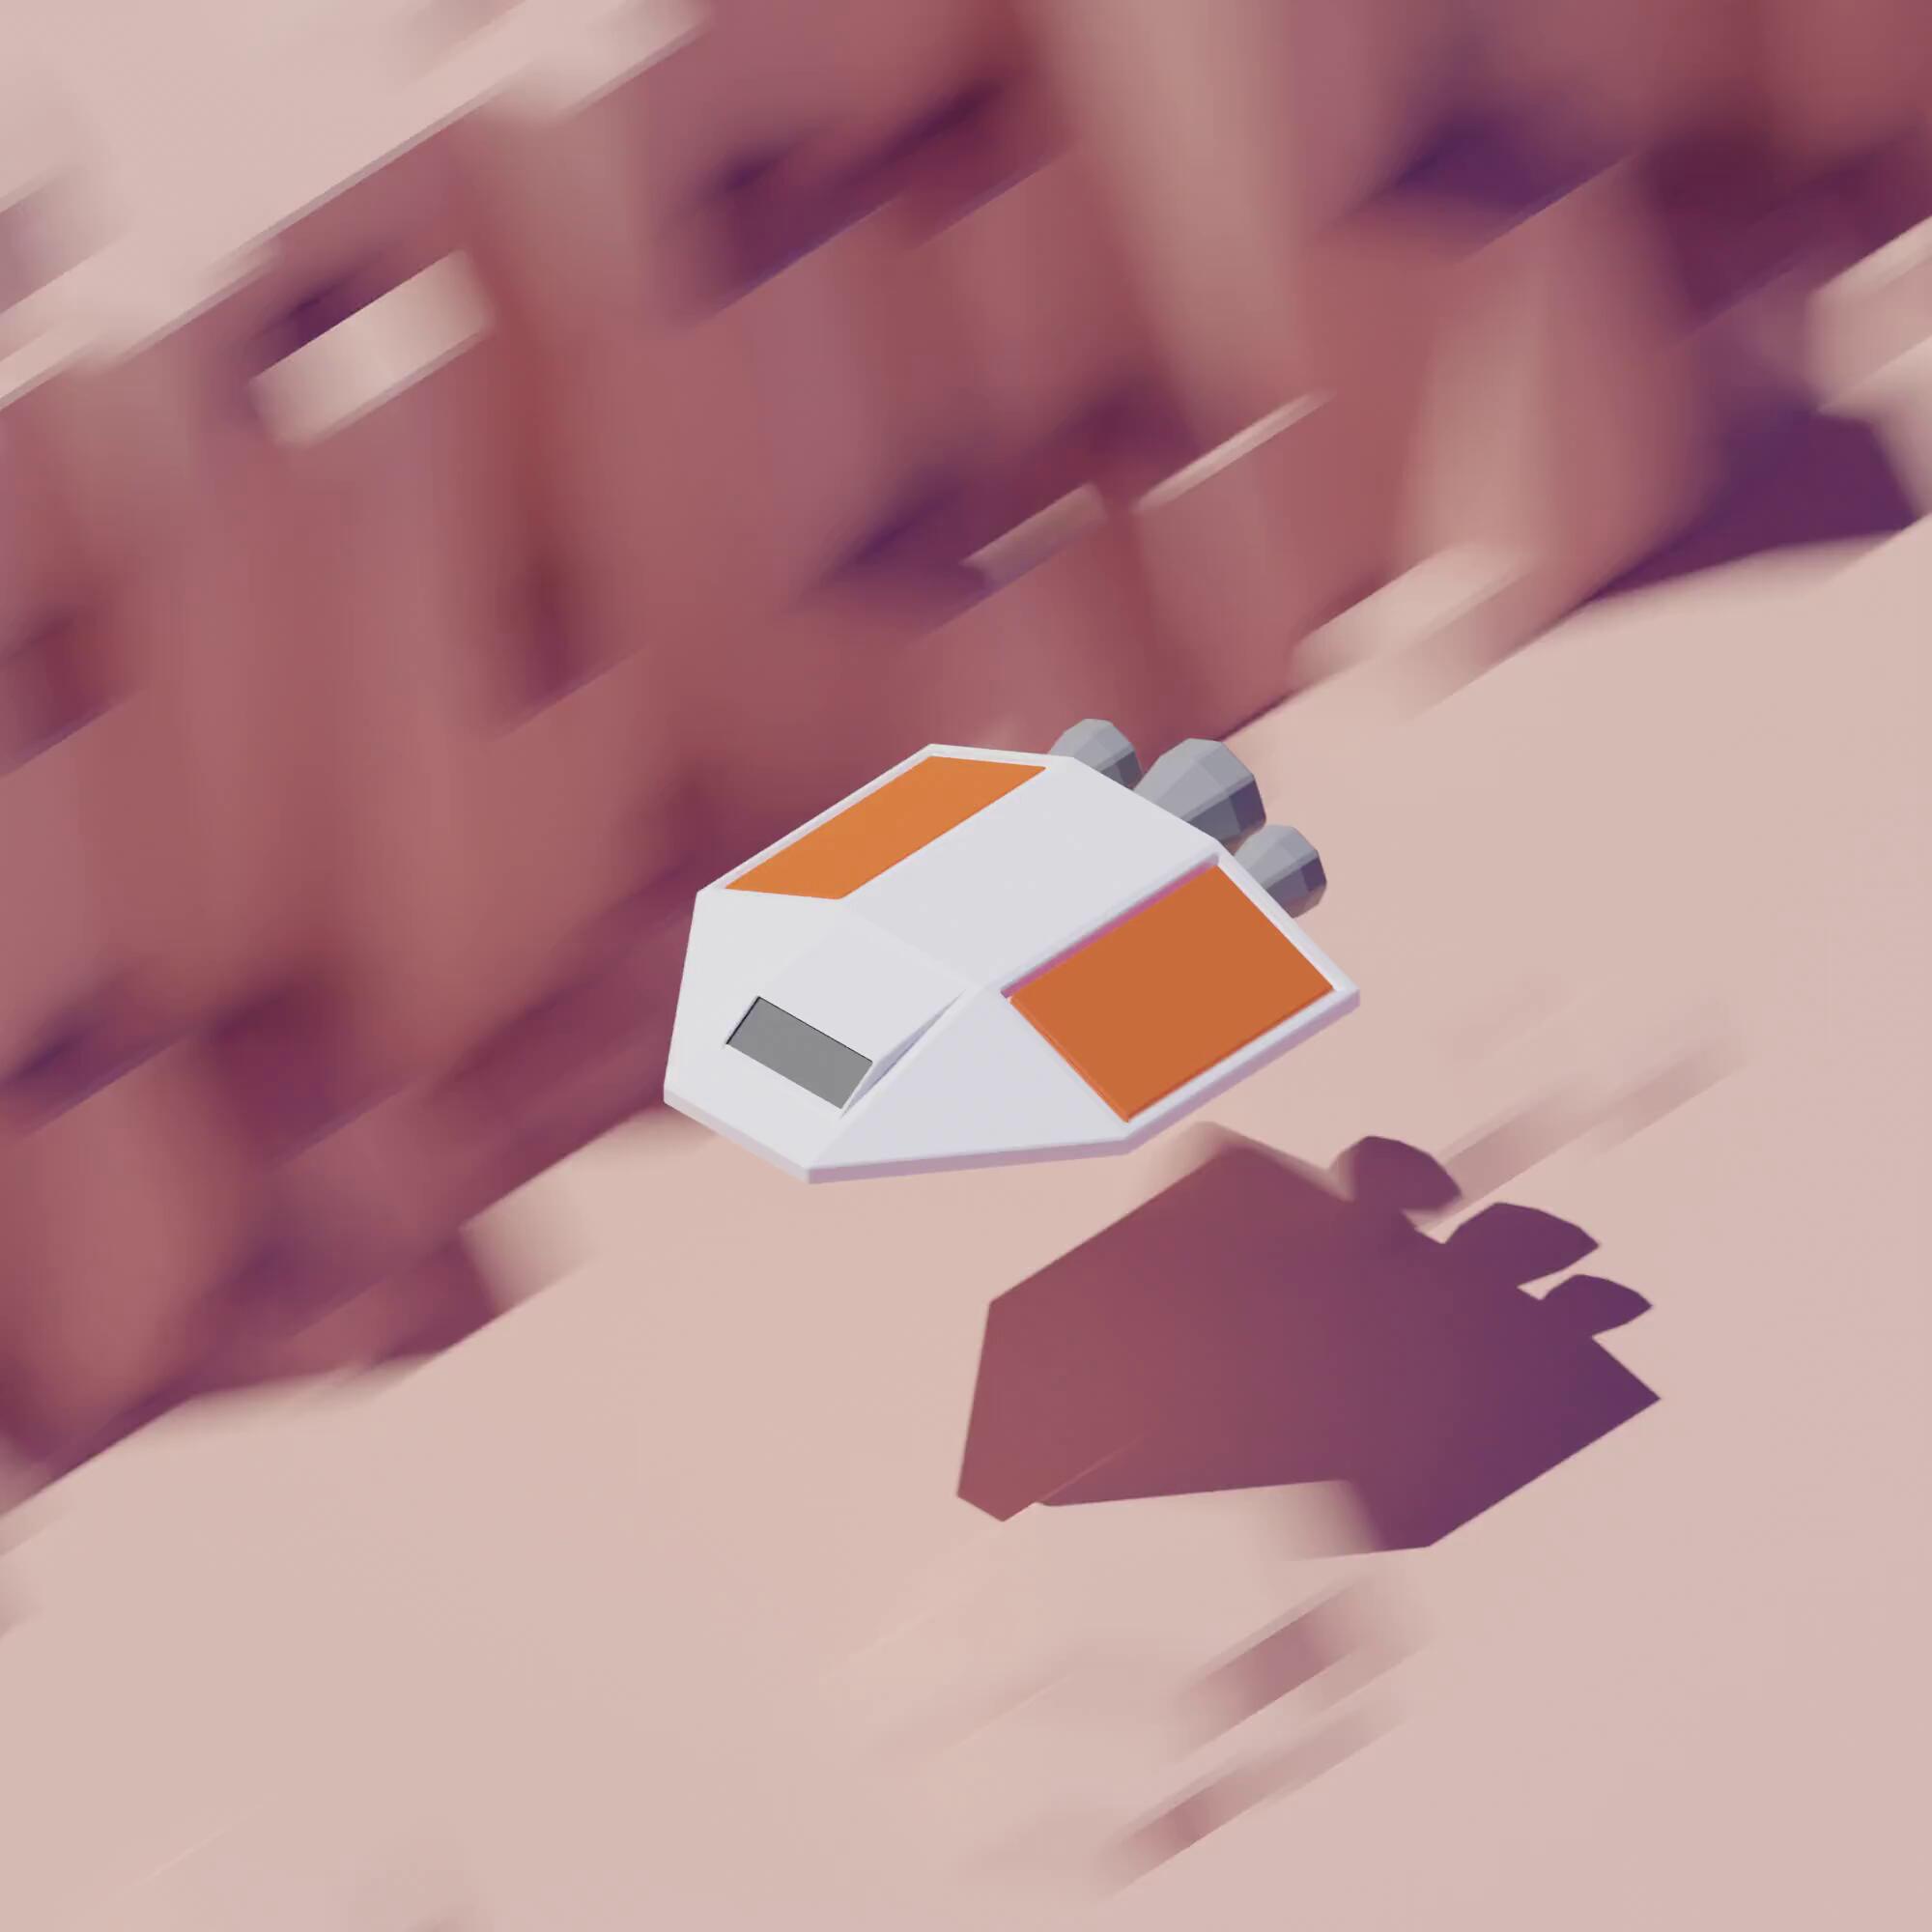
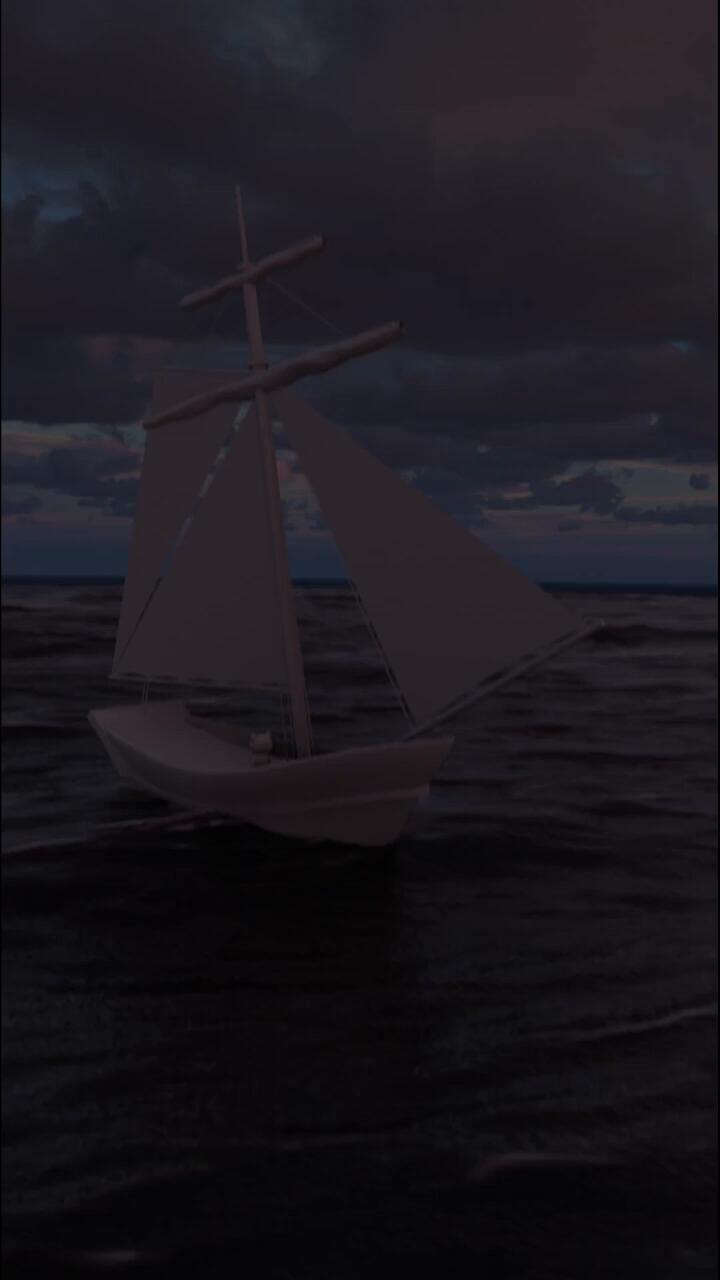
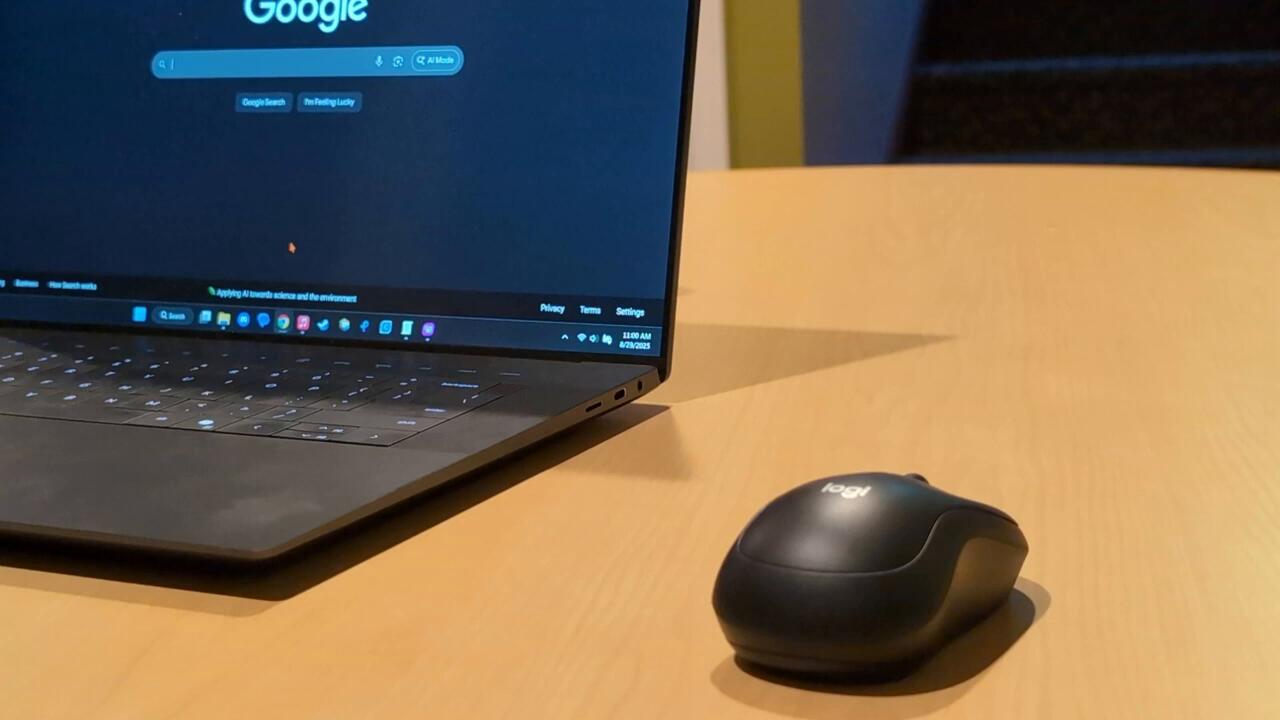
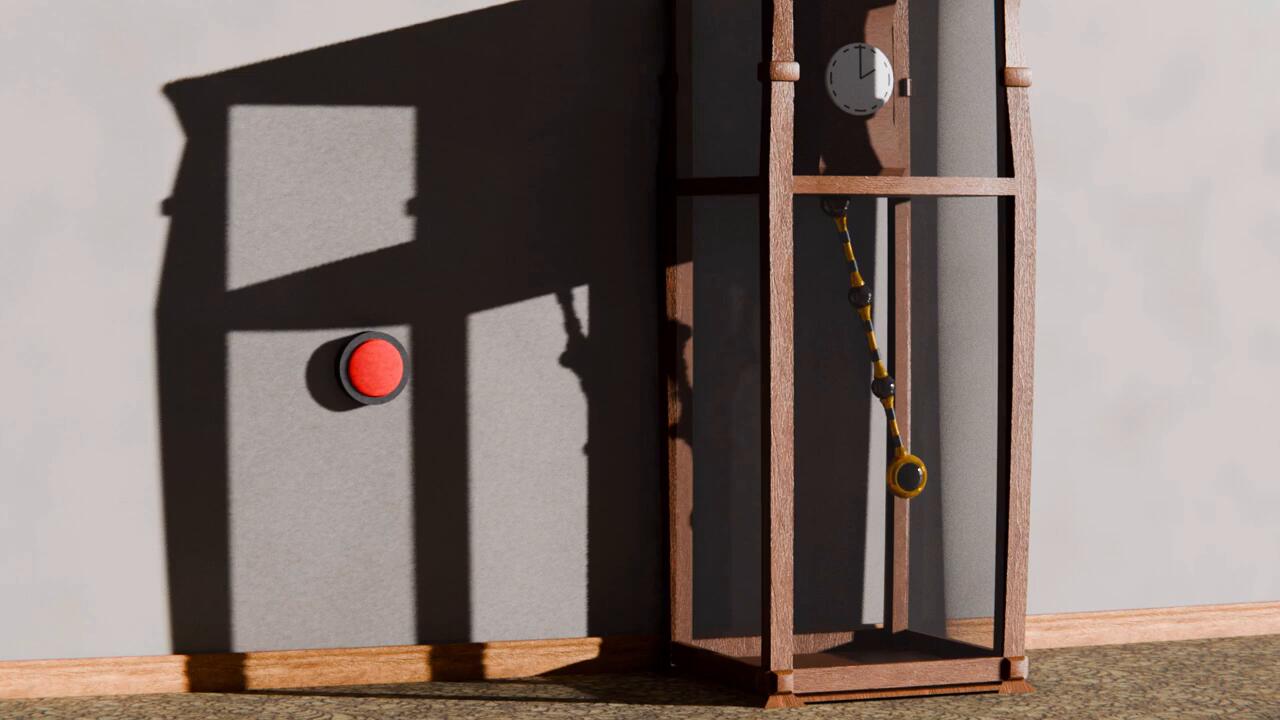
photography
While working on completing the Eagle rank in Boy Scouts as a kid, I decided to take the photography merit badge. Working on that introduced me to the basics of photography and inspired me to continue to do more with it. Photography is a way for me to capture my wonder of the world and the things around me.
nature
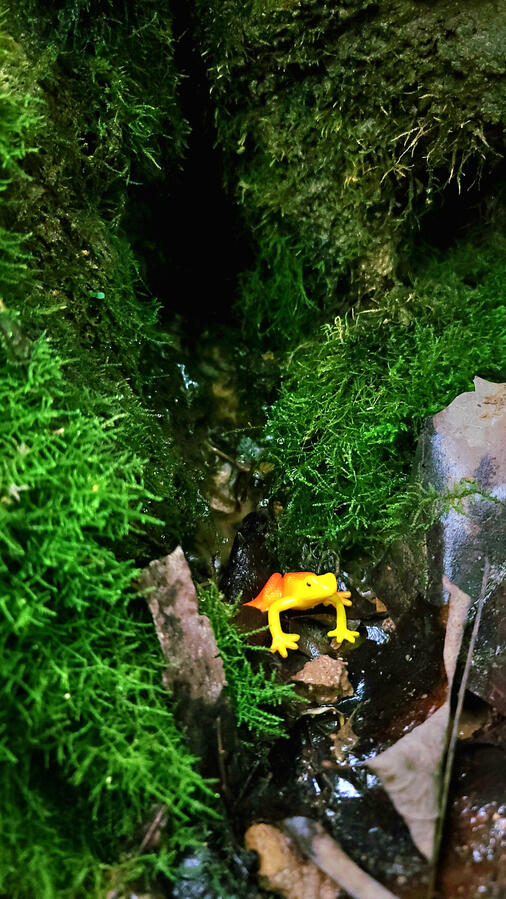
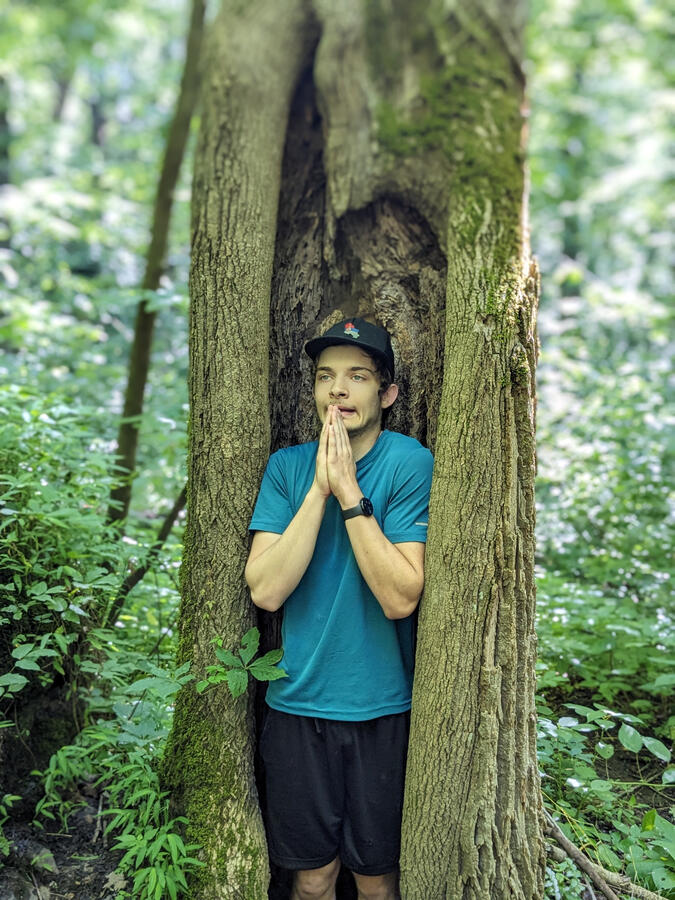
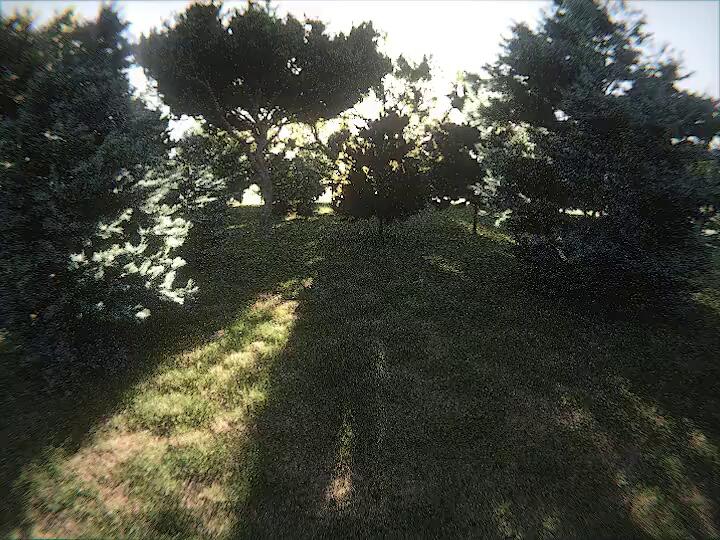
Nature has always been a major inspiration of mine. It's been the thing I photograph most consistently, whether on trips or just out and about. The extraordinary can be found in the ordinary, and nature gives great opportunities to demonstrate this.


Drone
During high school, I tried out drone photography/videography. In fact, I even briefly considered a career in the field. While this was my shortest lived photography project, it's one I look back on fondly. It gave me my first real-world take at an "overview" effect, and inspired me to further explore the world in a larger scale.


Astrophotography
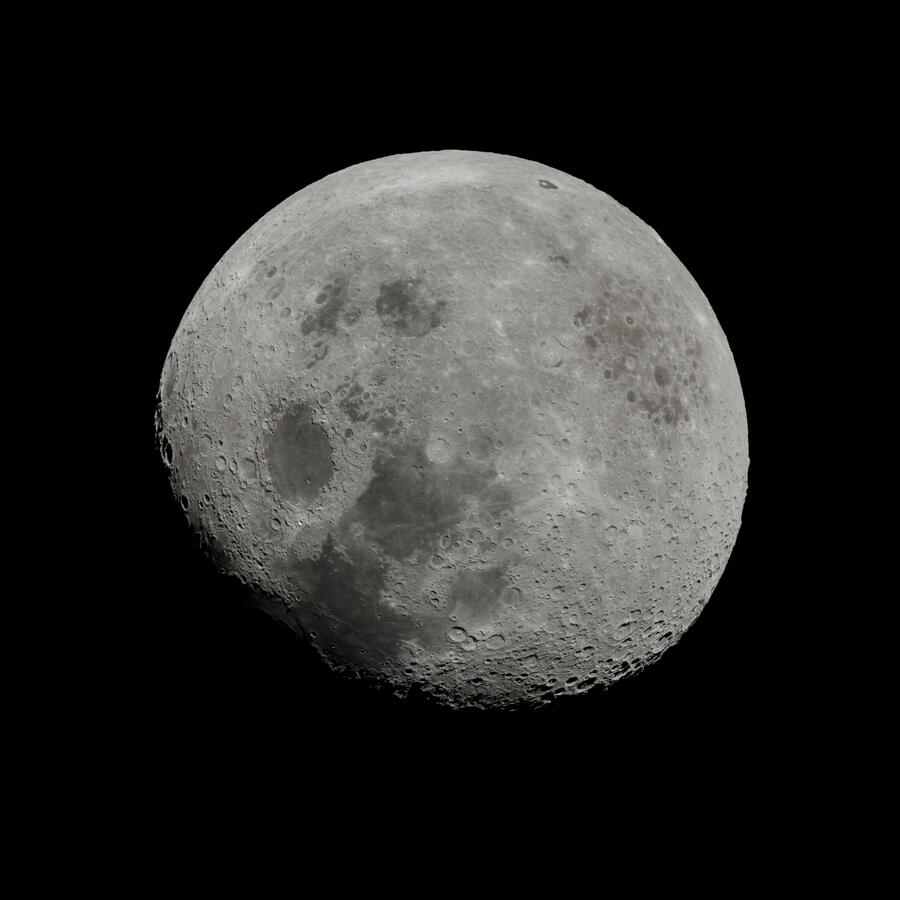
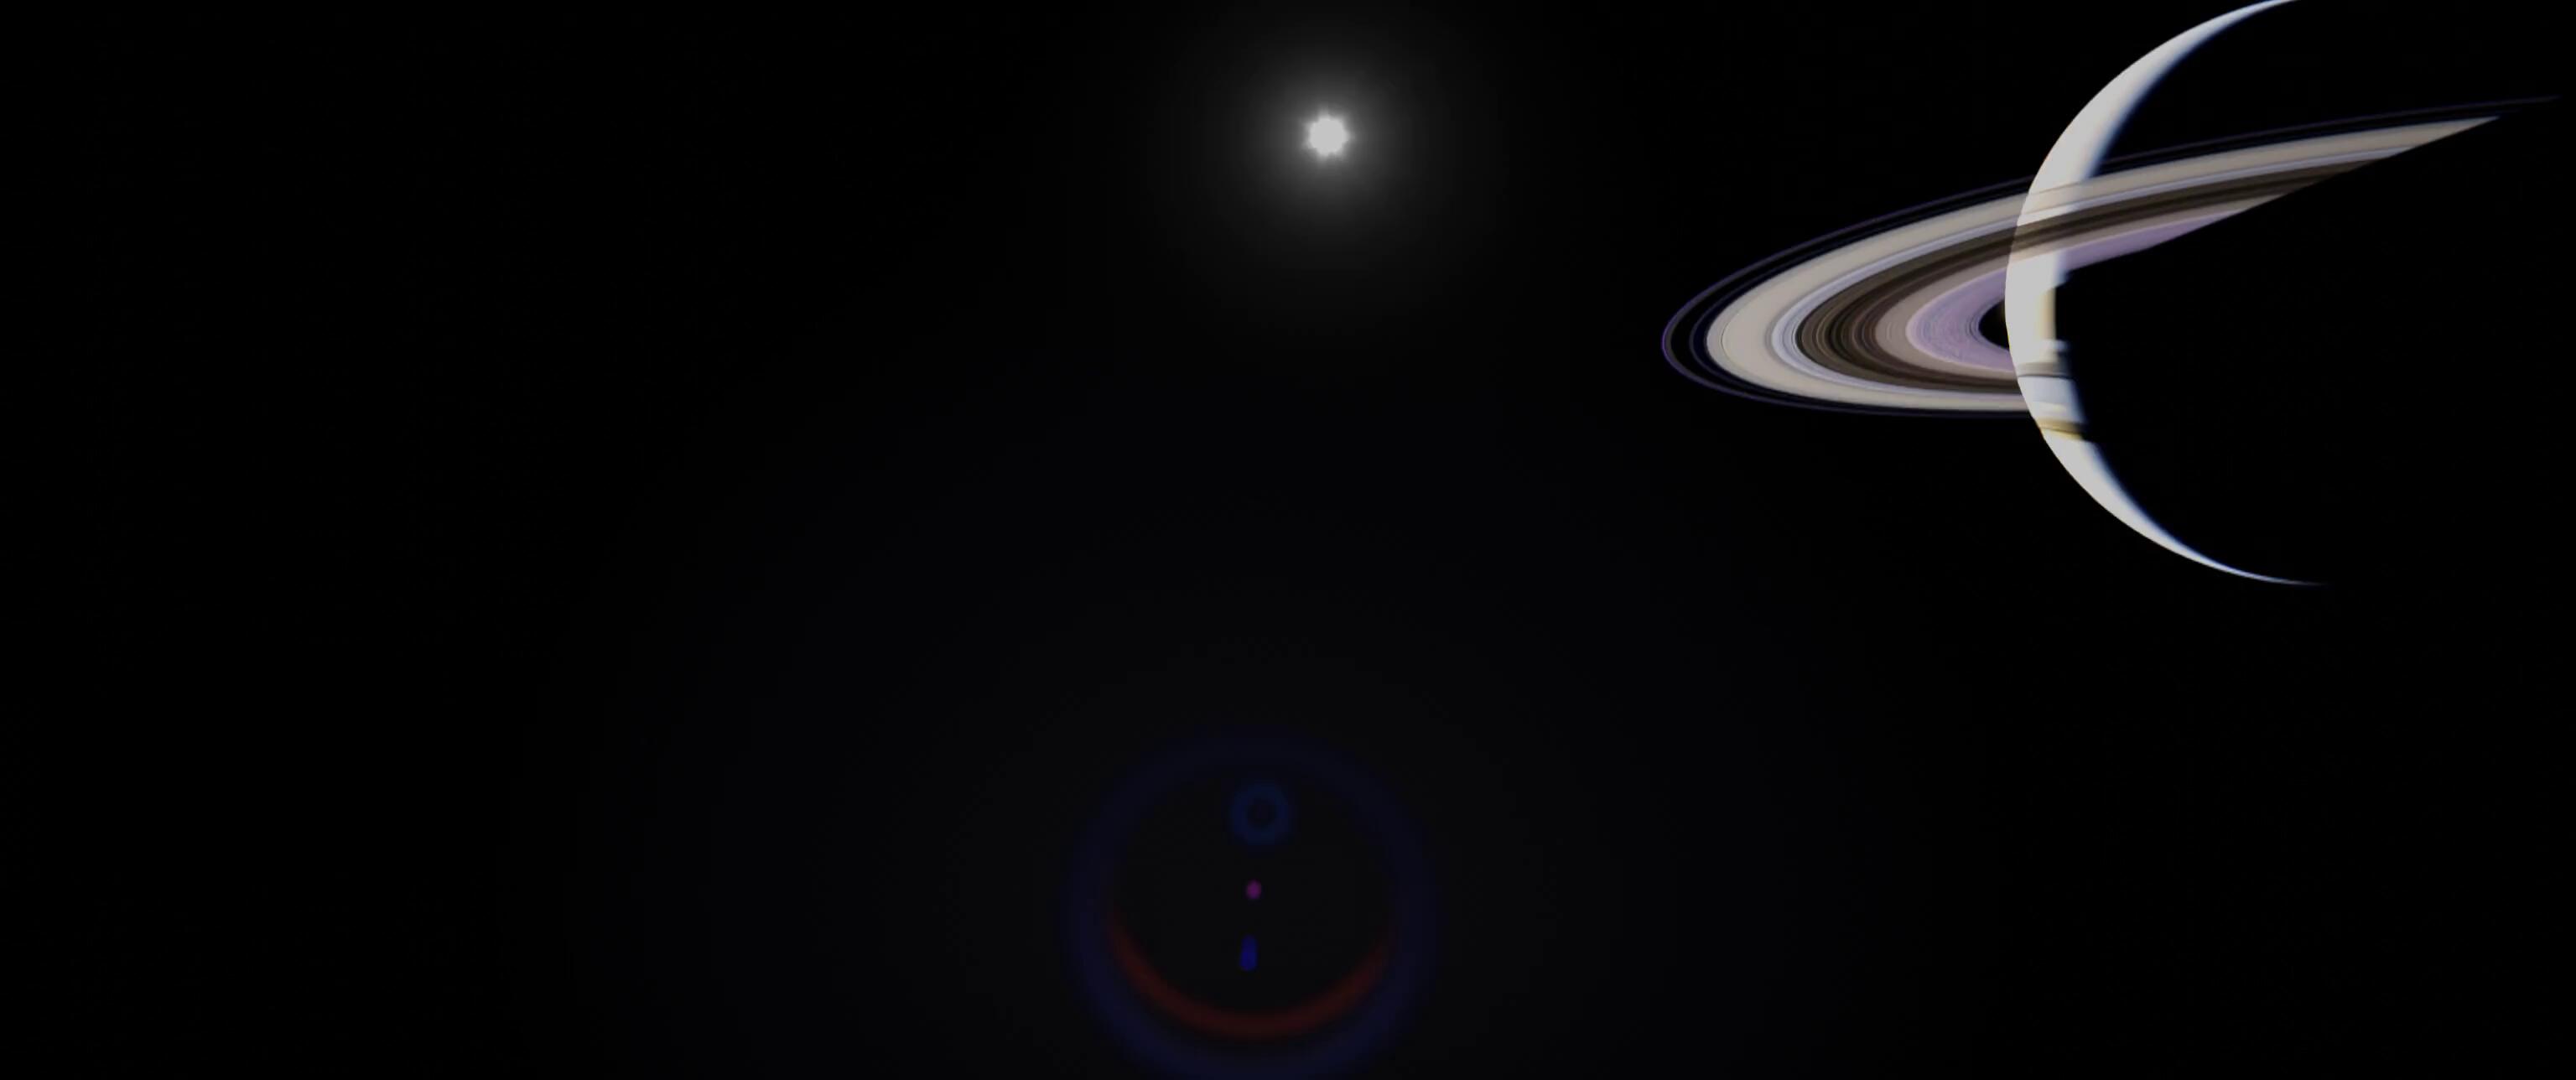
My most recent venture in photography has been astrophotography. I've always been a major space and science fiction fan, so this has been especially fun! Recently, I've built my own 3D printed telescope, and have been using it to look at the planets and such. I'll use my phone to take any other long exposure photos of just the general night sky. Astrophotography offers the most "macro" view of the world (and beyond) that anyone can get, and I just get so blown away by every photo of it I've seen.


cosplay
Most recently, many of my personal projects have been costume-making. Cosplay and the creative process behind it is a way for me to "complete" my connection to a piece of media; it’s a kind of tribute to the worlds and characters that inspire me.
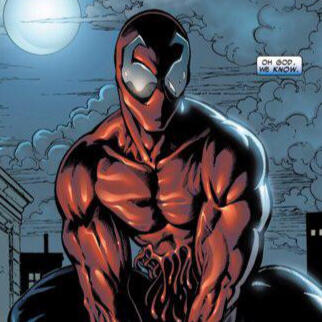
Toxin (2019)
This was my first ever cosplay! I was in a Spider-Man phase at the time, and it happened to be that my local library was having a costume contest. So, after roping my mom into helping, we made my first costume of the symbiote Toxin. I also happened to somehow win the contest, which certainly helped to inspire me to do more in the future!


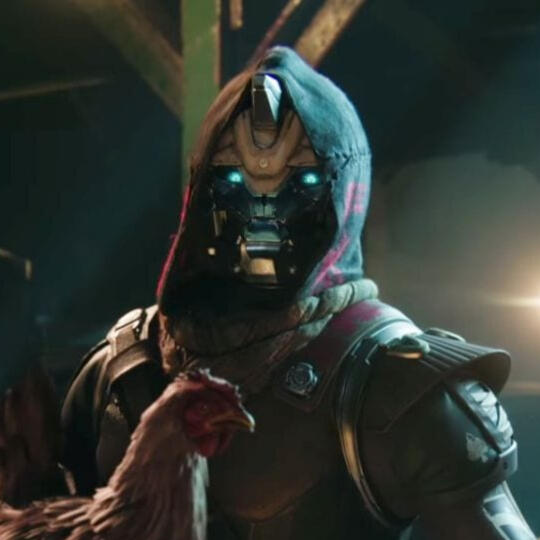
Cayde-6 (2023)
This was my second cosplay, and it was made for my first convention. I was a big Destiny 2 gamer at the time, and had recently started getting familiar with 3D printing. So, putting the two together, it only seemed natural that I went as Cayde-6. I was quite happy with how it turned out, especially for my first time doing this sort of thing. I really enjoyed this project, and I learned a lot of fundamental cosplay techniques and tips during it.


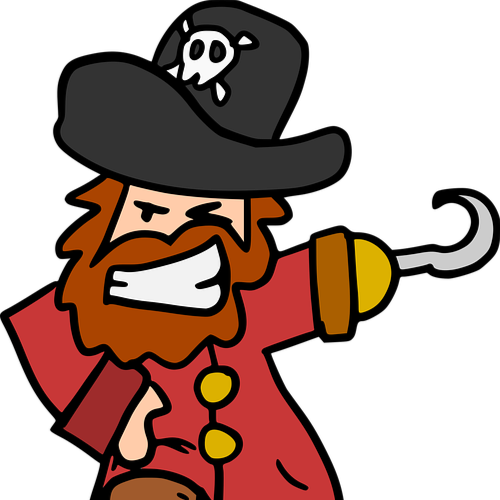
Pirate (2024)
I made two costumes in 2024, with the first one being for my first Renaissance Faire! I was going during "pirate weekend", so I played along and went as an orange-accent-themed pirate. This costume was significantly less DIY than others, but I still had fun putting it all together. I really wanted to make a little boat looking shell for my Onewheel electric skateboard, but about halfway through making it I decided it would be just too impractical given the location.


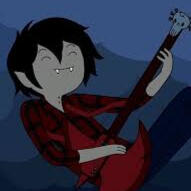
Marshal Lee (2024)
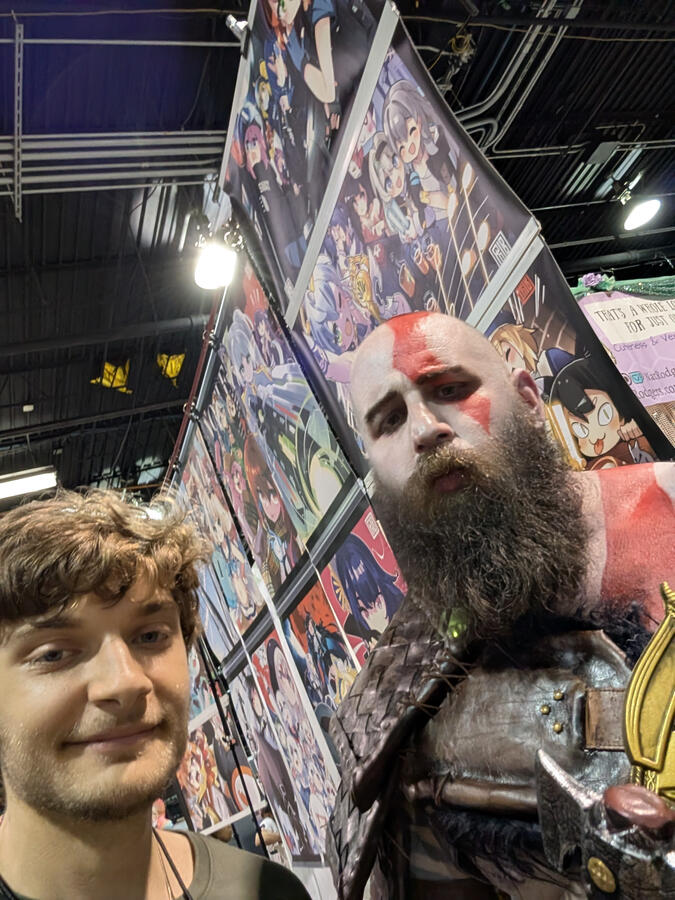
This one was done for my second time going to the Fan Expo Chicago convention. Given this was my second costume of the year, I wanted it to be cheap and easy. Thankfully, Marshal's design was really simple, and I had everything on hand besides his signature axe guitar and vampire teeth. I was going through a bit of an Adventure Time phase at the time, so it only made sense I go as a character from the show. Marshal Lee is a gender bent version of Marceline the Vampire Queen. He only appeared in a handful of episodes in the original series, but even still I had a surprising amount of people recognize me!


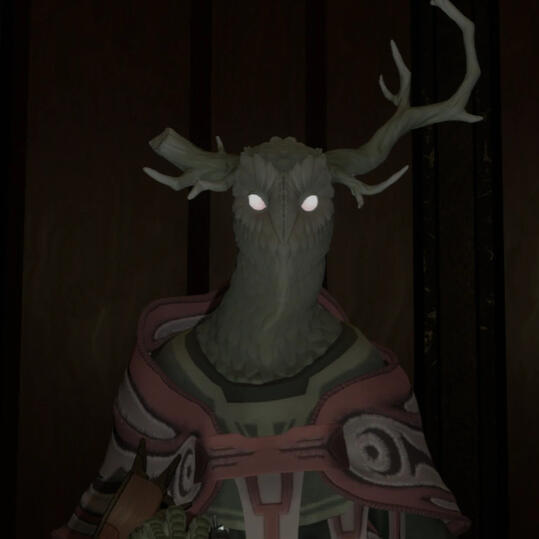
The prisoner (2025)
A quick heads-up: this cosplay gives away some things about the game Outer Wilds. If you want to play the game's DLC for yourself, I suggest you don't read this section!
Late into 2024, I played Outer Wilds: a video game that I truly felt changed my philosophy on life and death in a meaningful way. After finishing it, I knew I had to pay tribute to it and make a cosplay of one of its characters. The Prisoner was a character from Outer Wilds' DLC, and in short, Outer Wilds' story would not have happened without their sacrifice.This was by far my most involved cosplay project to date. I used a lot of new materials and techniques, which you'll see below. This is also my first proper costume build log, so hopefully it's formatted well!
Starting off, I did some planning. My first job was to get the sizing/scaling right for real life and my own body's proportions. Looking back, this is the part of the project I really wish I had spent more time on, due to some problems I'll outline later. I ripped The Prisoner's model from the game using AssetStudioGUI, imported it into Blender, fixed up the model a bit, split it up into separate pieces, and organized stuff. I'm not going to go into all the stuff I did digitally, as it's the parts that I found most tedious and had the most trouble staying focused on.

This was my first time using metal in a cosplay, so I had to learn a lot before I could even get started. I followed Willow Creative's stilts build log and ordered almost everything for them off Amazon. Instead of drilling/tapping screw holes, I went with using T-nuts already provided with the metal extrusions (though I swapped them out for better ones later). I got the handful of required holes drilled at my local hardware store. I then did a quick first assembly and test wear using some rope.


The base clothes I got from a local thrift store. I eventually switched out the shirt for something a bit closer in color as I did not want to screw around with fabric dyeing. The pants were a crazy good find. I only had to stretch the bottom cuffs a bit, they worked perfectly as is otherwise.


For the staff/vision torch, I decided to 3D print every piece except a wooden rod through the center for strength. I ended up having to model about a third of the entire staff in Blender, as the in game model was too broken for 3D printing. The black metal pieces are, thankfully, not reflective, so I was able to get away with a more simple finishing process. That consisted of a heavy first coat of Rustoleum 2-in-1 sandable filler primer, some sanding with a heavy grit (60 ish) sandpaper, a lighter coat of the same primer, a quick pass with some medium grit (100 ish) sandpaper, and then one coat of Behr oil rubbed bronze. I did also add a matte clear coat on top for protection. I just used raw marble filament for the whitish looking inner part.


For the wooden parts of the staff, I wanted to try my hand at 3D printing wood, or rather a wood lookalike. I experimented a little bit with some settings and values, but I pretty much copied everything outlined in this Reddit post. I ended up using a color varying brown and tan filament, and went over it with some dark oak wood stain after some light sanding. I was quite happy with the end result and did the same process for the rest of the wooden pieces of the staff later on.


The cloak/poncho and skirt looking pieces were one of the things I was nervous about with this project. I hadn't done much work with fabric before, especially to this level of detail. I used a broken umbrella from my work for the fabric as it was free, and I didn't know how much I was going to need. Next, I measured the in-game model and myself to calculate a rough ratio of pixels to inches, which I then used to create a design using The Prisoner's UV's for my Silhouette cutting machine to cut from multiple sheets of card stock paper. If all that sounded ridiculous, that's because it was. I mostly just remember being bombarded with numbers that day lol. Anyway, I used the stencil to trace out where I would cut out of the umbrella fabric. For the skirt, I just eyeballed it all. It honestly came out just as well as my overcomplicated way. During all that, I also got a T-shirt from a craft store that I would later use for the lighter green upper torso thing.


Due to me choosing to use umbrella fabric for the cloak and skirt, I had to color it somehow. A perhaps easier solution would have been to dye it, but I really did not want to dye stuff at all for this project. As such, I opted for absolutely drenching them in spray paint! I do not recommend using this method, while it did "work," it was expensive and the result didn't really justify the work. The color wasn't even more accurate than any fabric I saw in stores, and I tried a good few different spray paints. It did change the umbrella fabric to practically a completely different material that had a nice matte texture, though.


Since I had to wait a while for the cloak and skirt to dry, I did some miscellaneous work on the head and stilts. I was pretty stumped originally on what to use for the head's feathers, as The Prisoner's "feathers" look more like reptile scales than anything else, yet still had a feathery look. I ended up choosing to go with felt, as it had a furry/feathery texture to them while still being able to be easily shaped into a scale shape. Felt also was thicker than something like paper, so I figured it would add a bit of a three-dimensional effect. I did some work on the 3D printed parts of the stilts too. I was able to model and print the hooves from The Prisoner's model to slip on the stilts. The feet plates for the stilts were also printed around this time, though I did go through a few different revisions before settling on ones with some metal reinforcements towards the back. For the frame of the head, I ended up scrapping my original plan of 3D printing it and used a tomato cage instead. It was pretty fun to bend it into shape, though I do wish I had gone with my original plan for sizing issues I'll go into later.


Now that the cloak and skirt had dried enough, I decided to fold over into the inside a little bit of the edge to give it a much cleaner look, which turned out perfect. I also primed, sanded, and painted the hooves. For the next part of the cloak and skirt, I decided to freehand a cutout for the tan sections and then make a stencil I'd use to spray paint. The actual spray painting did not turn out very well, there was a lot of overspray and imperfections. Later on it fixed itself once I added more detail, but I did not like it at the time.


At this point in the project, I was quickly running out of time. As such, I jumped around a lot. I tried to work on a different component up until I needed to wait for it's paint to dry or for glue to dry etc., then I'd go onto the next part. Speaking of which, for glue I used JB Plastic Weld; it stinks horribly, but it genuinely works wonders. I also used Loctite thread sealant on the screws in the stilts, which held up surprisingly well too. I ended up buying some generic monster finger extenders off Amazon and got my mom to paint them later on, as I didn't have enough time to 3D print them as I had planned.


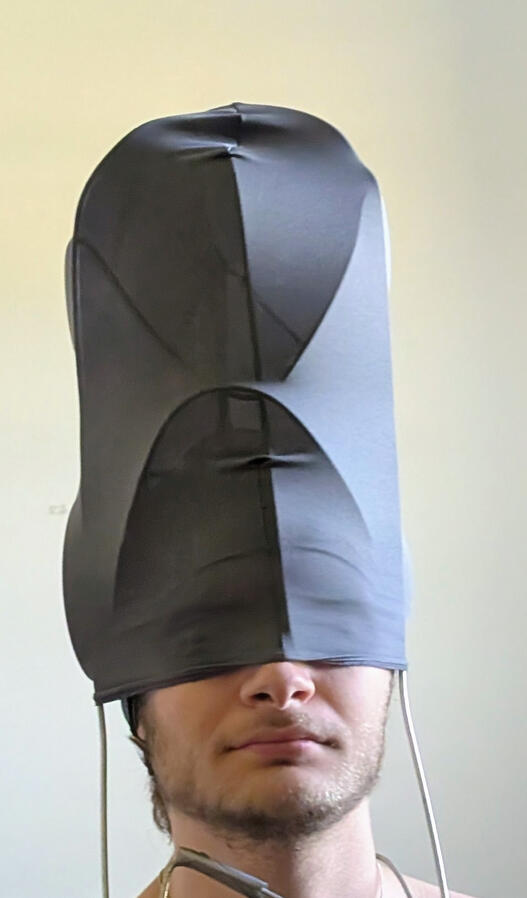
Around now is that point in this project where I had done pretty much everything. My mom was finishing the hands, I added some detail to the crop top lighter green middle layer, and I cut out and painted the cloak and skirt dangly bits. I was pretty much done, except for arguably the most important part: the head. The head was what I was most nervous about working on overall, and was ironically the part I waited the latest to work on. I used a morphsuit mask stretched over top for the basic shape, and used tinfoil to make the shape of the face. Attaching the antlers was a big problem, as the ones I had printed had nothing I could use to attach them to. My solution was to add a separate metal rod to the inside, bend it into place, melt into the bottom of the antlers a channel where the rod could slide into, and drench it all in hot glue. Surprisingly, that all did work eventually. After that fiasco, I started cutting out the felt feather scales. Nothing fancy here, I just cut each one out individually and hot glued it on. The bottom third of the head didn't have anything there and the morphsuit mask couldn't stretch farther, so I just glued the feathers to each other and had them kind of floating in place. I was a little concerned as to the integrity of them, but it ended up I wouldn't even use them....


The final hurdle I would face was that my head I had stressed so hard about, that I had waited so long to start, was comically tall. I was devastated. My workaround was to cut off the aforementioned bottom third and try and squeeze it onto my head. That didn't work well though, as it was so tight in the inside it left a mark on my forehead after only wearing it for a few minutes. I ended up trying to fake the height issue by adding foam padding to the crop top layer and stretching its neck over the metal bits of the head. While not ideal, it actually wound up helping to minimize some of the scaling issues I expected I'd run into with the legs and arms. The cloak also covered the area where the foam ended, so it didn't even look all that strange.


At this point, I was pretty much done. My time had run out, I was tired, and felt like the cosplay was done "enough" for me to be happy with it. I did another test fit of everything besides the stilts and head, and it really made all the work put into this project worth it. For the staff, I ended up unfortunately not being able to use it as it was 20+ pounds. I simply couldn't use something that heavy as my walking aid without it becoming a walking hindrance.


Anyway, here's the finished product at the convention! I was only able to wear it for about a half hour due to how much effort it was to walk, coupled with the overheating and hyperventilating that came with it. I had a good handful of people come up to me and take pictures or chat a bit, which made it all worth it. My two friends also worked on their own cosplays (with some of my help lol) during all of this, so we went together as the three main Outer Wilds species!
Outer Wilds is a game that means so much to me, and I'm so happy I was able to pay it tribute with the two friends who I got to play it first. There were certainly some problems, some things that didn't work, and many things I've learned from this project, but it was the most fun and most fulfilling cosplay I've made thus far.


Thanks for reading all this if you did! I spent a lot of time making this build log, hopefully you found it informative, helpful, or at least interesting! If you want to see even more, I had a build log thread in the Unofficial Outer Wilds Discord Server. You can check it out by joining the server through the link above, then by clicking this link here or finding "EOTE cosplay build log (dlc spoilers)" under the #fan-art channel. Thanks to everyone who supported me throughout this project, including my parents, friends, and internet strangers. Appreciate you all!
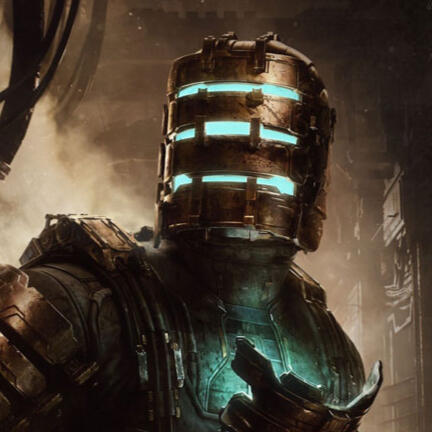
Isaac Clarke (2026)
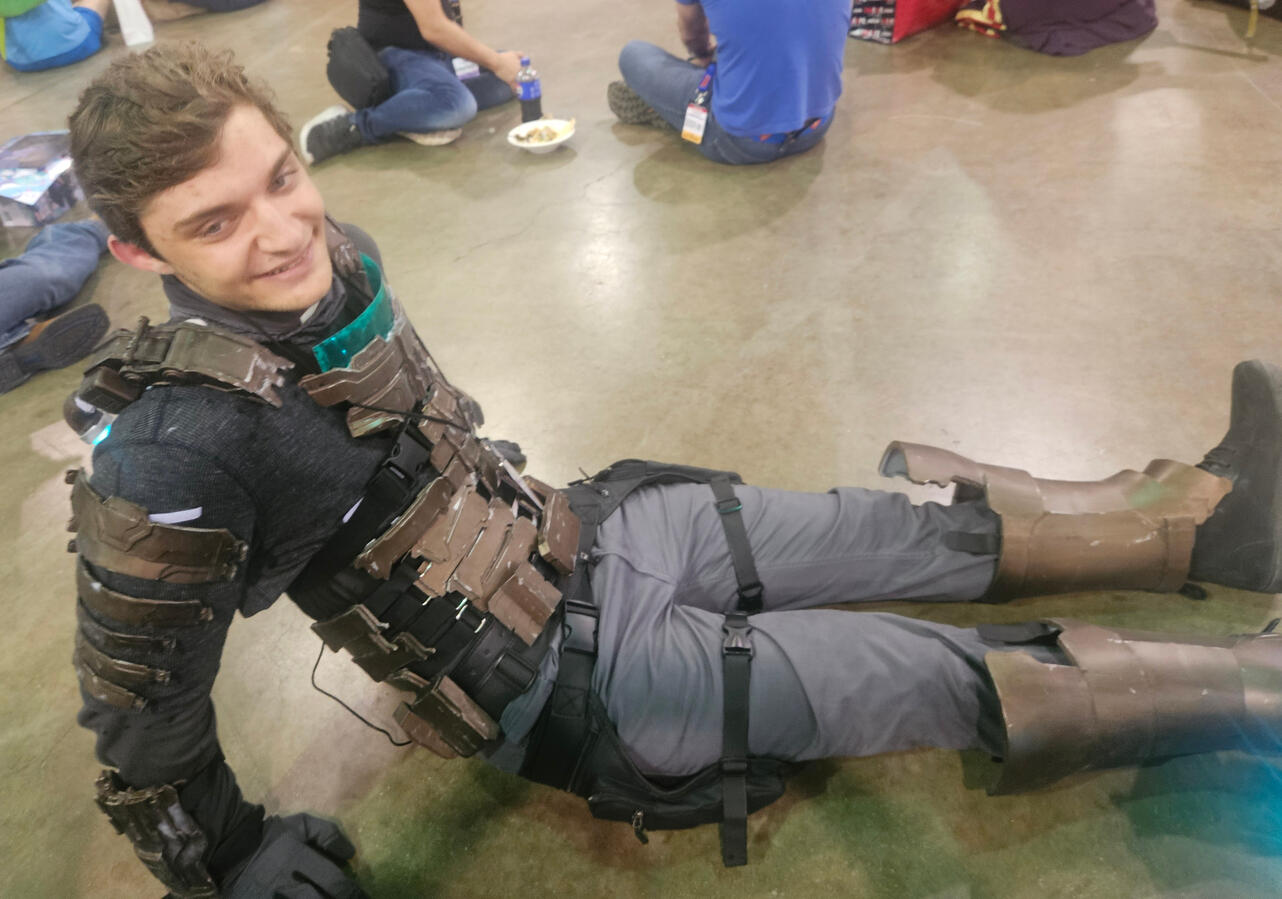
This cosplay has technically been in the works since June 2025! After playing Dead Space (2023), I was inspired then to make a cosplay of the main character: Isaac Clarke. He has many different suits throughout the game, but the most iconic by far (and my favorite) is his level 3 suit. Life started back up after that summer, though, and I kind of forgot about this project entirely. In April 2026, however, a friend of mine begun playing the Dead Space remake, which inspired me again to want to make this cosplay and led to me finding my old June 2025 folder dedicated to the project. I made this costume over the summer of 2026, and wore it to my yearly attending of the Chicago FanExpo convention.
The first step, as always, was to do some research and initial testing. This was the first time I used the website Refmaker and Bodydbl for help with sizing of the helmet and suit, and they're really wonderful tools! I got the models used for this project off of Cults3D and Etsy. I had many issues going the buying pre-modelled files route, though I'm still happy I did it this way instead of making the models myself or by using assets from the game. After my Outer Wilds Cosplay, I realized how much more I like the physical side of costume making compared to the digital, and spending some extra money on this project to be able to do that made it more enjoyable.I began the project with the helmet. At the time, I still wasn't 100% sure on if I wanted to make the entire suit, as historically the characters I've cosplayed have always come from media I've been very passionate about, and Dead space isn't really one of those. I love its environment and character designs, the atmosphere of that first game/remake is impeccable, and it's still one of my favorite horror games, but it's just not a life changing game for me. Anyway, the process for the helmet was to print out in PLA some preliminary test pieces for sizing. Once I locked in sizing, I decided to make the switch to PETG 3D printer filament for the final prints on the rest of the project, as it's stronger, more heat-resistant, and easier to sand.


I wanted to finish the helmet first, so next I got to work on testing out different spray paints and order of application for them, along with what my process was going to be for post-processing all the costume's 3D printed pieces. For the main coloring, I ended up going with Rust-Oleum Metallic Dark Copper spray paint, and I ended up just applying that directly to the parts, after multiple rounds of sanding and priming of course.
Speaking of which, for that process I used a "simple" 5-step process throughout the whole project, inspired by M.M's Prop Shop. This consisted of an initial round of 60 or 80 grit sandpaper using an electric foot sander, a heavy first coat of Rust-Oleum Automotive Filler & Sandable Primer, a round of hand sanding with ~220 grit sandpaper, a second lighter coat of that aforementioned filer/sandable primer, and finally another round of hand sanding but with ~400 grit sandpaper. In-between the different steps, I'd either rinse off the parts and let them air dry or just wipe them off with a dry towel. I also would add Bondo Spot Glazing Putty before or after the first priming stage for any bad layer lines or problem areas during printing. After all of that, I would then spray them with ~2 lighter coats of that dark copper paint before letting the part(s) dry completely in preparation for weathering and assembly.
As far as my "setup" is concerned, that consisted of using an old box in front of my garage for spray-painting everything, and sanding was just done on my backyard patio. I'd let parts dry on top of boxes or bags anywhere there was room inside the garage.


This was the first costume of mine that I spent a significant amount of time on weathering and artificial damage, and it turned out to be one of my favorite parts of the process! After a part had dried enough and was wiped down with a damp rag, I would use the stick side of a paintbrush and rub on some metallic acrylic paint along edges and other raised areas to simulate paint scrapes. Once that had dried enough I'd make a milk-consistency mixture of black acrylic paint, water, and a dab of dish soap and just lather that on across the entire part with just a normal paintbrush. I waited for the paint to dry a bit before wiping it off in the direction of gravity, relative to the part, to try and add a touch more of realism. And the results speak for themselves! The fake grease/dirt really added a lot of much-needed depth and contrast, with the fake rubbed/scratched off paint giving some nice highlights. Both really helped in making the pieces feel real and like they were actually used, and I'm super glad I spent the time on it.

After weathering was done, I'd do a quick 1 or 2 light coats of a semi gloss clear coat to lock in everything and add a bit of protection. After that whole process came assembly. This was largely done in different orders depending on the part, but it would always consist of adding functional parts (like lights/battery banks, Velcro, etc.) and gluing parts together. For glue, I had great success this cosplay with using JB Weld Super Extreme superglue. As far as lighting goes, I ended up using just some super cheap string lights from Walmart. They actually worked out very well, and while they only had maybe 20 different preselected colors to choose from, there was a pretty perfect bluish green that I used for the back spine lights and the helmet lights. For the visor, I bought some bluish green plastic sheets off Amazon that ended up working great, both with and without the protective film removed. That pretty much wraps up the helmet! I was very proud of how it turned out. In hindsight, It probably wasn't a great idea making the helmet (easily the most recognizable part of the whole costume) first, as it ended up being the test dummy for everything. Though working on it first also meant it was the part I was able to spend the most time and care on, and in the end it ended up working out.


Once the helmet was done, I kind of worked on the rest of the costume all at the same time in a few batches. The parts that gave me the most problem were definitely the boots and plasma cutter. The boot models were just straight up not logical in how they were supposed to be put together, and they were weirdly scaled. I ended up not even using the boot cover pieces and just used the shin guard piece with some normal boots of my own. The plasma cutter files were fine, but there were a lot of parts that felt like they were unnecessarily split into multiple files, leading to issues with fit of some other pieces. Obviously it all ended up working out, just with some headaches.


Figuring out how all the pieces were going to attach to my body was something I should have thought about sooner, but ended up being the last thing I worked on. Once I had the shirt and pants done (I just thrifted the pants and a few shirts, had a friend sew the tannish pieces together, and I fabric-glued the rest), I decided to use Velcro for pretty much everything. I bought some Velcro straps off Amazon for the forearm pieces and abdomen pieces, as well as a GoPro chest mount thing I used for the chest display. Everything else was attached using Velcro strip glued to the back of the 3D printed pieces and the shirt. I had to do some extensive marking and planning out for the back, and especially the spine health bar. My back is pretty arched already, and all the additional abdomen straps and chest straps only compounded that, so it was a bit of a challenge attaching all the back pieces flatly to my back, but it ended up working okay. The spine light up bar was particularly an issue, as the Velcro I used everywhere else was not really wanting to stick to the spine well, but after adding some extra Velcro distributed throughout the rest of the spine, it held enough during my day at the convention. I ended up using a transparent rubbery plumbing pipe for the actual health bar and stuck another light strip inside of it. By this point, the costume was coming together nicely. Unexpectedly though, a severe batch of storms rolled through my area, and my house ended up without power for multiple days. Thankfully, though, I ended up still finishing it the night before the convention!


I went to the convention with a few friends, one of whom cosplayed Spider-Noir from the 2026 show of the same name. It was a genuine blast, and It made me so happy to get asked for so many pictures from other Dead Space fans there and to get to talk to some of them. The franchise has been around for almost 20 years now, so it was cool to see such a range of ages and demographics from the fans.


Thanks for taking the time to read this build log! I hope it was informative, helpful, or interesting. Thank you also to my family and friends for the constant support! I learned a good deal from working on this costume, and I'm excited to see where I can use some of my new skills in future projects, so stick around if you're interested!
3D Art
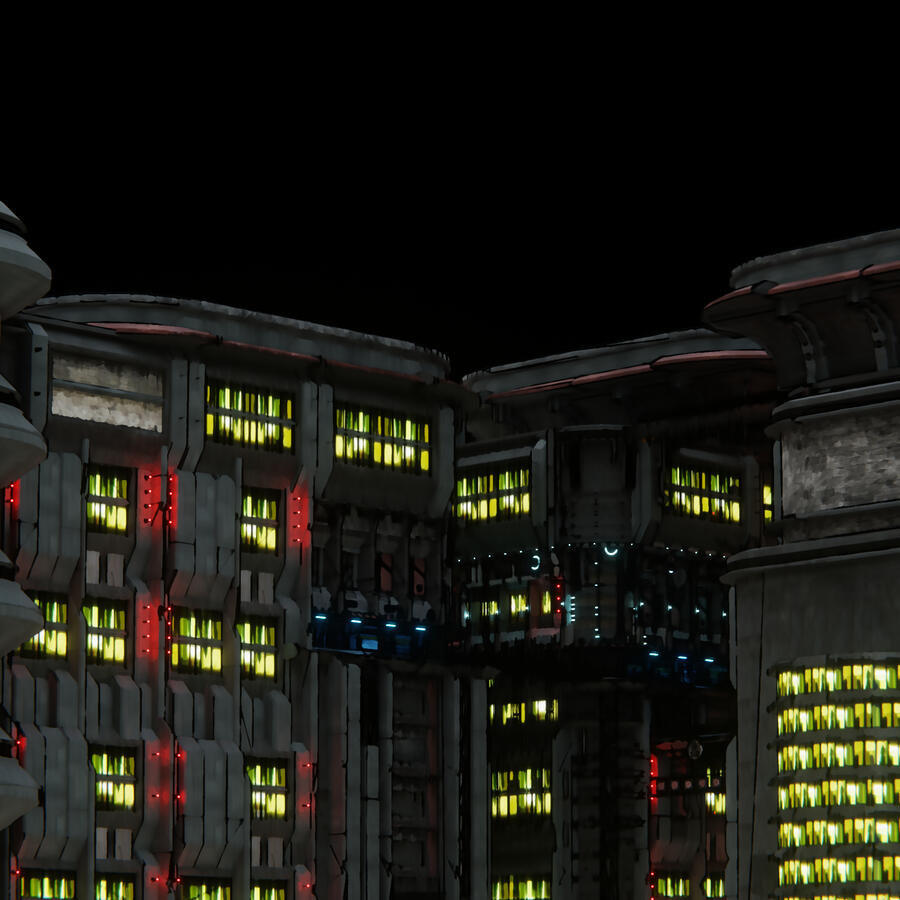
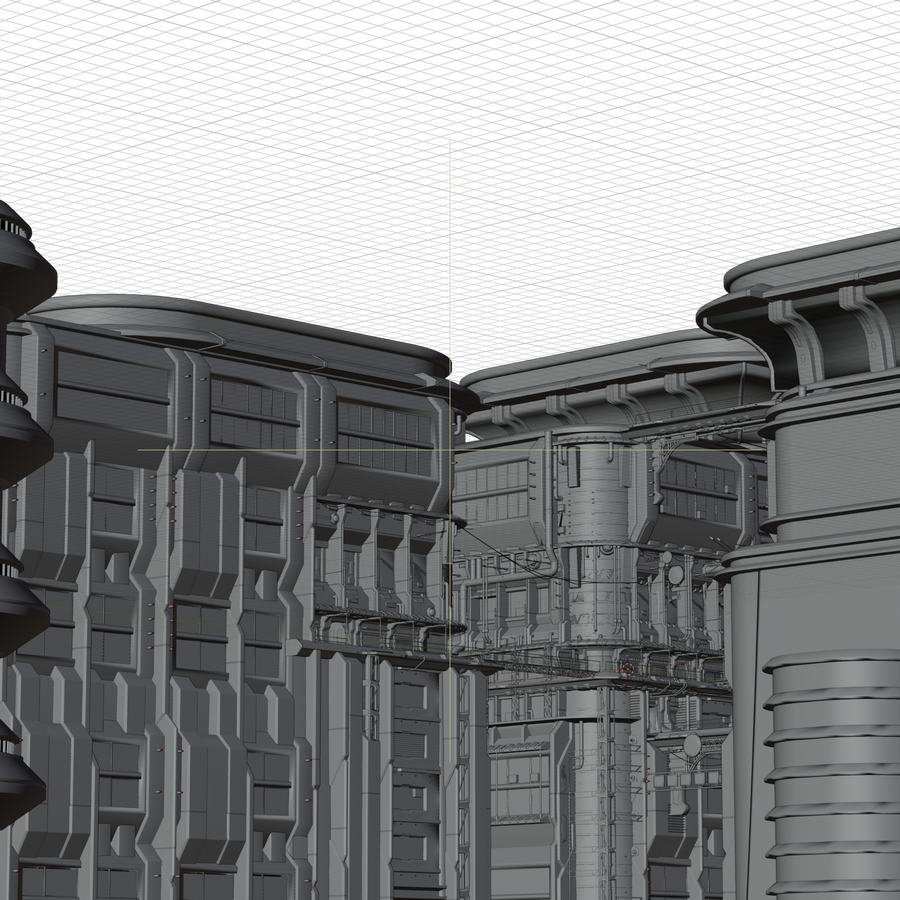
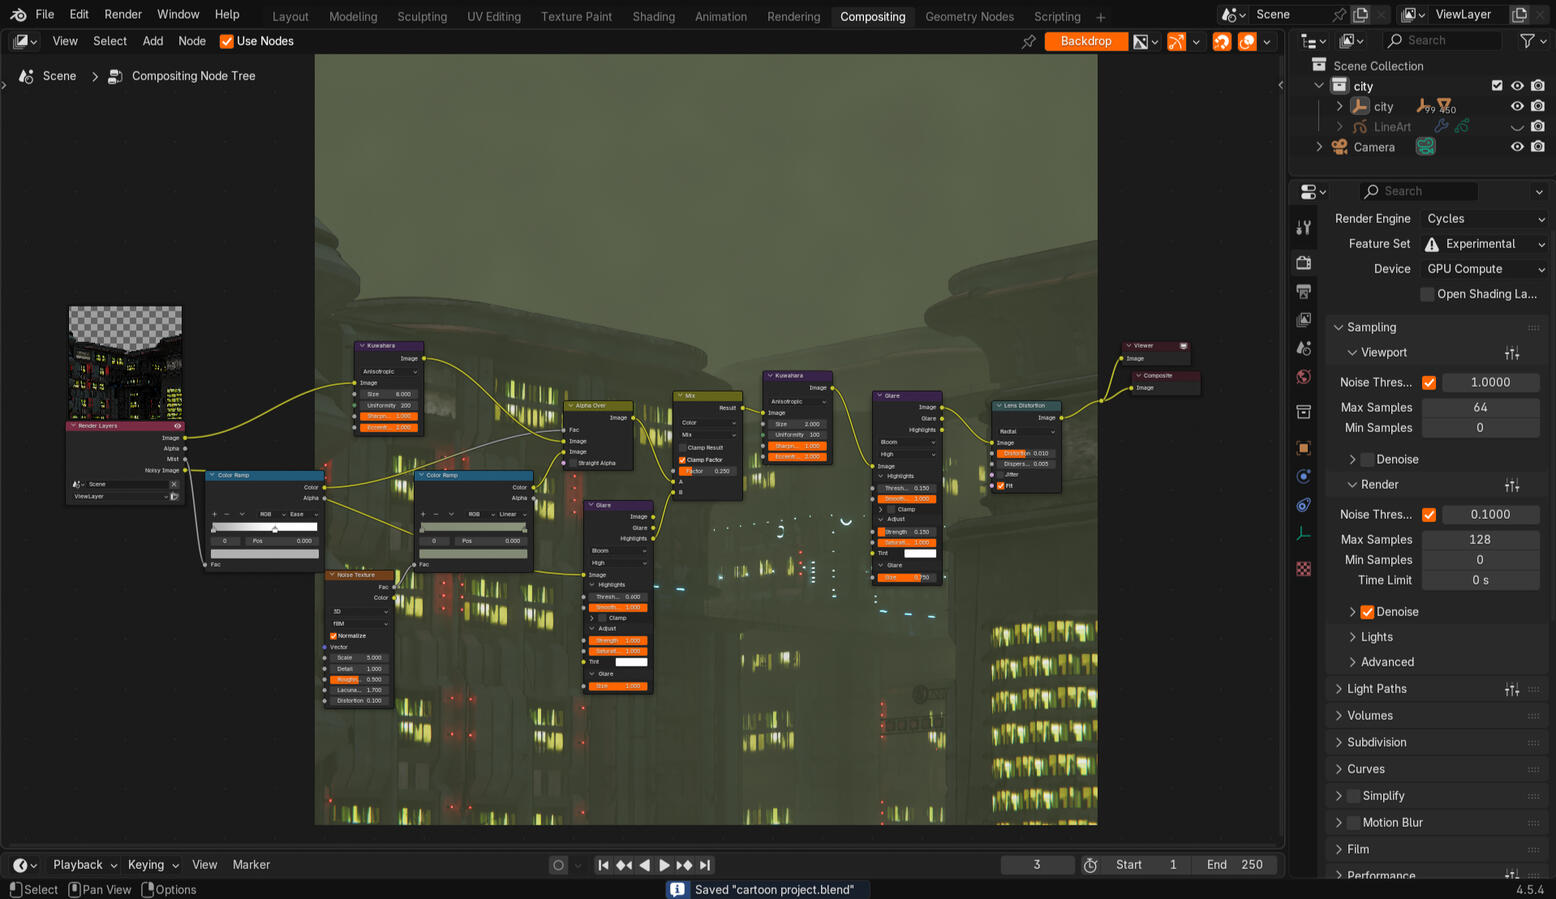
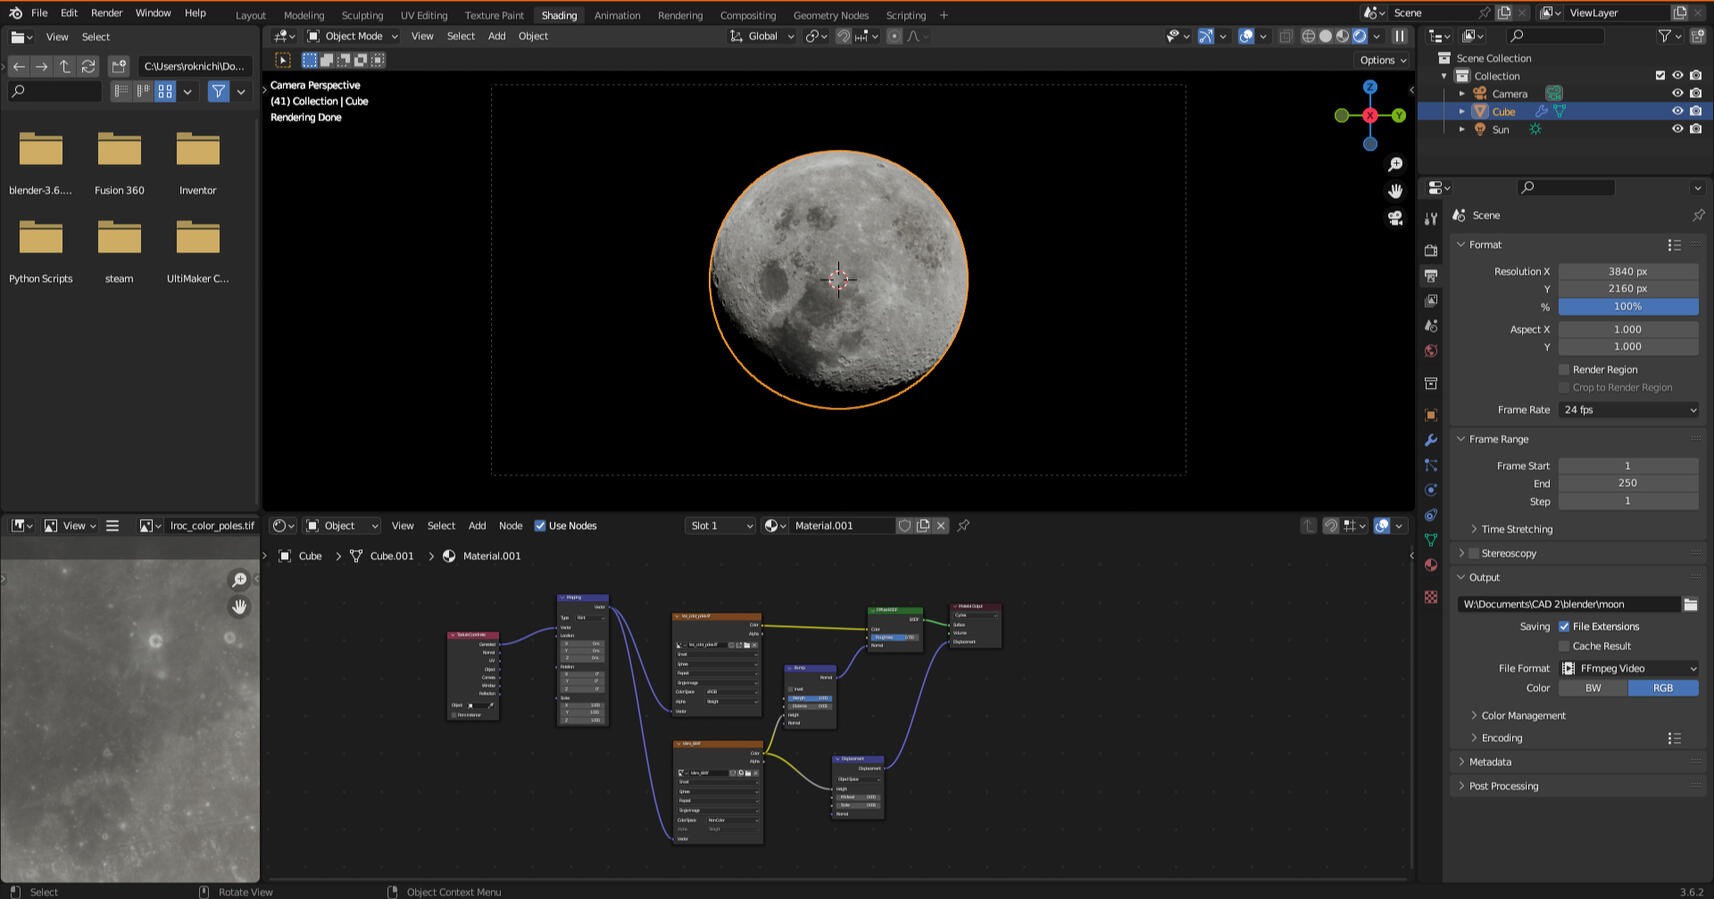
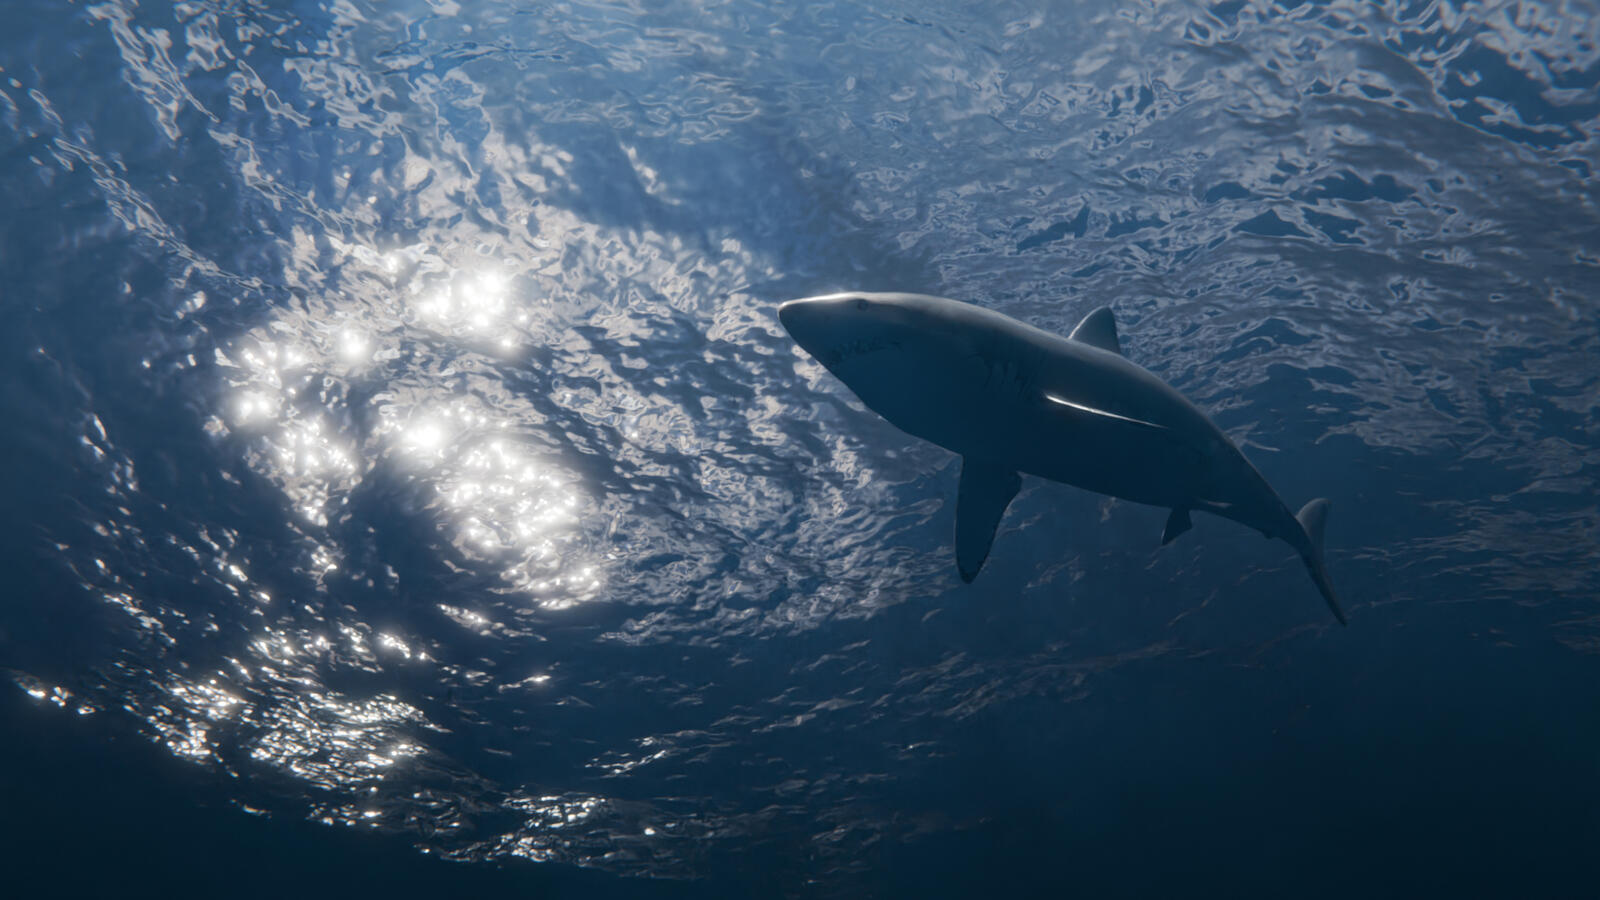
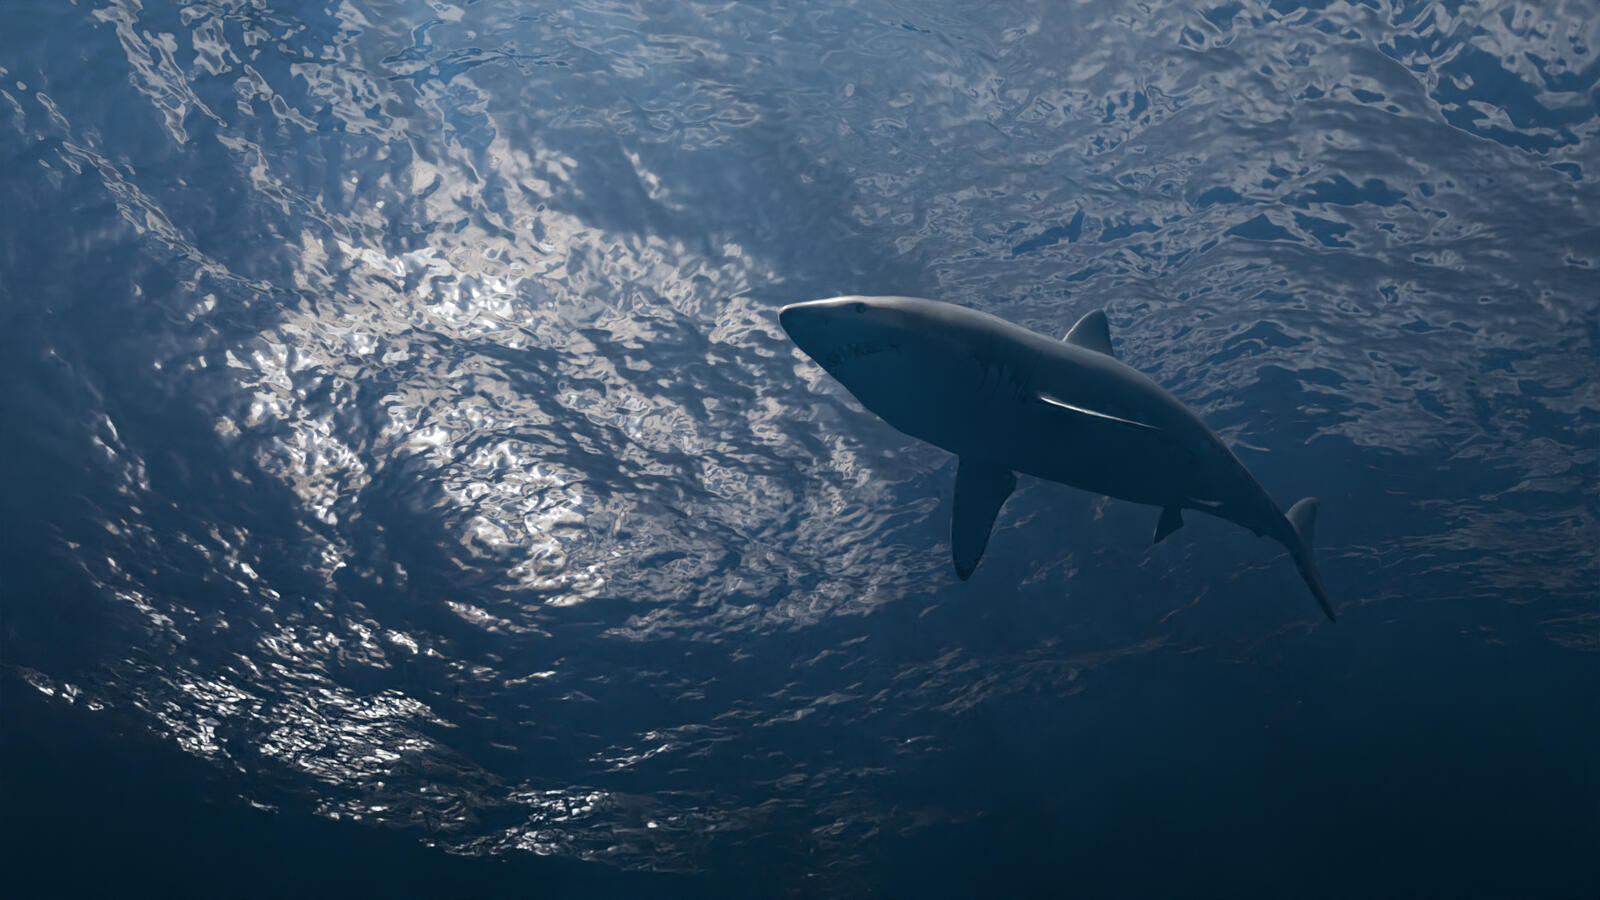
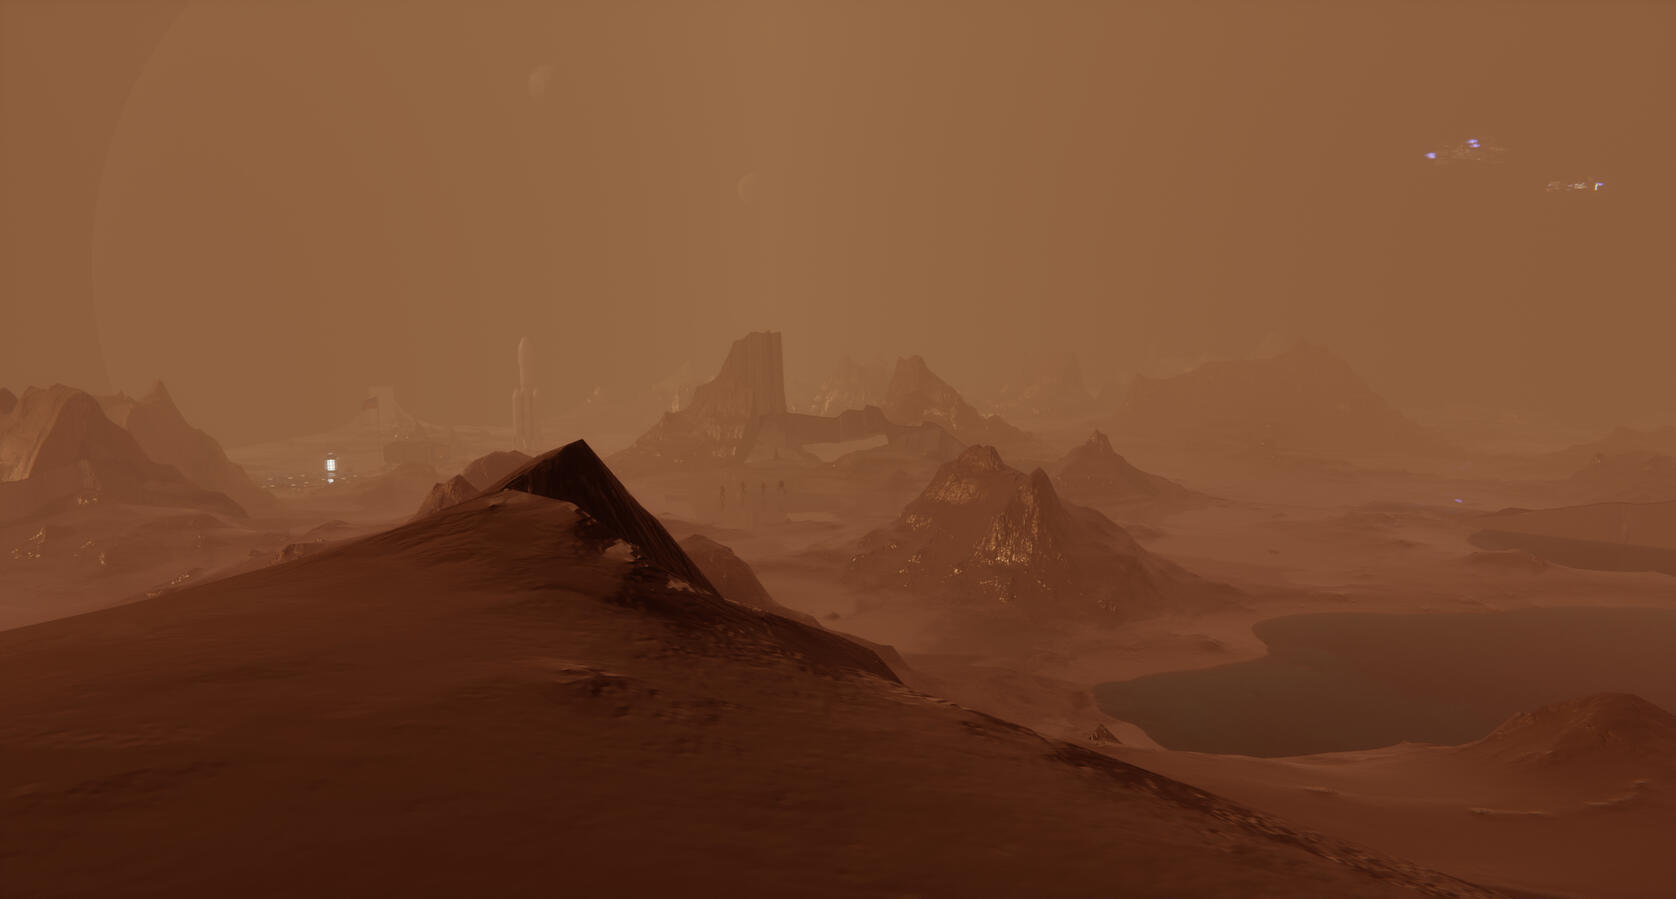
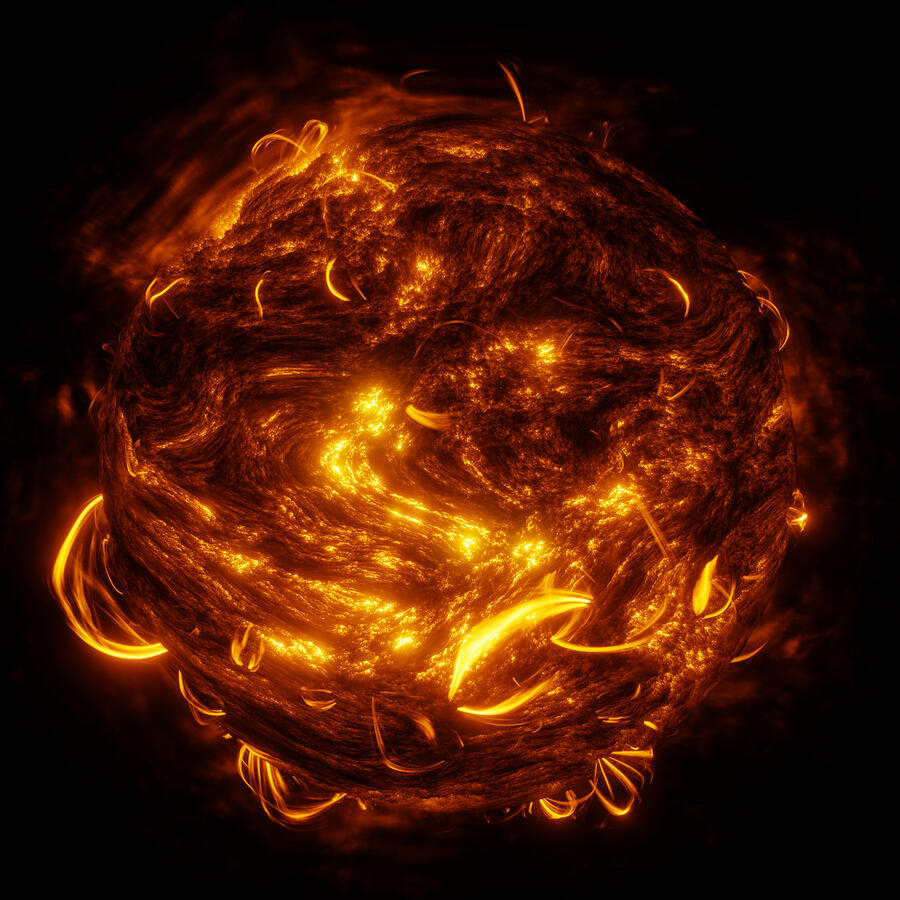
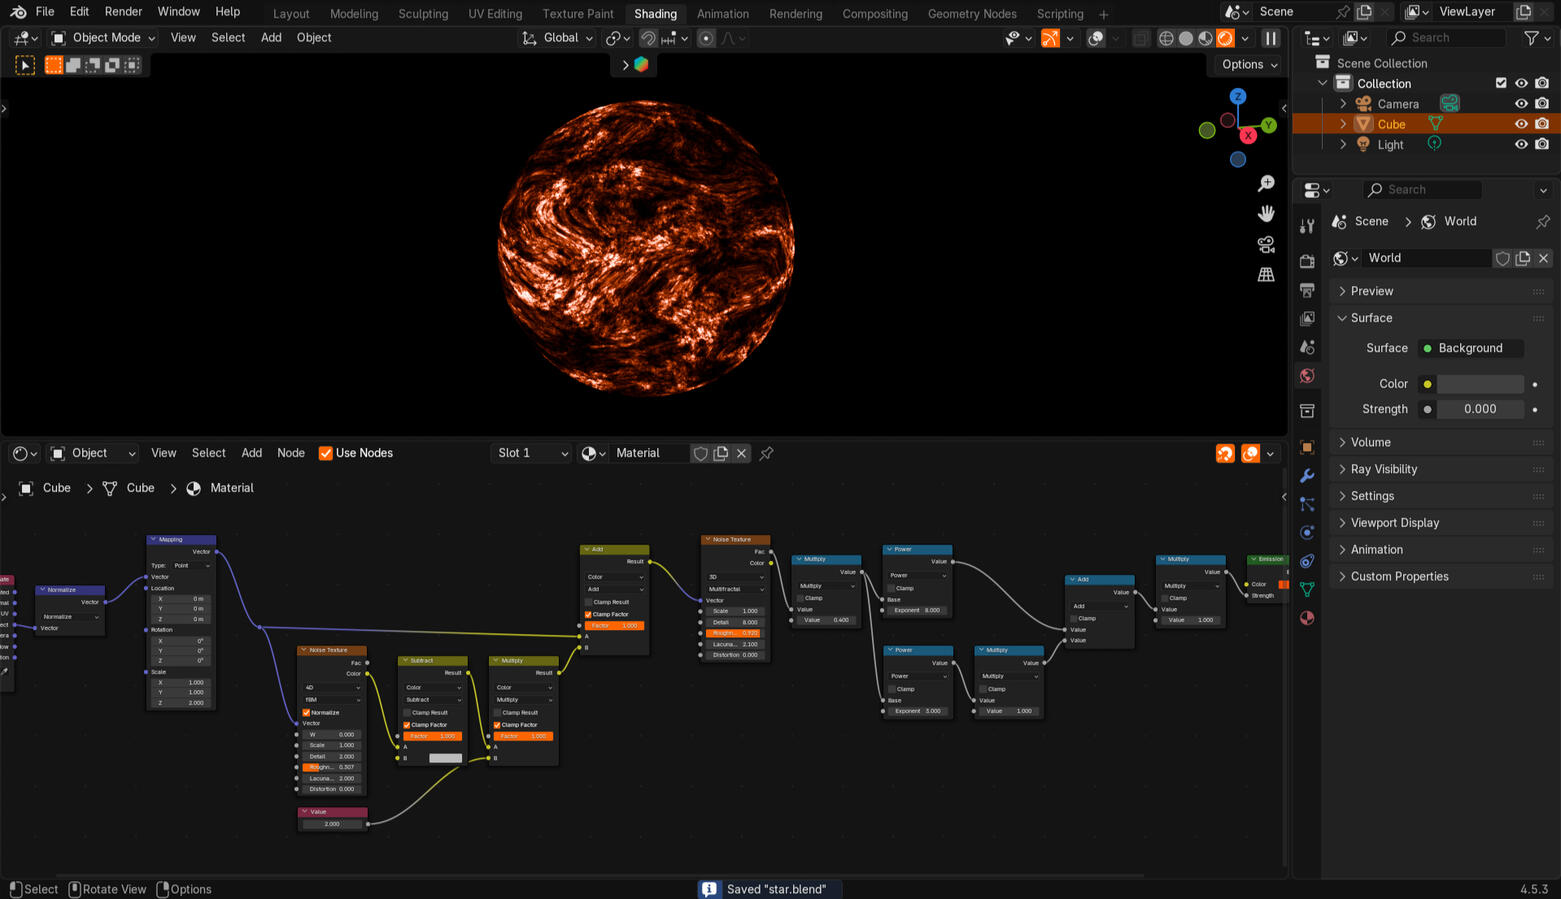
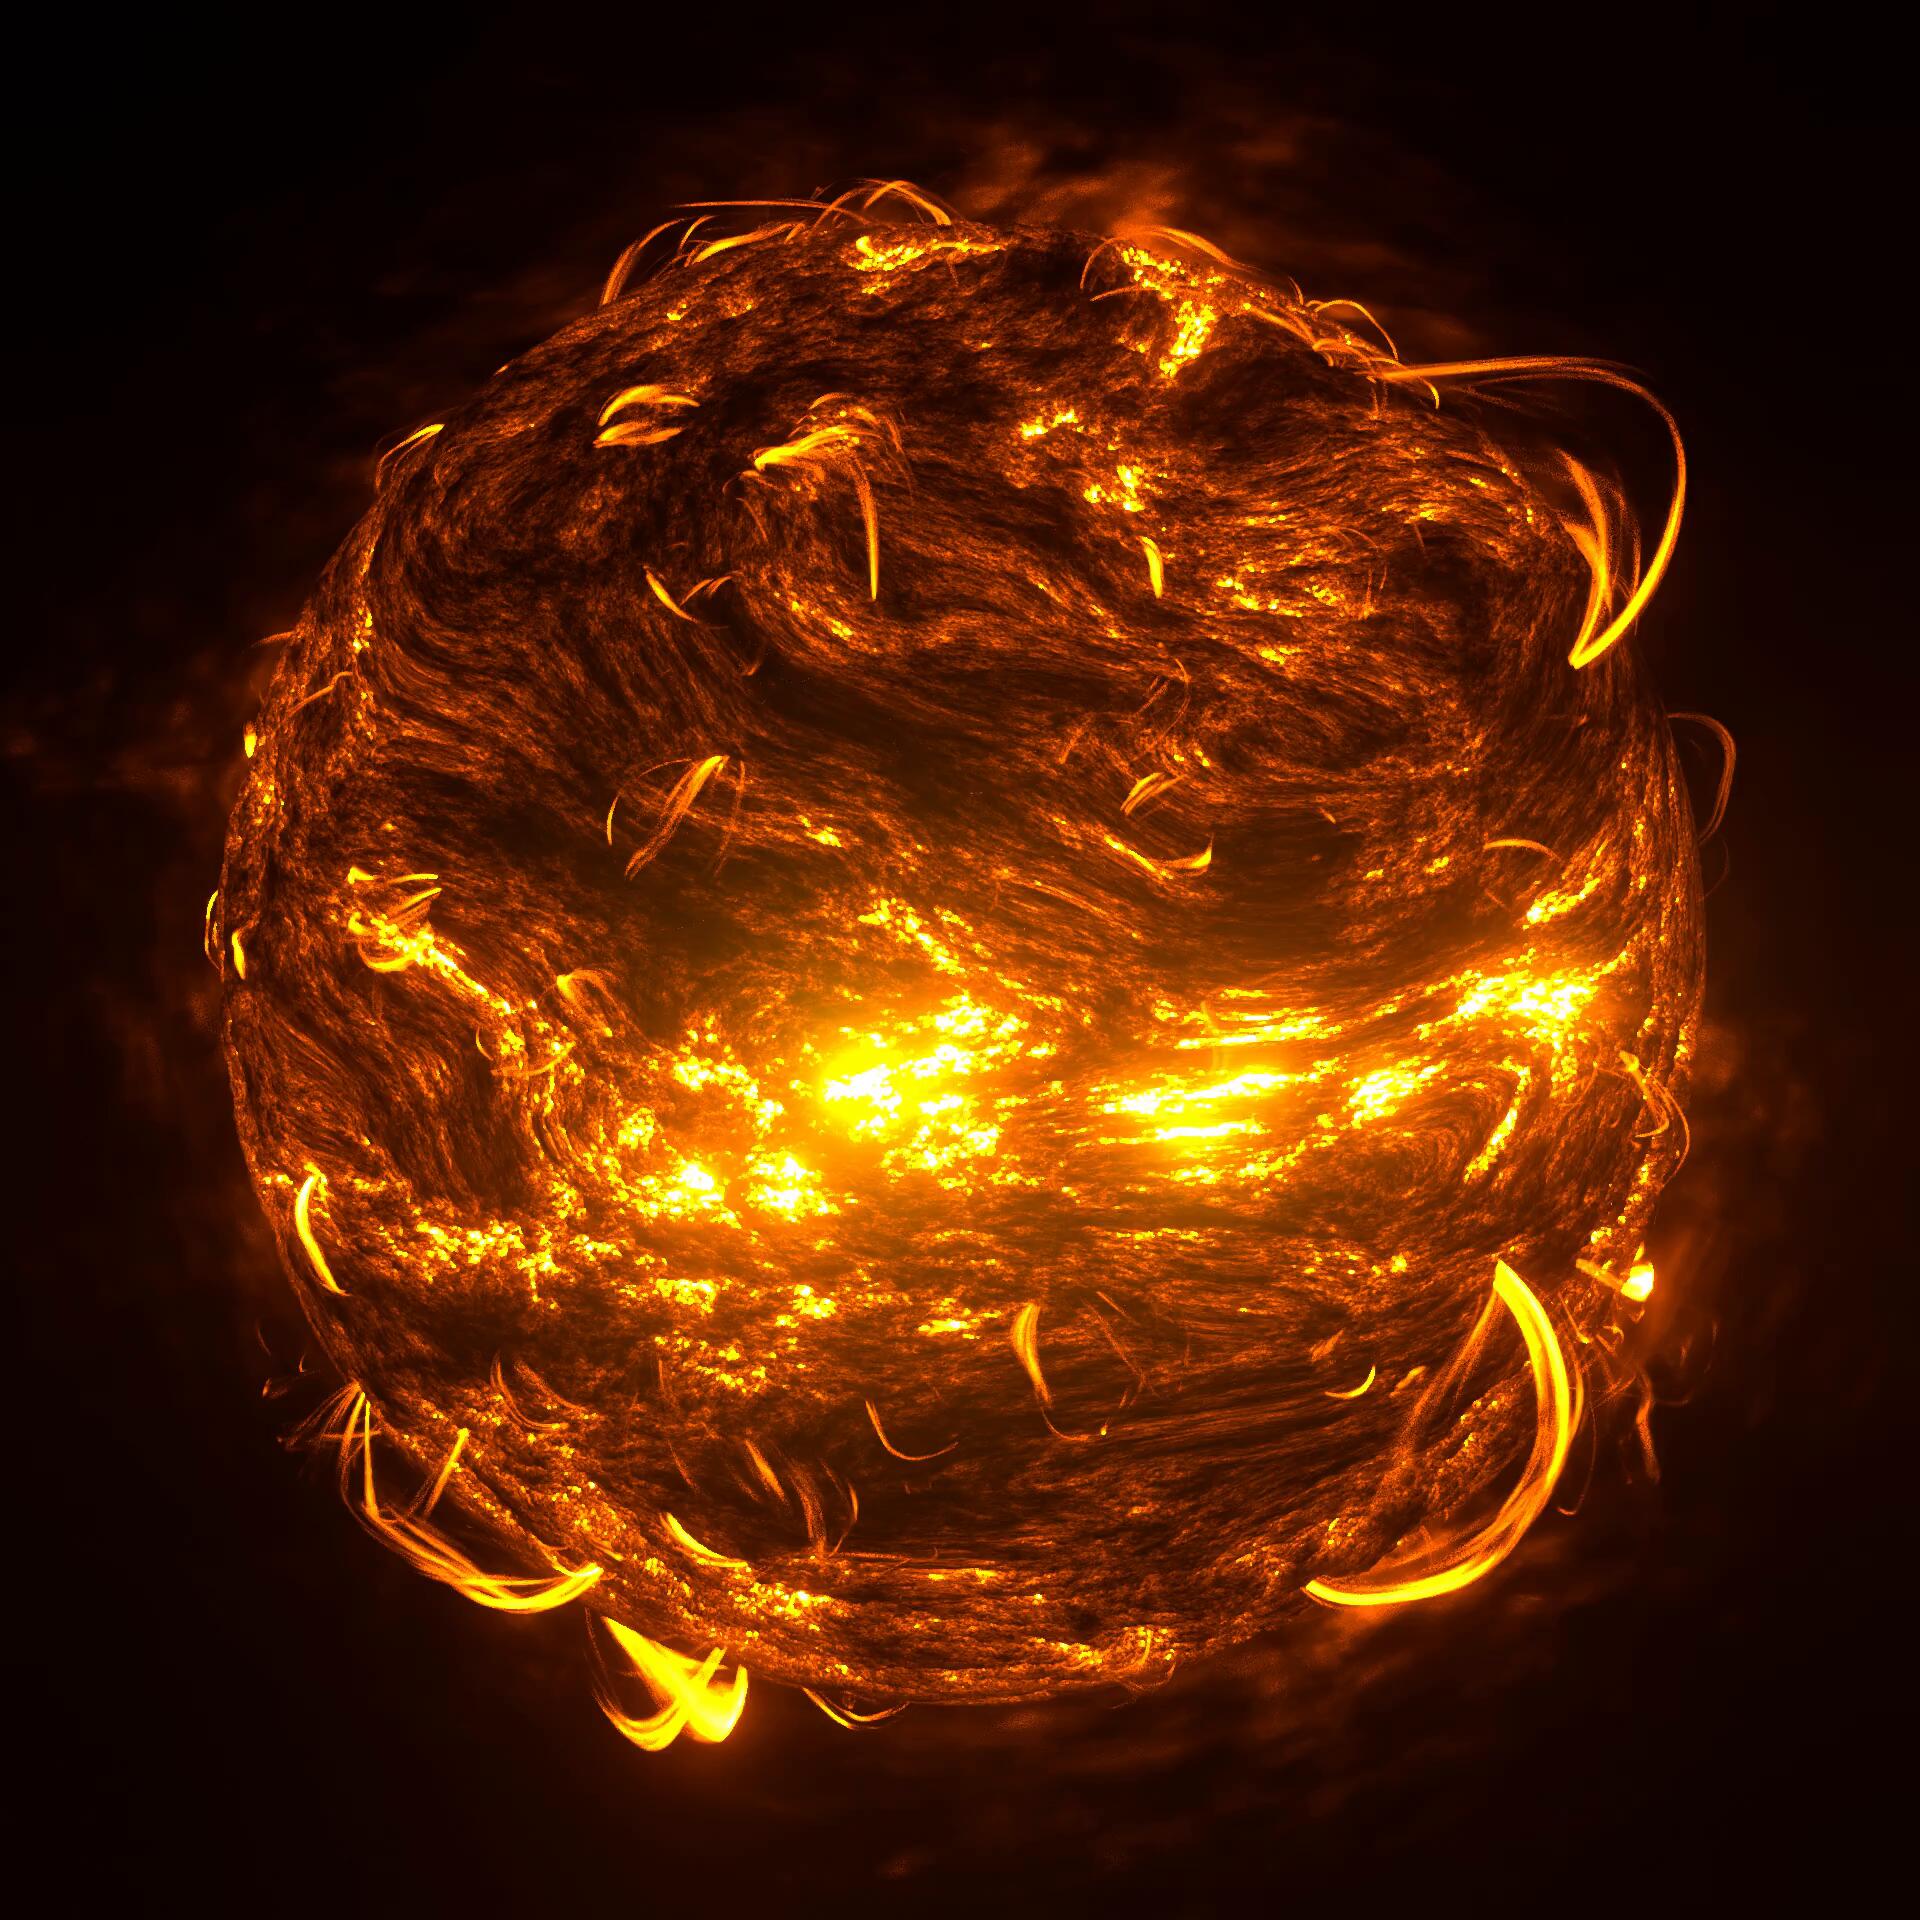
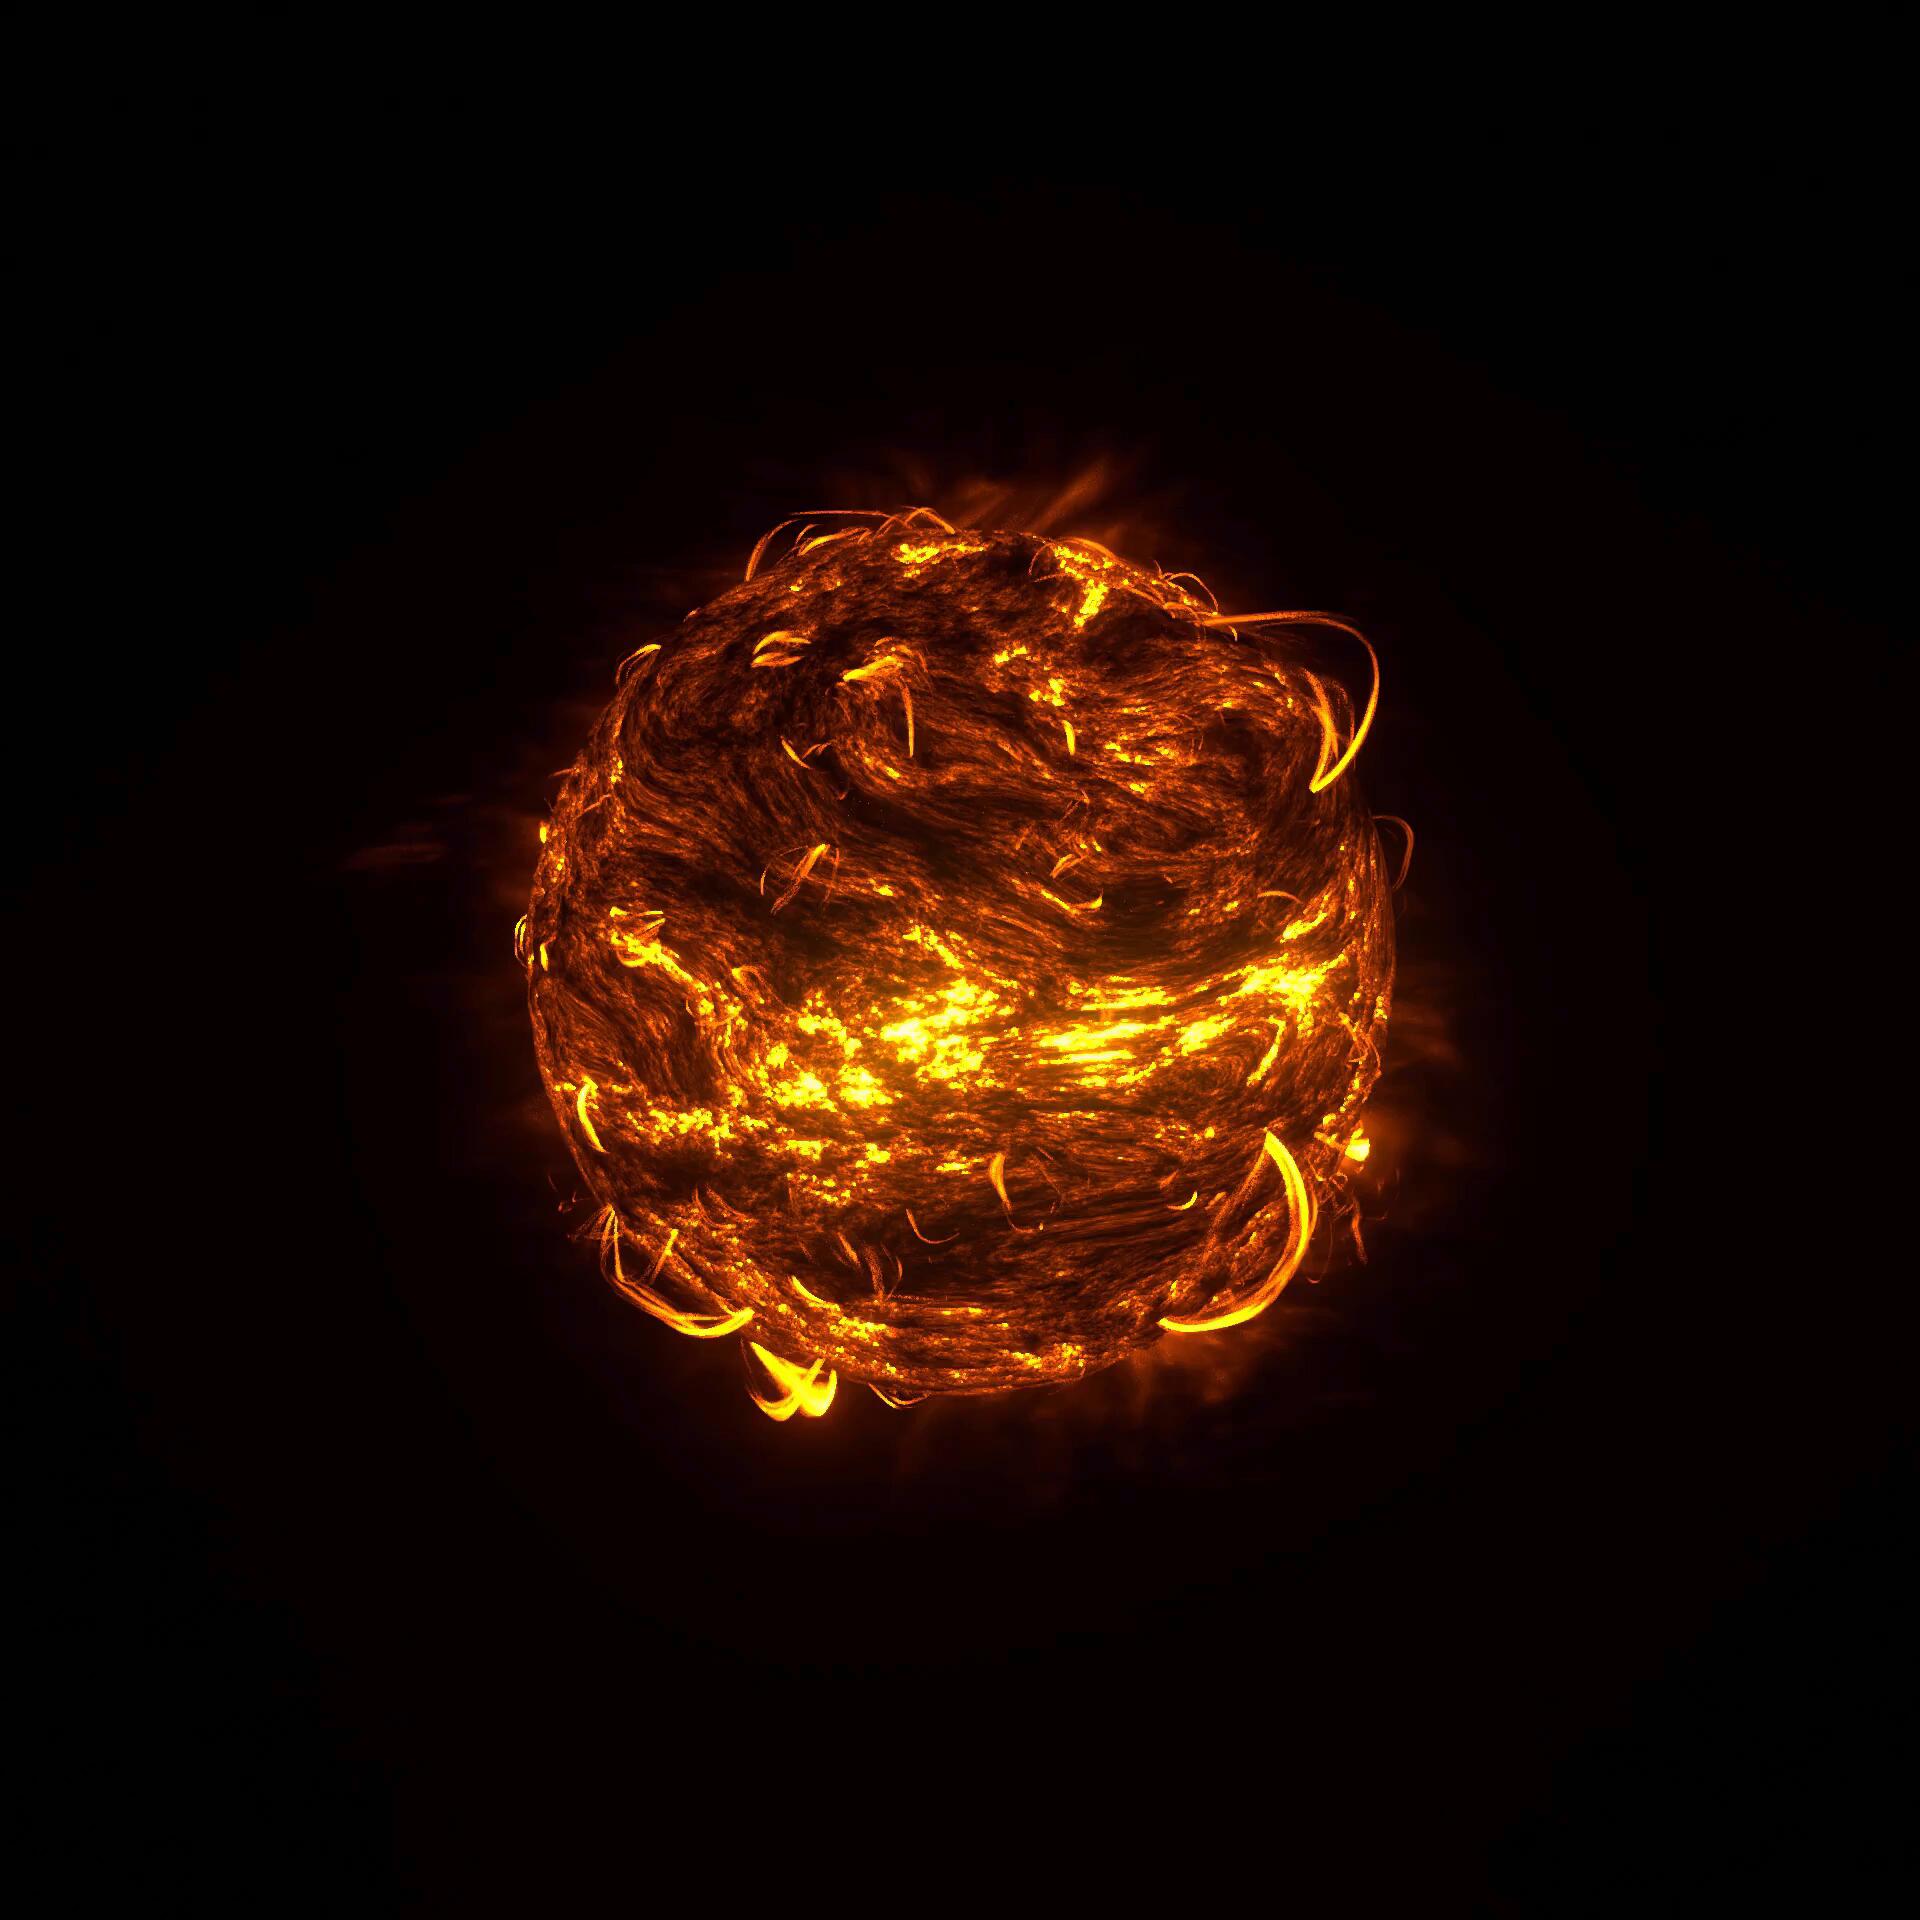
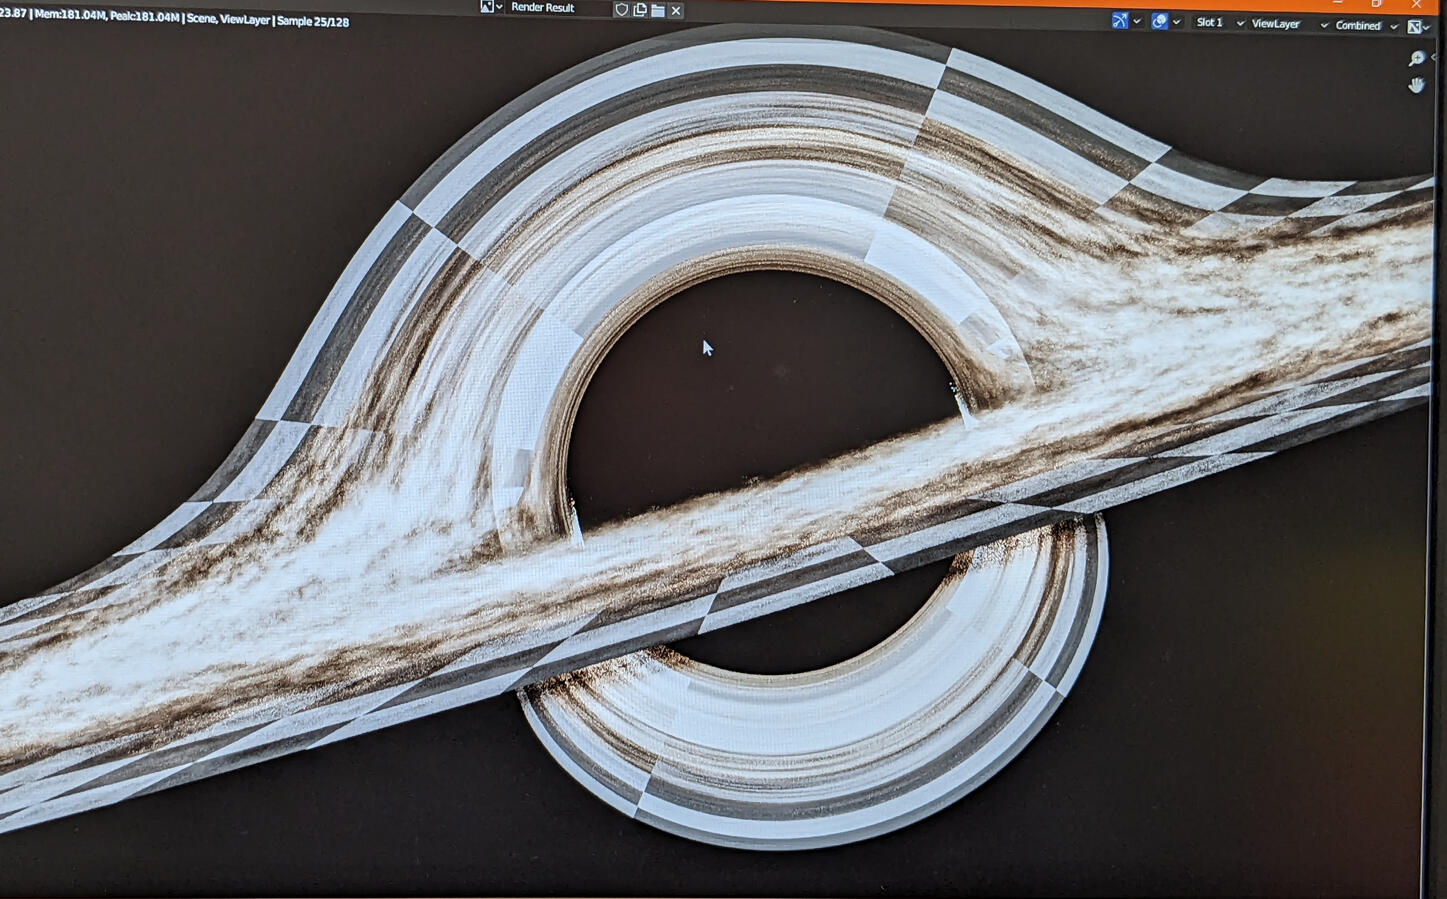
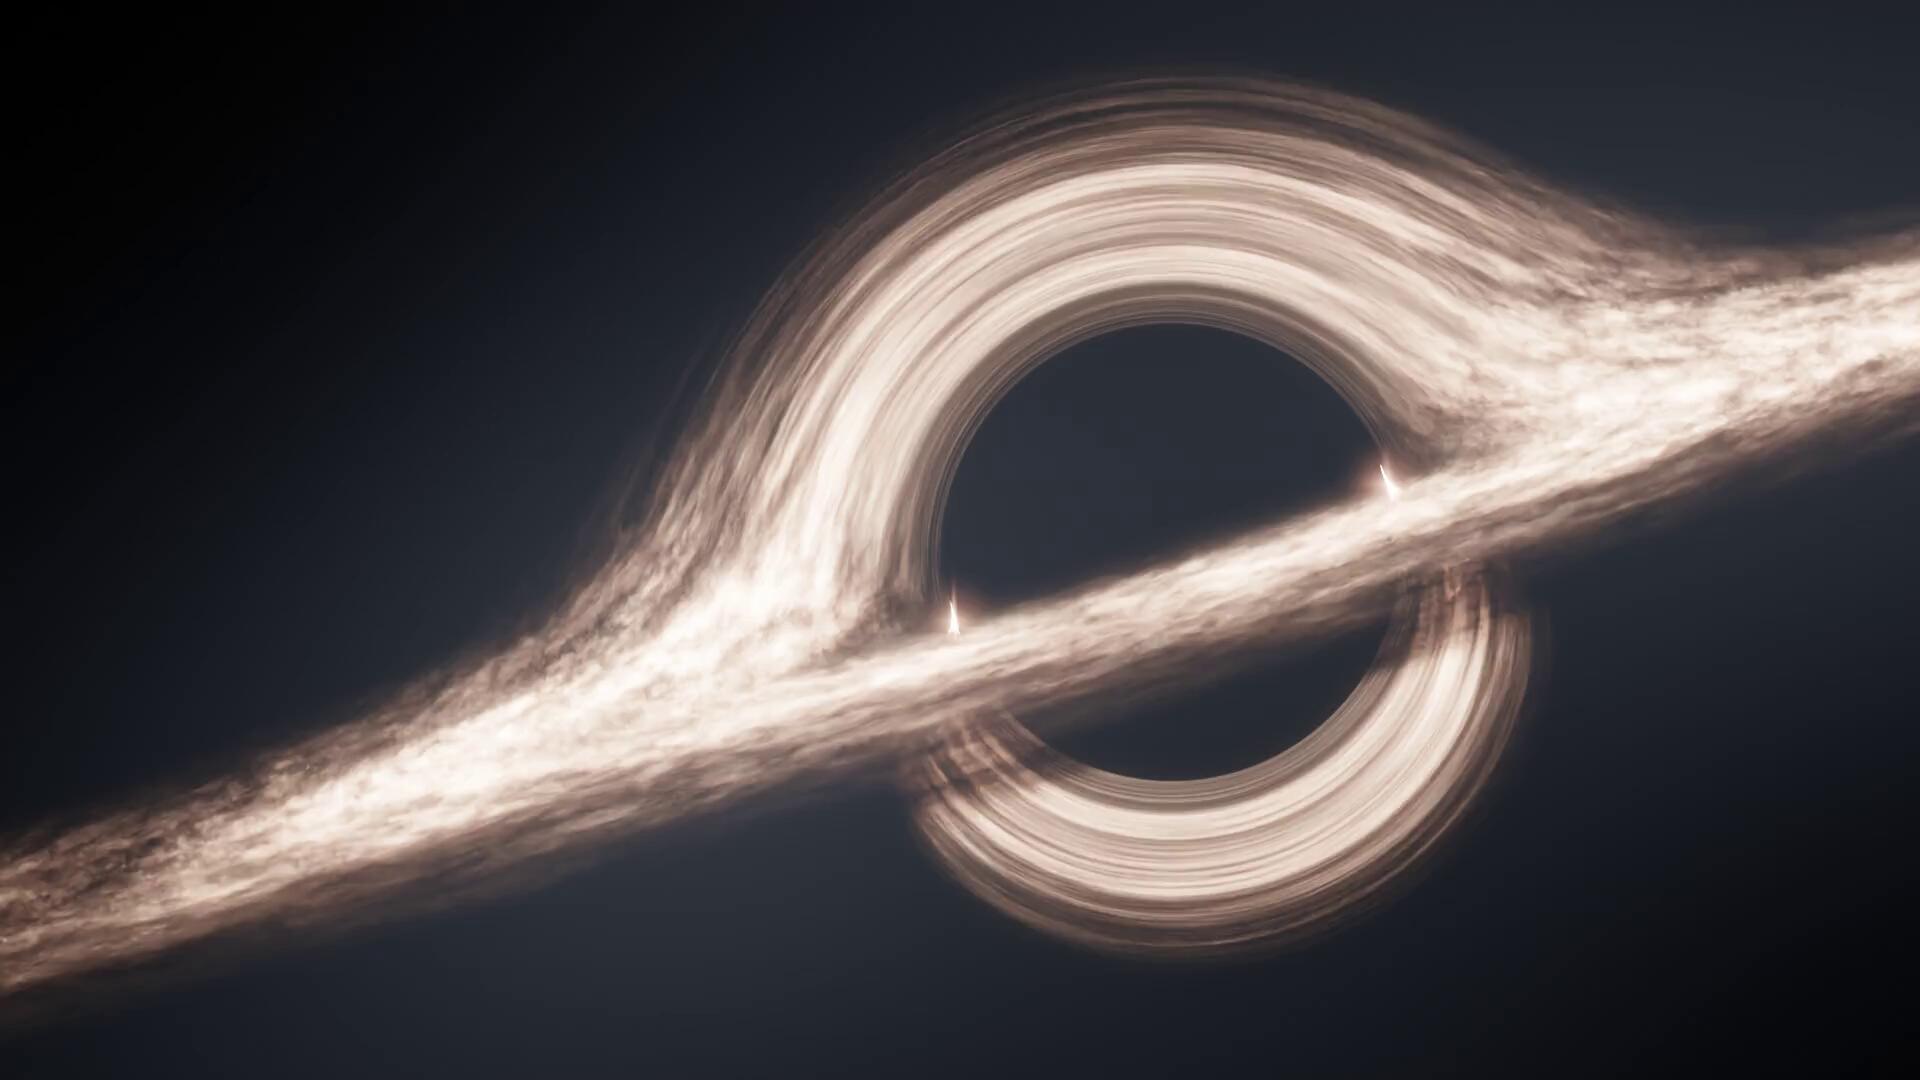
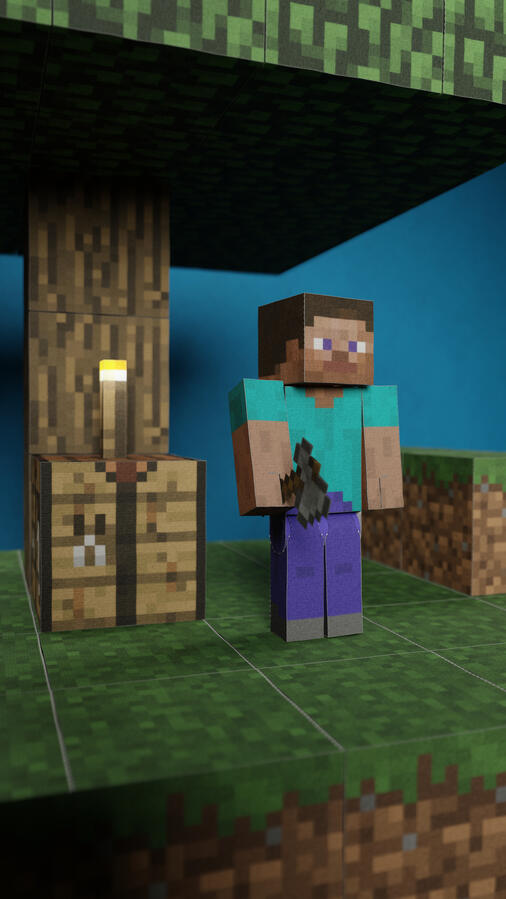
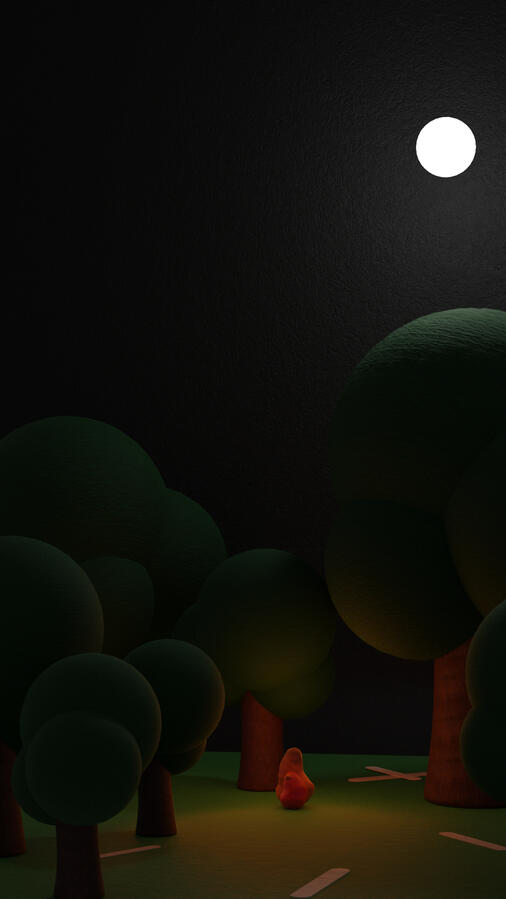
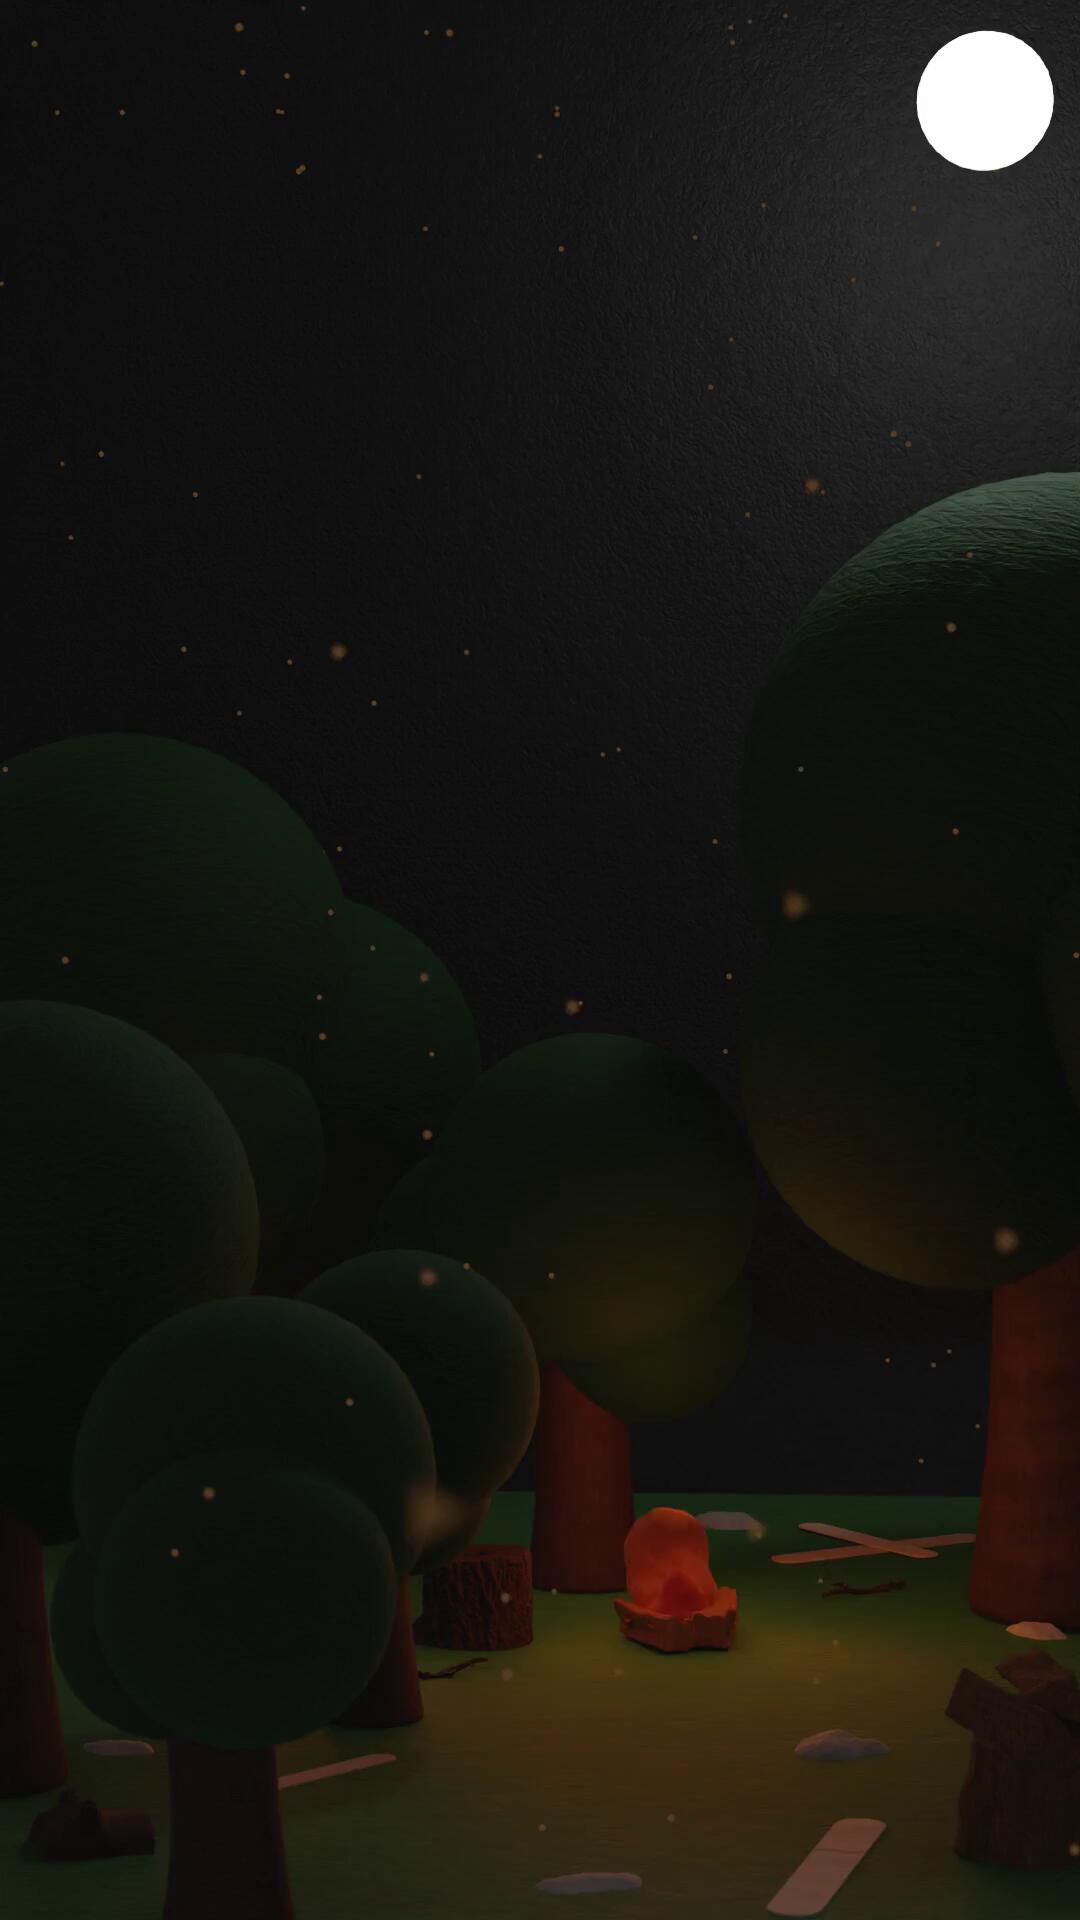
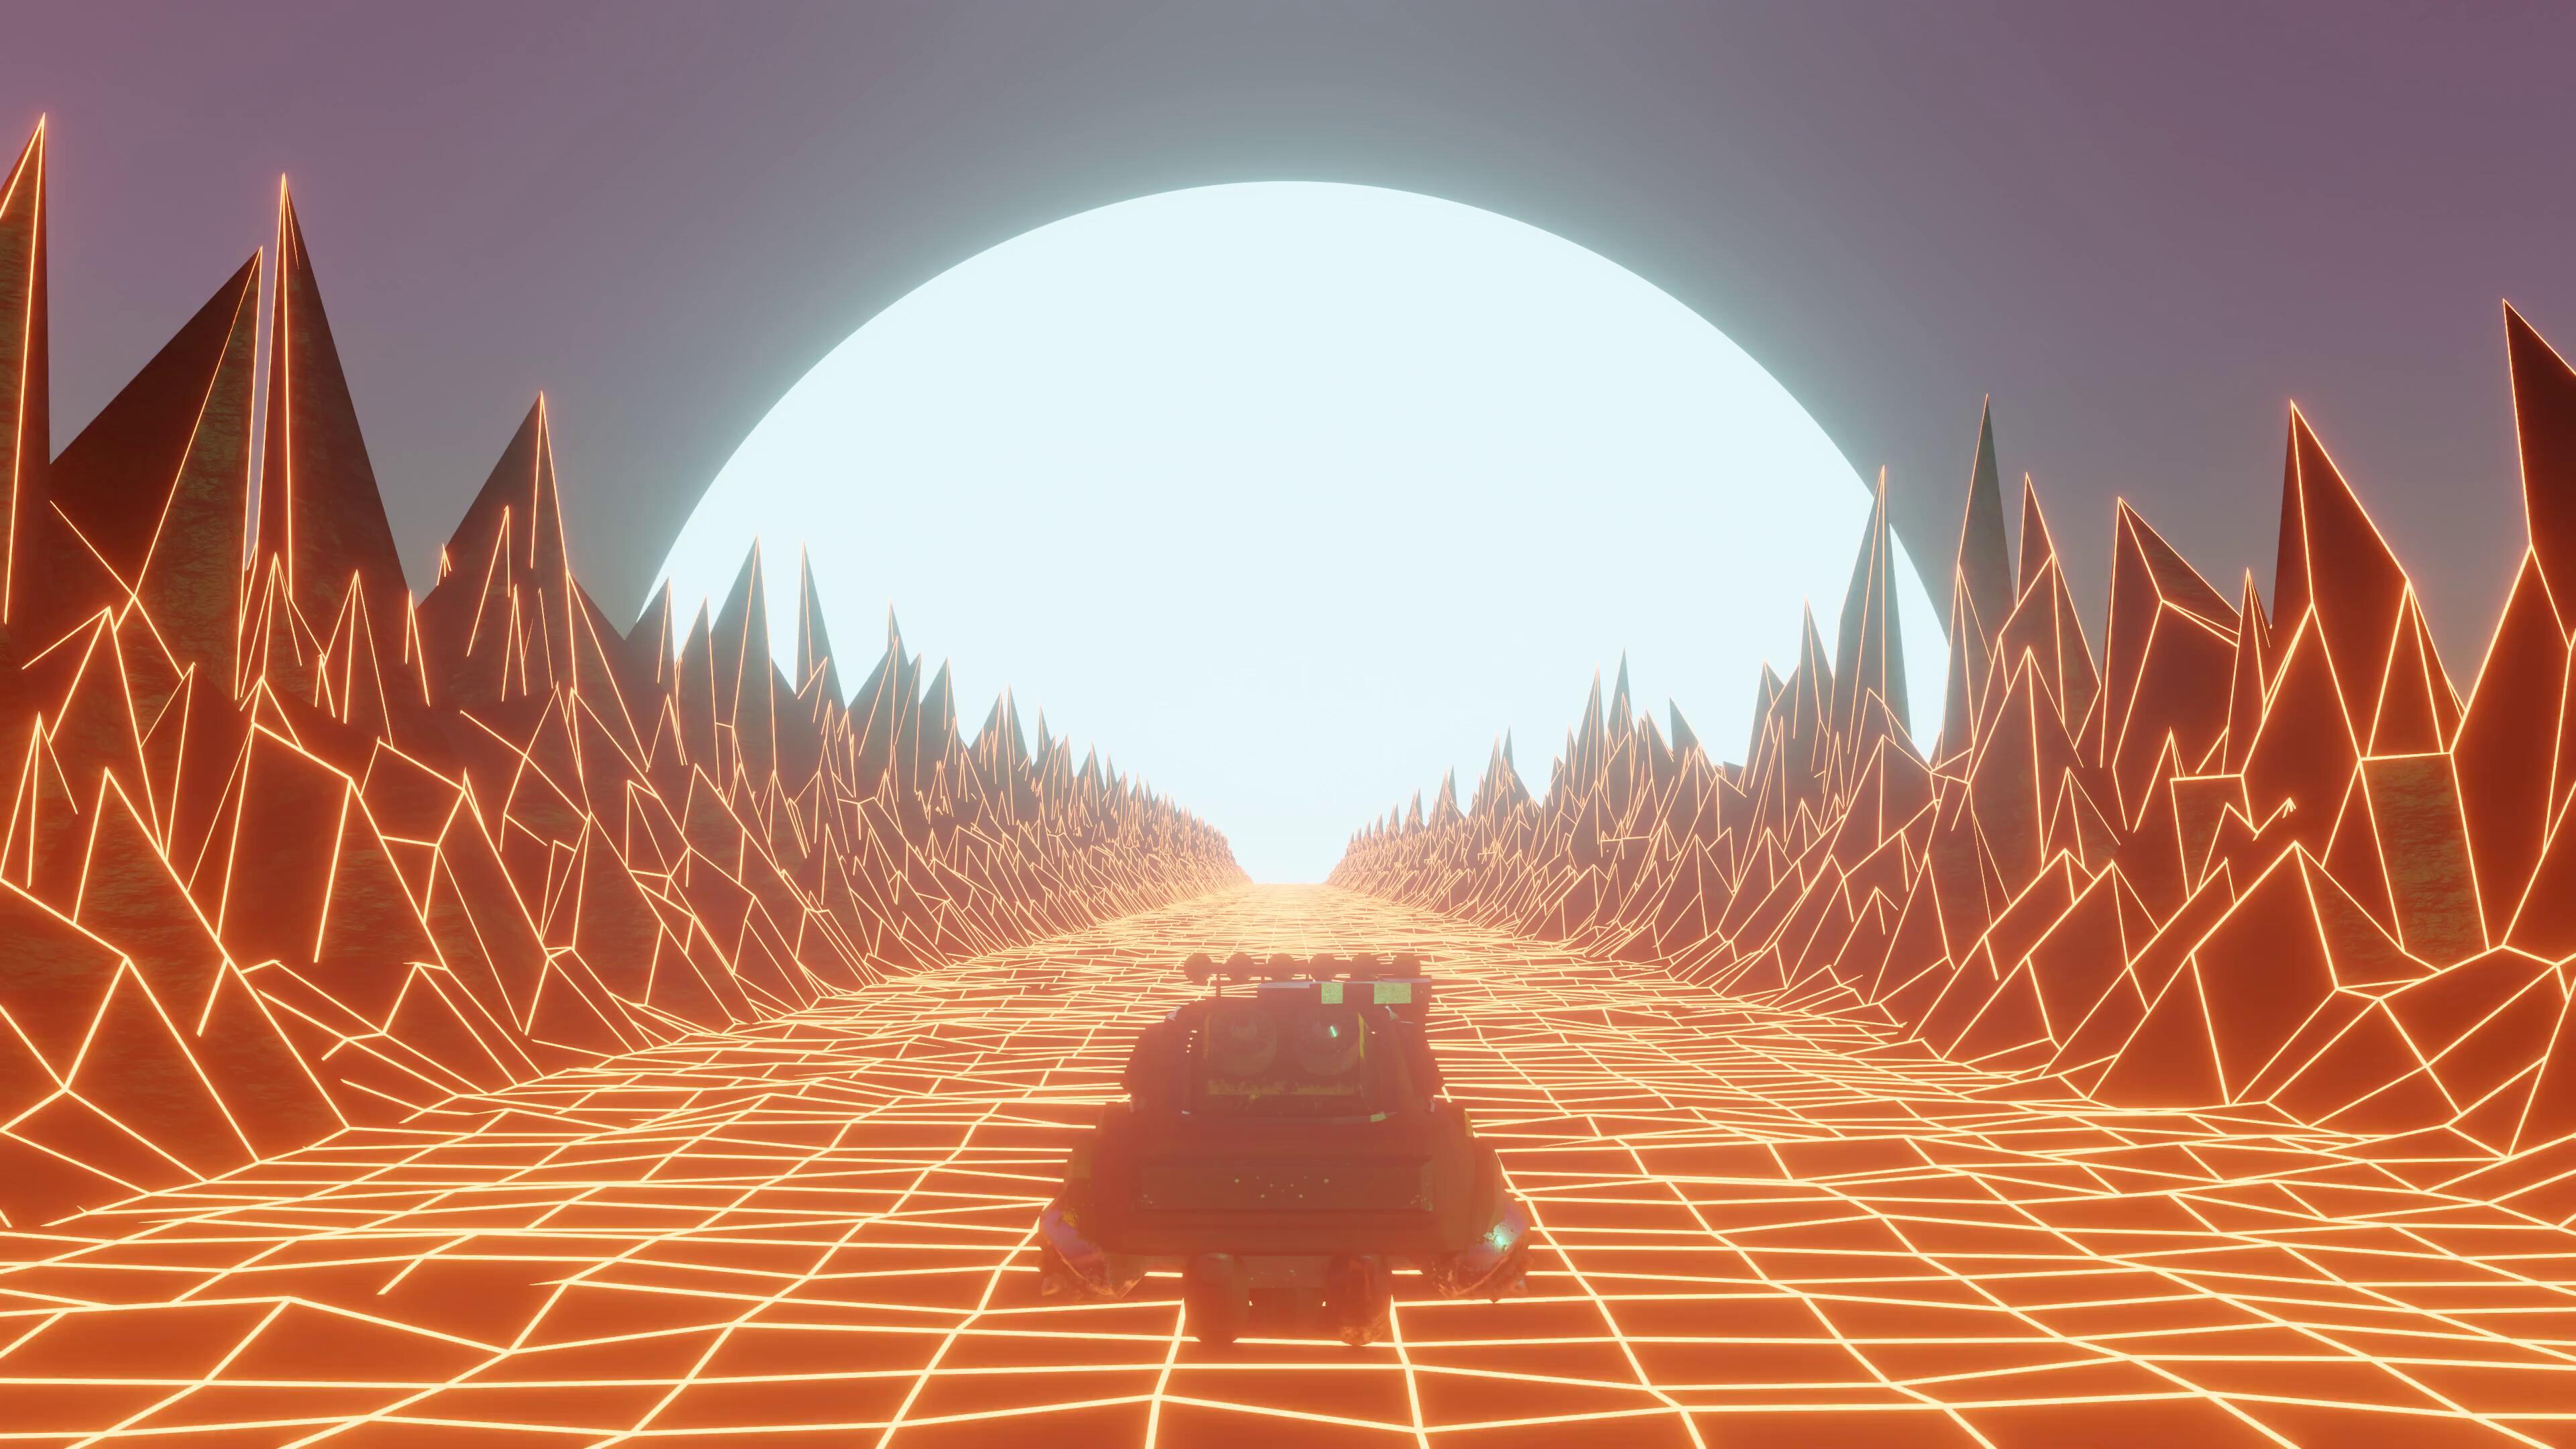
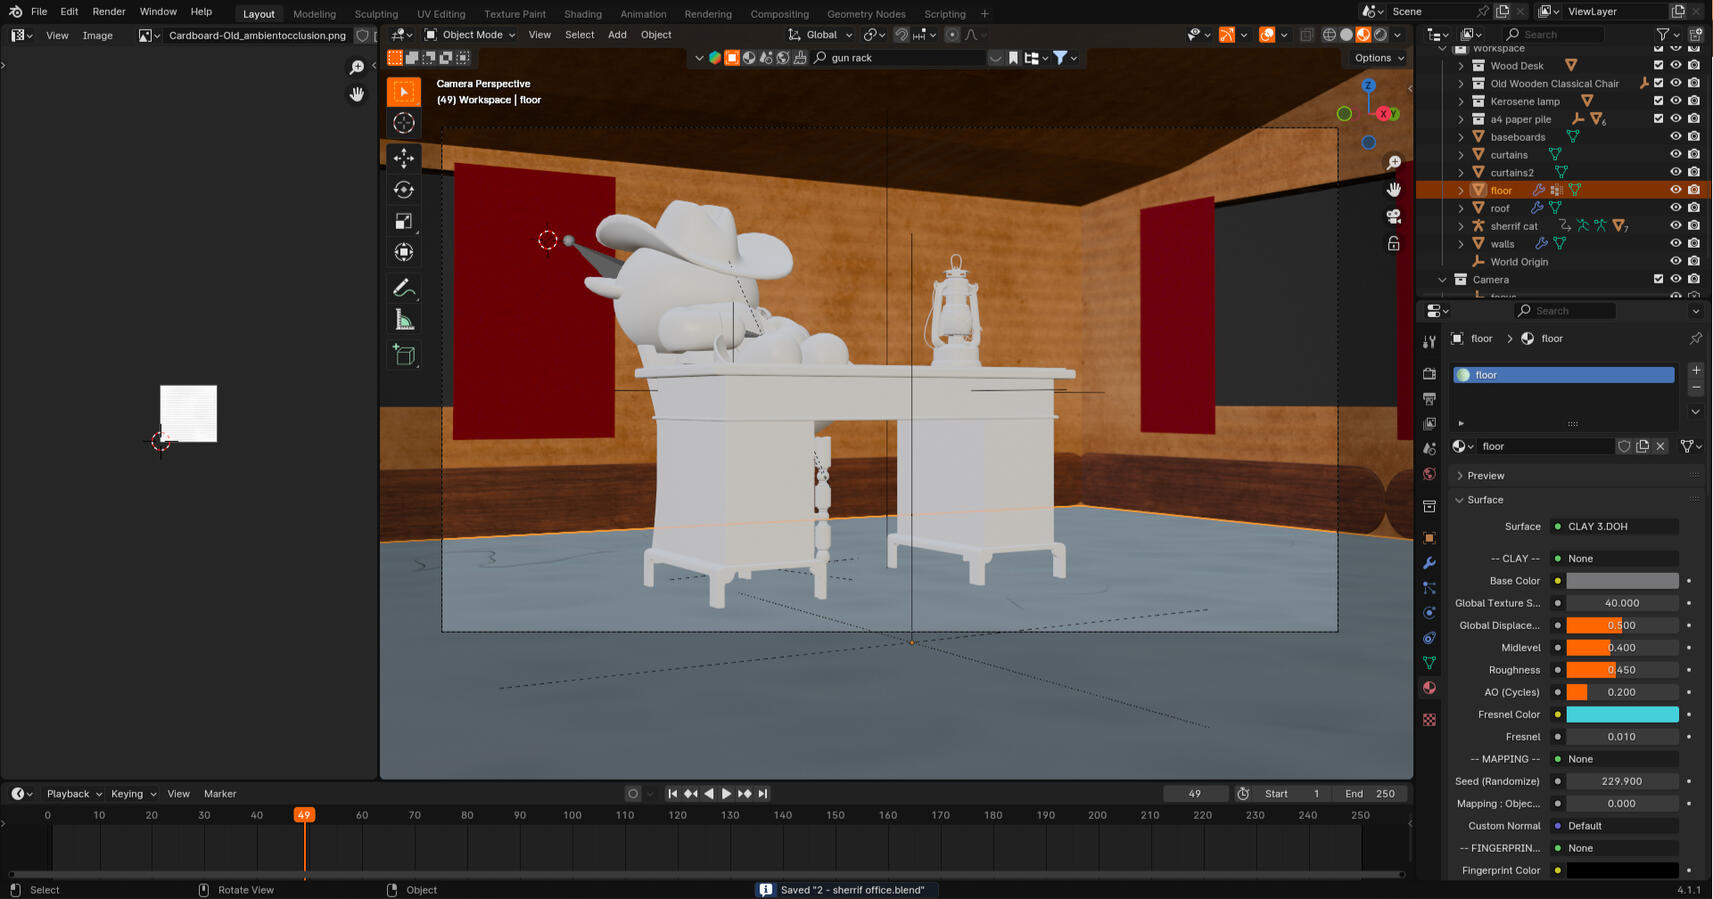
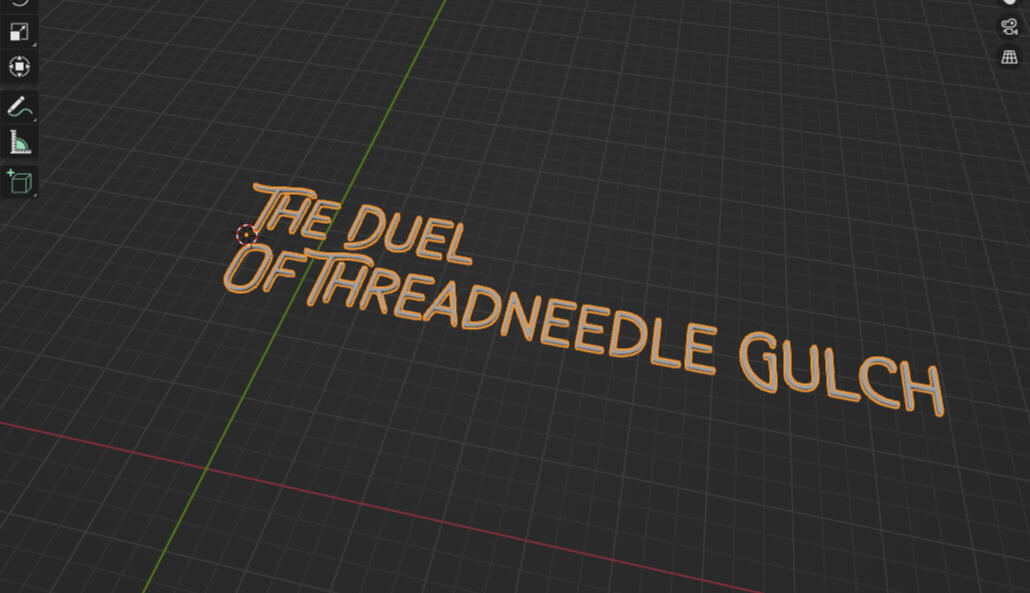
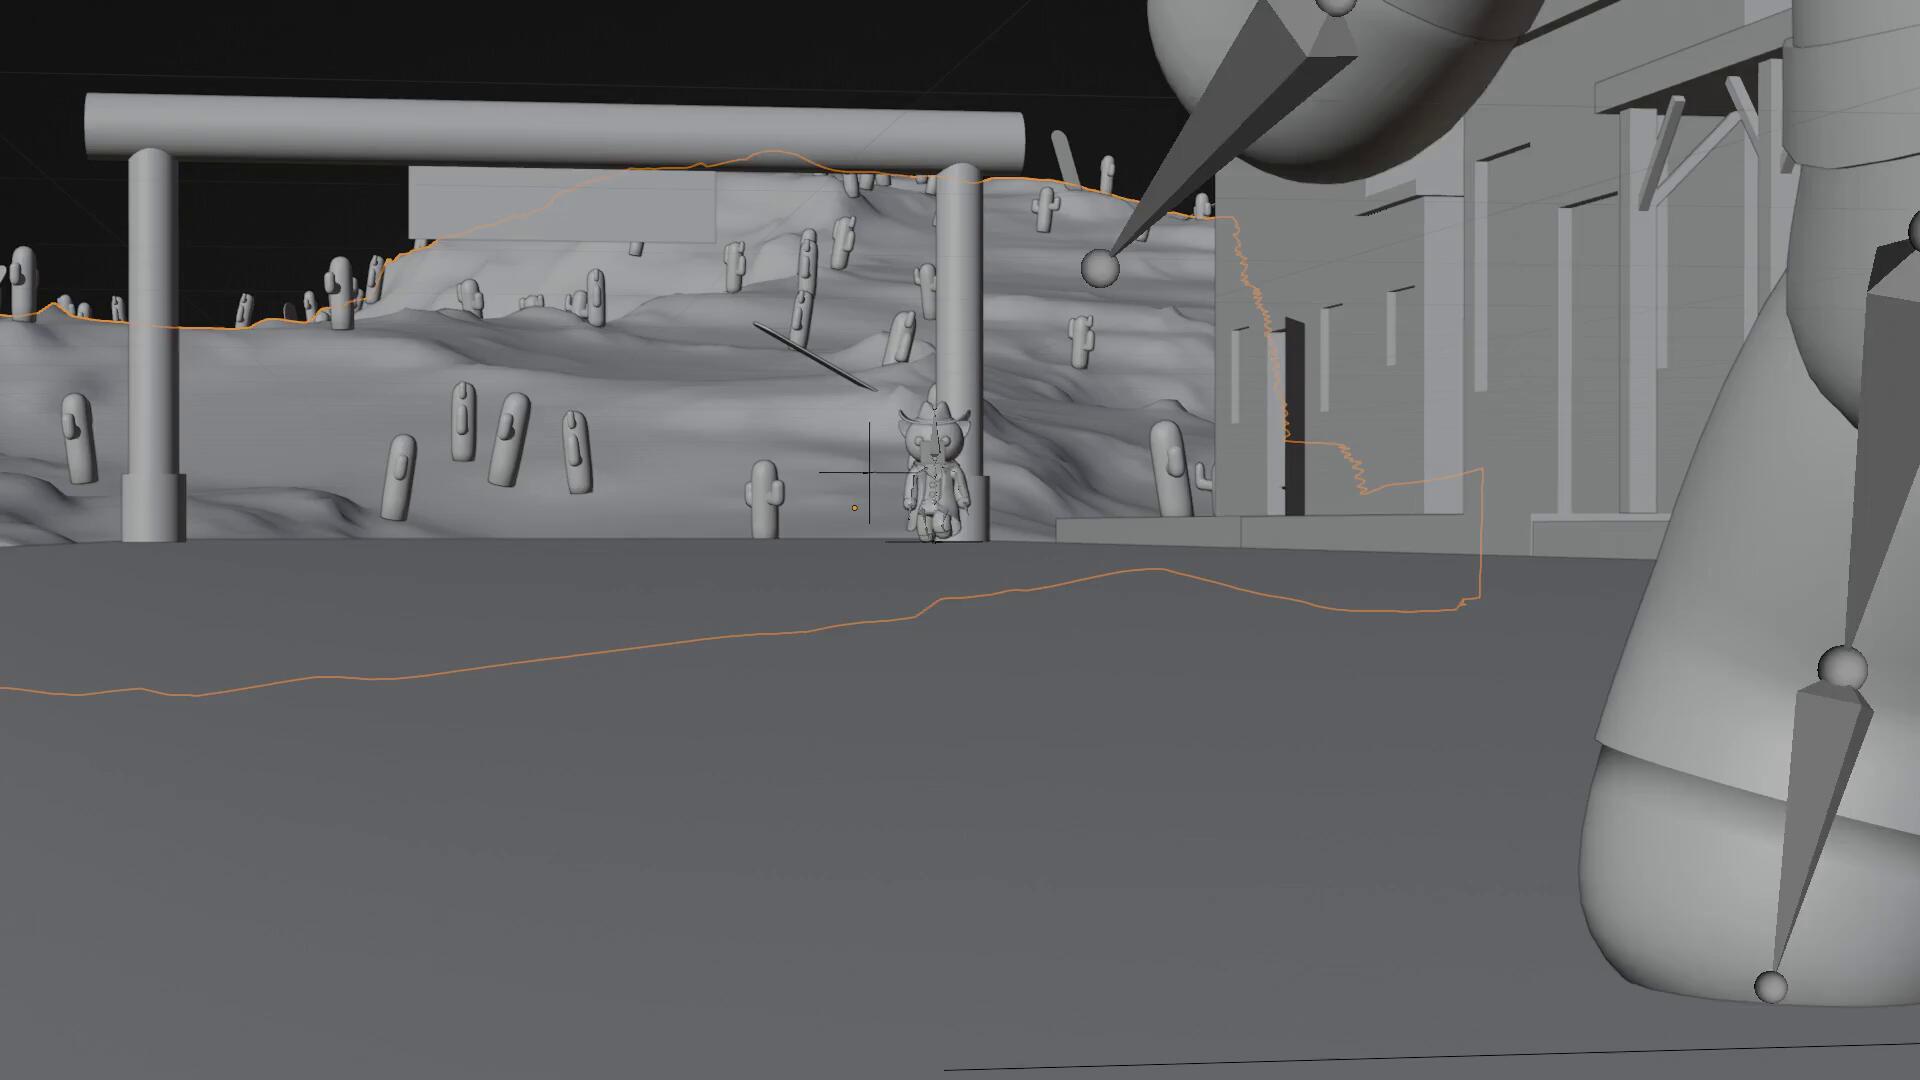
I mainly do digital 3D art using programs like Blender. Below are some of my best pieces thus far. Click on any image to see some comments and behind the scenes I've included for that project.
Other Art
Throughout my life so far I've done artworks in various other mediums: most notably painting, paper crafts, and 3D printing. Below, I've categorized similar works into their own sections, and I've provided more info on certain ones once you click on an image.
Paper


2024 Architecture Competition


Painting



Welcome to my internet corner!
Hey there, welcome to the retro, more personal portion of my website! Cool of you to find it, I've got a semi up to date blog over to the right along with some random other stuff. Thanks for stopping by!
Blog:
Cool stuff: